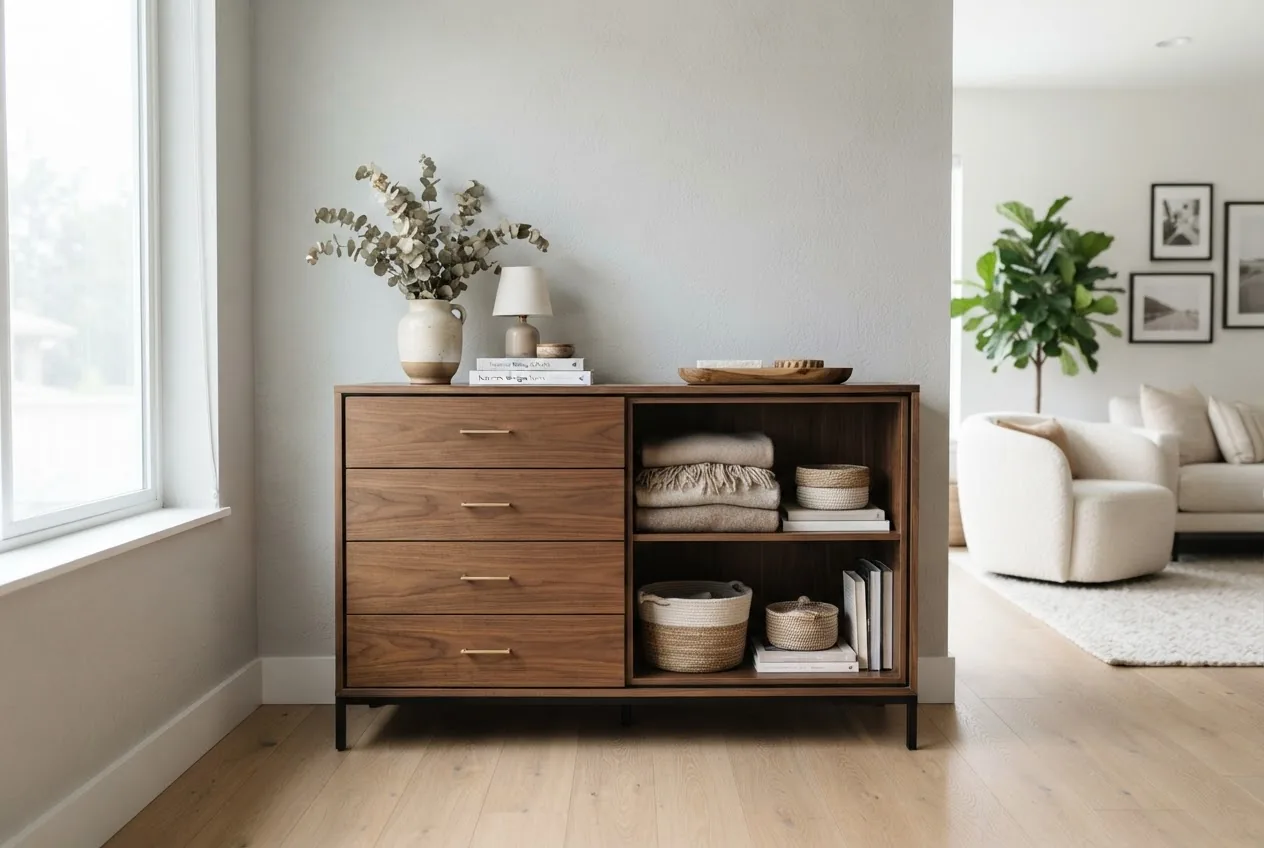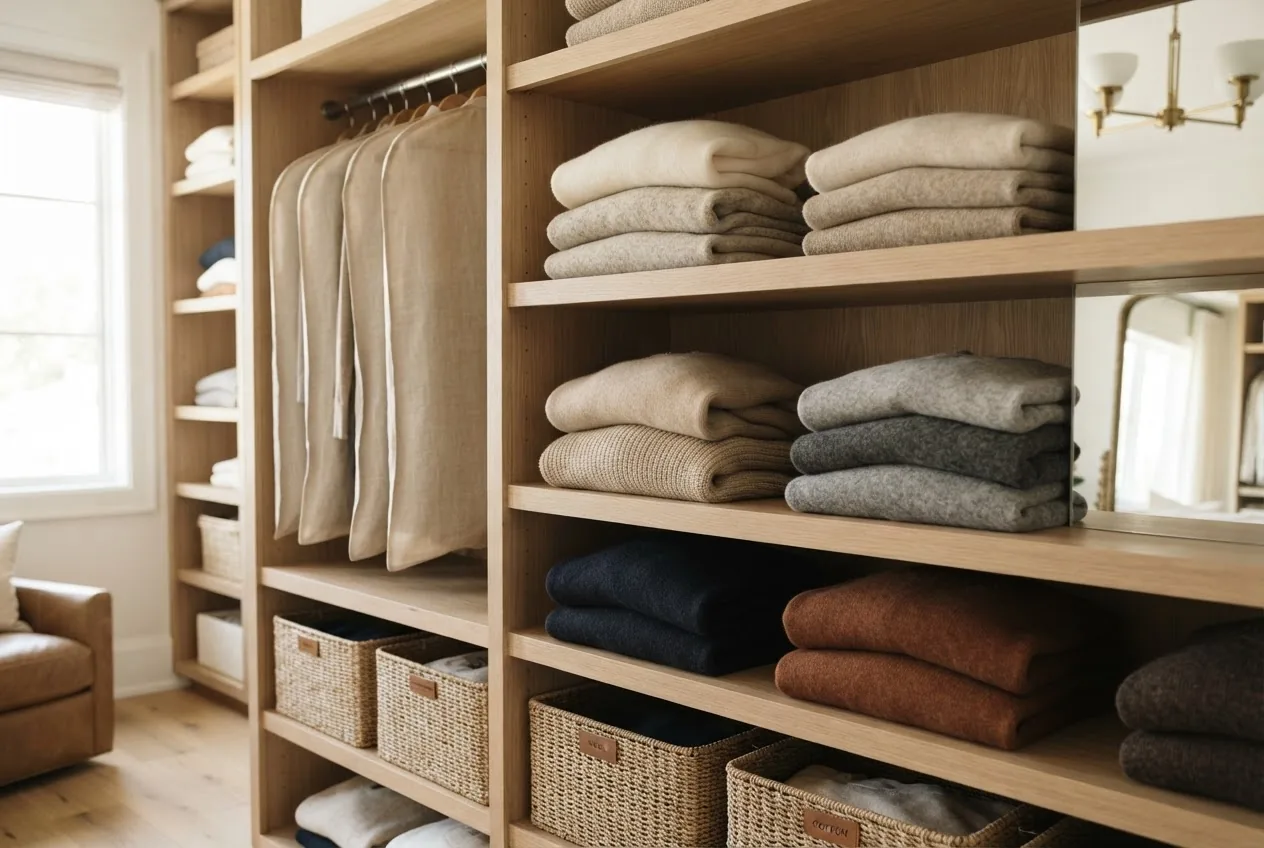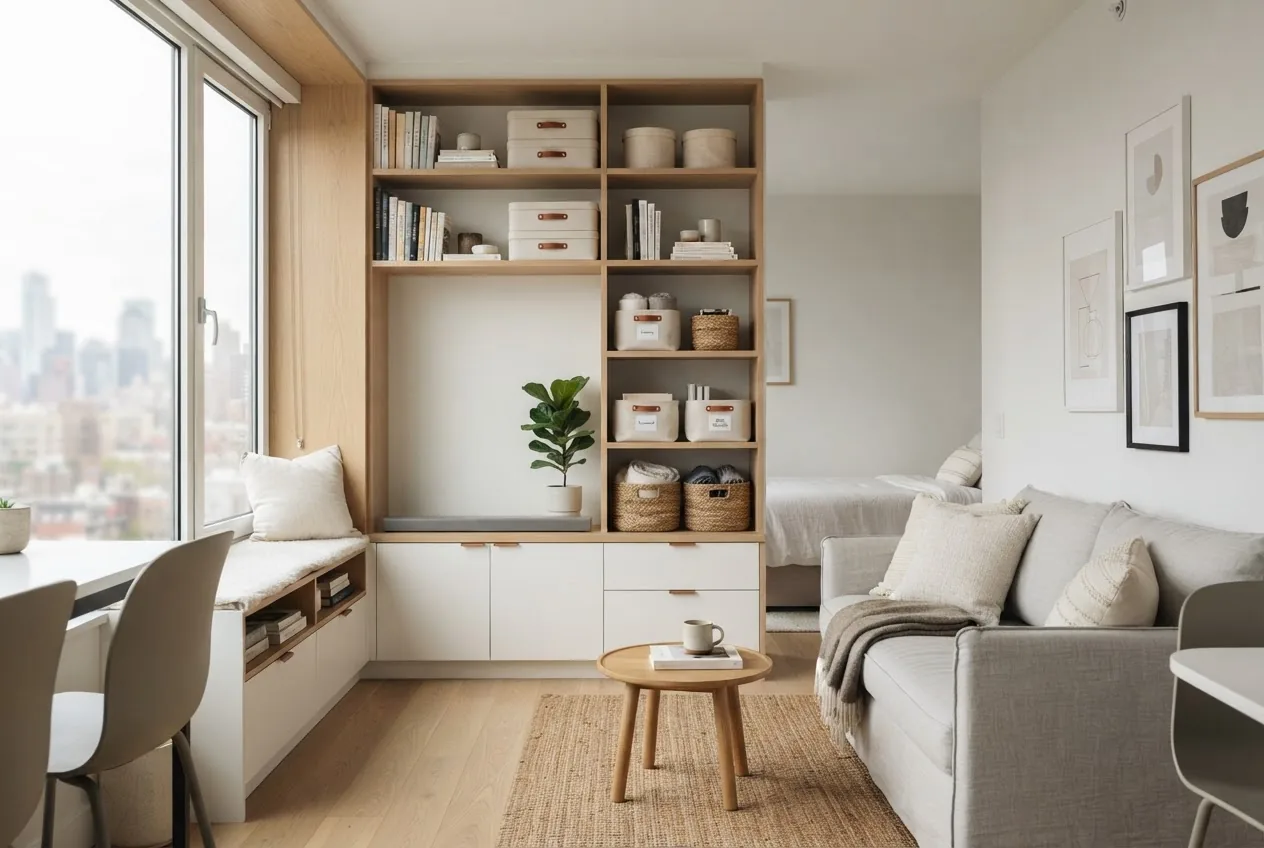
By the end of this guide you will have a room-by-room plan, a prioritized shopping and DIY list, and two scalable compact organizer systems you can install in 2–8 hours. This hands-on guide assumes a basic tool set and beginner to intermediate DIY skill: measuring, simple drilling or adhesive mounting, and light assembly.
Before you start
- Prerequisites: measure each room (length × width × ceiling height), check tenancy rules for wall mounts, and photograph clutter hotspots.
- Tools and materials: tape measure, stud finder, level, drill with bits, screwdriver set, 3M heavy-duty removable strips, zip ties, clear plastic bins (12–25 L), and packing labels.
- Time allocation: planning 60–90 minutes, buying/ordering 1–2 hours, installation per module 30–120 minutes.
Transition: With the basics ready, we’ll assess the common constraints small apartments present before moving into principles, product choices, DIY builds, room-by-room tactics, maintenance, budgeting, and when to call an expert.
Understanding Storage Challenges in Small Apartments

Storage for small apartments is less about buying containers and more about reclaiming cubic volume: floor footprint is limited, so maximizing vertical and hidden space matters. In studio and one-bedroom units, a boxy sofa or an unoptimized bed can consume 30–40% of usable floor area; the rest becomes circulation and clutter zones.
- Identify true usable space: Map fixed features (kitchen cabinets, HVAC, windows) and floating potential (empty wall runs, under-bed voids). Measure clearances: allow 76–90 cm (30–36″) for main circulation paths, or movement becomes impaired.
- Spot recurring clutter: Take three photos daily for a week of the same zone (entryway, kitchen counter, couch). Patterns reveal the items that need permanent homes vs. temporary staging: mail and keys at the entry, mail stacking in one corner, recreational gear by the door.
- Assess tenant restrictions: Many leases limit permanent wall alteration. Note whether you can drill into studs, use removable anchors, or rely on freestanding systems. This determines whether you prioritize wall-mounted organizers and racks or portable options.
- Weigh weight vs. mobility: Heavy, durable units (metal shelving, solid-wood cabinets) increase stability but can scratch floors and be harder to move; lightweight systems (fabric cubes, acrylic) are mobile but have load limits. Consider item density: books and kitchen appliances require sturdier shelving than linens.
- Consider vertical cubic storage: In a 10 m² apartment, adding shelving to 3.5 m high uses vertical cube rather than floor square footage. Treat vertical storage like building upward: measure ceiling height and plan modular stacks to the ceiling minus 30–40 cm for safety and dusting access.
- Illustrative example — 28 m² studio: I replaced a freestanding dresser (0.8 m × 0.5 m) with a narrow tallboy and a wall-mounted pegboard over the kitchen counter; this reduced visible clutter by ~35% and freed a 0.8 m² footprint for a folding table. According to a 2024 urban housing study, small-space interventions that increase vertical storage typically reclaim 10–30% of usable floor area in compact units (study by an urban research institute).
Transition: Understanding these constraints informs seven core principles that will guide every organizer choice you make.
Key Principles of Storage for Small Apartments
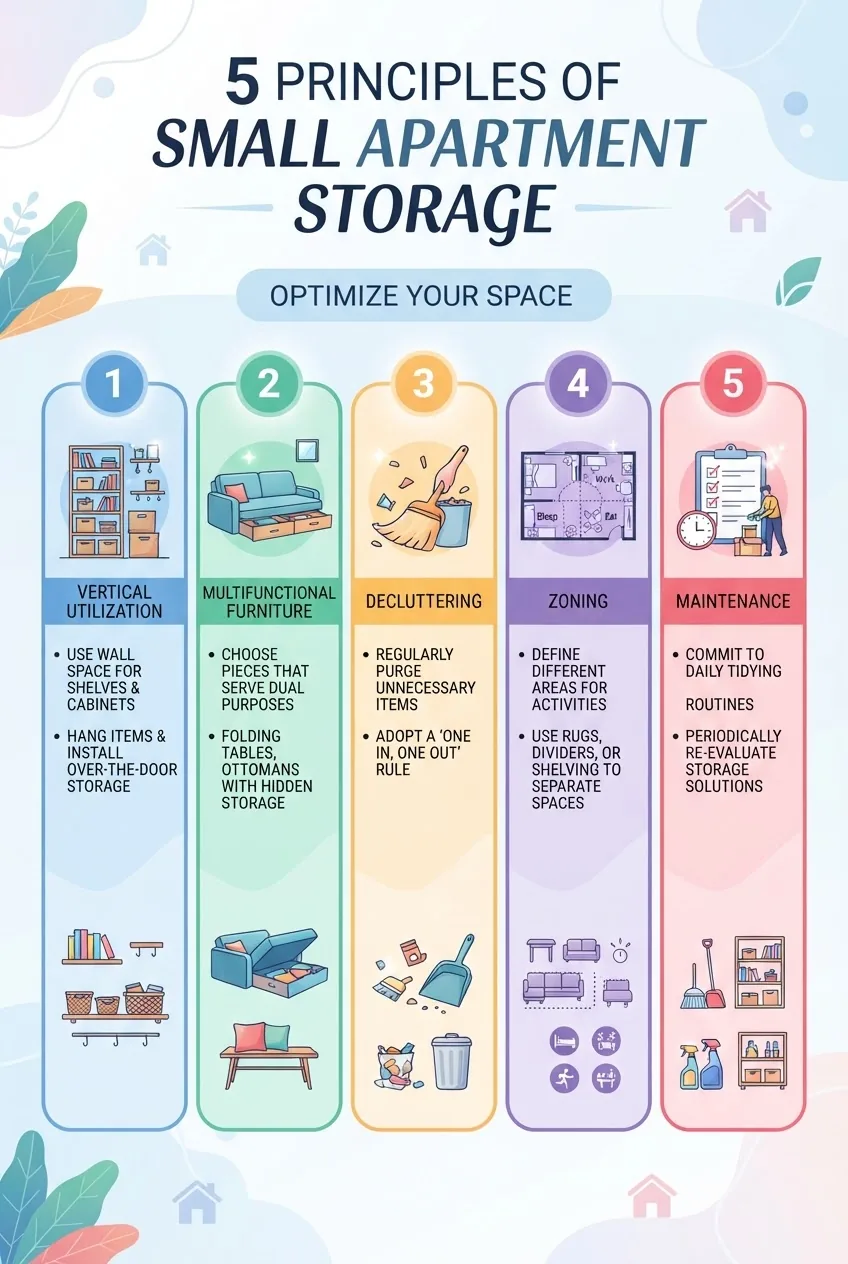
- Use vertical space intentionally. Think floor-to-ceiling modular units, wall-mounted shelving, and stacked bins. Vertical utilization multiplies storage without shrinking living areas; secure tall units to studs or use anti-tip kits. For ceilings 2.4 m or lower, keep top shelf reachable with a single-step stool (max supported load 15 kg per shelf).
- Prioritize multifunctional furniture. Choose items that combine seating, sleep, and storage functions—sofa beds with under-seat drawers, ottomans with internal compartments, and tables with drop-leaf surfaces. A standard storage ottoman (45 cm wide) typically stores 20–30 L and adds seating.
- Declutter before adding storage. Adopt a three-bin method: keep, donate/sell, recycle/trash. For small apartments, reduce by at least one large bag per month until you reach 50–70% occupancy of new storage spaces; this prevents filling every new box immediately.
- Zone storage by activity. Create micro-zones for entry, cooking, working, relaxing, and sleeping. Zoning reduces cross-room duplication (e.g., duplicate chargers or stationery) and makes daily routines efficient: keep everyday items within 1–2 meters of their use area.
- Mix modular and fixed systems. Modular shelving can be reconfigured when needs change; fixed custom built-ins maximize tight gaps. For rentals, favor modular systems that use tension poles or removable anchors to avoid lease violations.
- Choose materials for context. Lightweight acrylic, mesh metal, and breathable fabric cubes reduce visual weight and are easier to move. Durable metal shelves carry heavy loads (books, appliances); acrylic keeps sightlines open. Expect a life of 3–10 years depending on material and use—budget accordingly.
- Plan for maintenance and seasonality. Use under-bed vacuum-sealed bags for seasonal clothing and rotate quarterly. Label clear bins with contents and date; a simple label system saves an average of 6–10 minutes per retrieval versus unlabeled stacks (according to a 2023 productivity survey from a home organization consultancy).
- Small, cumulative improvements win. I recommend attacking one room per weekend: plan, buy, install, and live with the change for two weeks. This approach prevents decision fatigue and gives measurable feedback before expanding changes.
- Safety and anchoring first. Secure furniture over 60 cm tall to the wall (anti-tip). For anchoring guidance and safety standards consult Consumer Product Safety Commission guidance on furniture tip-over prevention.
- Measure twice, buy once. Use depth, height, and clearance targets: 30–35 cm depth for bookshelf storage, 45–60 cm depth for kitchen carts or freestanding pantry, and at least 10–15 cm clearance above stacked bins for easy retrieval.
Transition: Apply these principles as you evaluate specific compact organizer types; the next section compares popular options and their trade-offs.
Choosing the Right Compact Organizers for Small Apartments
Below is a comparison of common compact organizers based on load capacity, mobility, tenant-friendliness, and ideal use-cases. Definitions: modular = components that can be reconfigured; stackable = designed to safely sit on top of identical units; foldable = collapses flat for storage.

| Organizer Type | Pros | Cons | Best For |
|---|---|---|---|
| Compact storage furniture (narrow tallboys) | High capacity, concealed storage, polished look | Heavier, needs floor footprint, may require anchoring | Bedrooms, living rooms |
| Vertical storage solutions (wall shelves, pegboards) | Frees floor space, customizable height | Requires wall permission, load limits | Kitchens, workspaces |
| Modular shelving units | Flexible, expandable, good for irregular gaps | Higher upfront cost for quality, assembly time | Living rooms, multi-use areas |
| Multi-functional furniture (sofa beds with storage) | Saves space by combining uses | Can be expensive; repair complexity | Studio apartments, guest rooms |
| Under-bed storage containers | Hidden, low-visibility, good for textiles | Limited height; must be dust-protected | Seasonal clothing, shoes |
| Wall-mounted organizers and racks | Immediate vertical gains, visual organization | Installation restrictions; weight limits | Kitchen tools, entryway gear |
| Lightweight portable storage (fabric cubes, rolling carts) | Highly mobile, inexpensive, renter-friendly | Lower load capacity and lifespan | Temporary storage, students, renters |
| Locker-style and secure cabinets | Secure, stackable, durable | Industrial look, heavier | Valuables, tools |
Comparison takeaways: For renters choose lightweight or freestanding modular units; for owners consider fixed custom built-ins. When evaluating load and cost, track expected years of use (3, 5, 10) and compute cost-per-year to compare value.
- Match organizer to item density. Use metal or wood for books and appliances; use fabric and acrylic for linens and lightweight goods.
- Prioritize mobility if you move often. Choose units with casters and load ratings of 15–30 kg per shelf. Use locking casters for stability when in use.
- When you need security, choose locker storage cabinets. These are great for storing tools or valuables; see options for secure locker storage cabinets for models and sizing guidance.
Links to further product guidance: best compact organizers, fabric cube organizers, stackable plastic drawers, and modular shelving systems.
Transition: After you choose systems, you can build or adapt compact organizers to your exact needs — the next section shows DIY projects and practical how-tos.
Creative Storage Solutions and DIY Compact Organizers
This section provides step-by-step projects you can complete in 30–180 minutes. Each project lists materials, expected cost, and clear steps.
Project A — Convert a narrow hallway into a storage zone (60–90 minutes)
- Measure and mark: Measure hall width and mark a 30–35 cm deep zone. Materials: 2 narrow floating shelves, one rail with hooks, screws/anchors, wall plugs. Cost: $40–$80.
- Install anchors: Use a stud finder. If no studs, install heavy-duty removable anchors rated 30 kg per point.
- Mount shelves and rail: Level at 120 cm from floor for hooks and 160–180 cm for top shelf. Leave 10–12 cm between shelf and rail for hanging items.
- Organize by activity: Place keys and daily bag on top rail; use labeled fabric cube for shoes below. Label cube with adhesive tag, category, and date.
Project B — Under-bed modular drawers with caster conversion (90–150 minutes)
- Choose containers: Buy shallow stackable bins (30 × 60 × 15 cm) with lids. Cost per bin $12–20. Add 4 low-profile caster plates ($3–5 each) if you need mobility.
- Prepare bed clearance: Ensure at least 18 cm clearance from floor to bed base; otherwise use risers (5–10 cm each) secured to bed legs.
- Assemble and test: Mount casters or caster plates to bin bottoms using screws and washers; roll bin underneath and test load with 5–10 kg items first.
Project C — Pegboard micro-workstation (45–75 minutes)
- Materials: 60 × 45 cm pegboard, spacers (3 cm), hooks and small baskets, 3M removable strips or screws. Cost: $20–50.
- Mount with spacers: Spacers create depth for hooks. Position horizontally above any desk or counter within arm’s reach (80–120 cm from the work surface).
- Arrange tools and supplies: Use small baskets for stationery, clipboards for paper, and shallow trays for chargers. Label baskets using a marker on removable tape.
- Optional: Add a small fold-down shelf that latches closed to create a laptop stand when needed.
Specialized suggestion: For hobbyists, see creative organizers for art supplies and small parts organizers for compact compartment strategies.
Project D — Build a slim rolling pantry from a drawer kit (60–120 minutes)
- Select the kit: Purchase a 10–12 cm wide rolling pantry kit or retrofit thin drawer slides onto a plywood panel (120 × 35 cm). Cost: $35–90.
- Cut and sand: Cut plywood to kit dimensions; sand edges. Attach drawer slides at 10–12 mm clearance from cabinet face.
- Install and test: Mount into the gap between fridge and counter; secure top with L-bracket to prevent tipping. Load canned goods and test glide with a 10 kg load.
DIY caveats: Adhesive-mounted solutions are renter-friendly but check weight ratings and use multiple anchors for loads above 10 kg. For heavy-duty builds, use stud-mounted screws and anti-tip hardware.
Transition: With DIY skills practiced, apply compact organizer ideas in each room — the next large section gives a room-by-room blueprint with precise tips and internal links to in-depth sibling articles.
Room-by-Room Storage Tips for Small Apartments
Each room below includes prioritized tactics, compact product suggestions, and quick-install steps you can complete in one weekend.
Kitchen
Goal: Free counter space and create easy-access storage for everyday cooking.
- Install narrow magnetic strips for knives and metal tools; keep under 30 cm above counter to avoid splashes.
- Use vertical racks inside cabinets to store baking sheets; allocate 15–20 cm of vertical space per rack.
- Mount wall rails for mugs and utensils; secure to tile with proper anchors.
- Compact carts: use a 35–45 cm deep rolling cart with 3 shelves for pantry overflow; load evenly (max 20 kg per shelf).
- For more specialized small kitchen ideas, see small kitchen storage ideas.
Bedroom
Goal: Maximize sleeping area and store clothing without crowding floors.
- Use under-bed storage containers (low-profile, with wheels) sized to mattress clearance; keep a 2 cm gap from bed edge for ventilation.
- Opt for a platform bed with integrated drawers to gain 100–300 L of concealed storage depending on size.
- Integrate a freestanding closet storage solution when built-in closets are small; see freestanding closet storage.
- Clothing organization: fold T-shirts and sweaters vertically for drawer visibility; rotate seasonal items into vacuum bags to reduce volume by up to 60%.
- For garment-specific methods, consult clothing shelf organization, T-shirt storage tips, and sweater storage solutions.
- Small accessories: use underwear organizers and slim trays to keep drawers tidy.
- Clothing fabric care and long-term storage references: clothes storage tips.
Bathroom
Goal: Eliminate countertop clutter and protect items from moisture.
- Install slim wall cabinets or recessed medicine cabinets where possible; a 15–20 cm depth is often sufficient for toiletries.
- Use over-the-door racks for towels and robes; load limit 5 kg.
- Place small caddies with drainage for under-sink storage and label by category.
Living Room
Goal: Combine seating with storage and keep pathways clear.
- Choose a storage ottoman (internal volume 40–60 L) for blankets and games.
- Use floating shelves at eye level (120–160 cm) for books and decor to keep floor space open.
- Mount a slim media console that sits 10–15 cm off the floor for cable access beneath.
Entryway
Goal: Create a dedicated drop zone to avoid daily clutter build-up.
- Use a narrow bench with internal storage for shoes (capacity 6–8 pairs) and a wall rail for everyday jackets.
- Install a mail sorter (four slots) and a small key tray mounted at 120 cm height.
Utility and closet spaces
Goal: Make multi-use closets efficient and accessible.
- Install adjustable wire shelves for cleaning supplies and appliances; wire allows airflow and reduces moisture risk. For guide on wiring options, see wire shelf organizers.
- Consider standalone closet storage for overflow: standalone closet storage.
- For prefabricated closet options, consult prefabricated closet organizers.
Transition: Small wins in each room compound. To keep gains, follow a maintenance schedule and avoid common mistakes listed next.
Maintenance and Optimization of Apartment Storage Over Time
Routine maintenance keeps storage systems functional and prevents re-cluttering. Below are practical schedules, hygiene practices, and expansion techniques.
- Weekly (10–20 minutes): Do a 10-minute sweep of the primary living areas; return misplaced items to labeled bins and wipe high-use surfaces.
- Monthly (30–60 minutes): Reassess one micro-zone (entry, kitchen counter, or desk): declutter a single bin, rotate seasonal items, and check labels for accuracy.
- Quarterly (1–2 hours): Inspect heavy shelves and anchoring hardware; tighten screws and check casters. Replace adhesive hooks showing wear. For safety standards on anchoring, reference CPSC guidance.
- Annually: Re-evaluate storage allocation: measure occupancy rates of your bins and furniture. If over 75% filled consistently, plan expansion or purge 20% of low-use items.
Tips for sustainability and hygiene:
- Use breathable fabric containers for linens to prevent mildew; rotate linens every three months.
- Label expiry or replacement dates on consumable storage (food, cleaning supplies) to avoid waste.
- When expanding a modular system, add one module at a time and live with it for two weeks before committing to avoid unnecessary purchases.
Transition: All of this needs realistic budgeting to match available funds and expected lifespan of organizers.
Budgeting for Storage Solutions in Small Apartments
Cost-effective planning balances immediate needs with long-term value. Expect a range: budget solutions $5–$60 per item; mid-range $60–$250; high-end modular/custom $250–$1,500.
Simple rules:
- Compute cost-per-year: Divide purchase price by expected useful life. A $200 modular shelf lasting five years equals $40/year; a $25 fabric cube lasting one year equals $25/year.
- DIY vs. store-bought: DIY saves 20–50% on basic projects but check warranty loss; manufacturer warranties (1–5 years) often voided by DIY modifications.
- Buy for what you use daily: Prioritize high-quality organizers where you apply daily stress (seating with storage, kitchen carts). For occasional use (seasonal bins), prioritize inexpensive, compressible options.
Practical example: For a starter kit, budget $150–$350 to outfit entry, kitchen cart, one modular shelving unit, and under-bed bins.
Transition: If tasks exceed your time or complexity, consider professional help and curated resources.
Additional Resources and Professional Help for Apartment Storage
When to consider professionals: complex built-ins, structural wall anchors, or comprehensive downsizing projects that require behavioral coaching.
Suggested contacts and resources:
- Government housing guidance and small-space living advice: HUD resources on housing.
- Professional organizer associations and expert publications: National Association of Productivity & Organizing Professionals provides consultant directories and best practices.
- For cleaning and disinfection needs tied to storage and move-in prep, consider professional organization and cleaning services: professional organization and cleaning services.
- For broader, larger-scale storage systems comparison, see effective storage organizational methods and durable plastic shelves for heavy-duty options.
- For hiring help with home projects, consult directories listed in professional home organization services.
- Utility closet optimization tips: utility closet organizers.
Transition: Finally, know common practitioner mistakes, and use the checklist below to verify your work.
Common mistakes and how to avoid them
I once recommended a tall, heavy bookshelf to a renter without confirming stud access—the unit shifted slightly when books were loaded, causing a near-tip. I now always verify mounting permission and use anti-tip straps or freestanding modular units for renters.
- I bought clear, stackable bins without labels and quickly lost items—now I label bins with contents and date using removable labels.
- I prioritized aesthetics over load rating: lightweight acrylic looked great but deformed under appliance weight—always check load ratings and match materials to item density.
- I assumed more storage solves clutter—without decluttering first, new boxes simply fill; always purge before adding capacity.
Final checklist
- Have measured each room, ceiling height, and clearance paths (76–90 cm).
- Confirmed tenant permissions for wall anchors or planned freestanding alternatives.
- Installed anti-tip hardware on tall units and tested load limits (start with 10 kg test weight).
- Labelled all bins with content and date; implemented a weekly 10-minute tidy habit.
- Reviewed cost-per-year for each major purchase and set a 12-month replacement/upgrade budget.
When to call a professional
Engage a professional organizer when you face chronic clutter that requires behavior change, or hire a handyman for structural anchors and built-ins. For deep cleans or move-in sanitation before storing items, contact professional organization and cleaning services.
Conclusion: Apply vertical thinking, prioritize multifunctional furniture, purge before you buy, and mix modular with fixed solutions. Start with one room this weekend: measure, choose one modular element, install it, live with it for two weeks, then expand. Ready to reclaim your space? Begin with the entry or kitchen for the fastest visible wins.