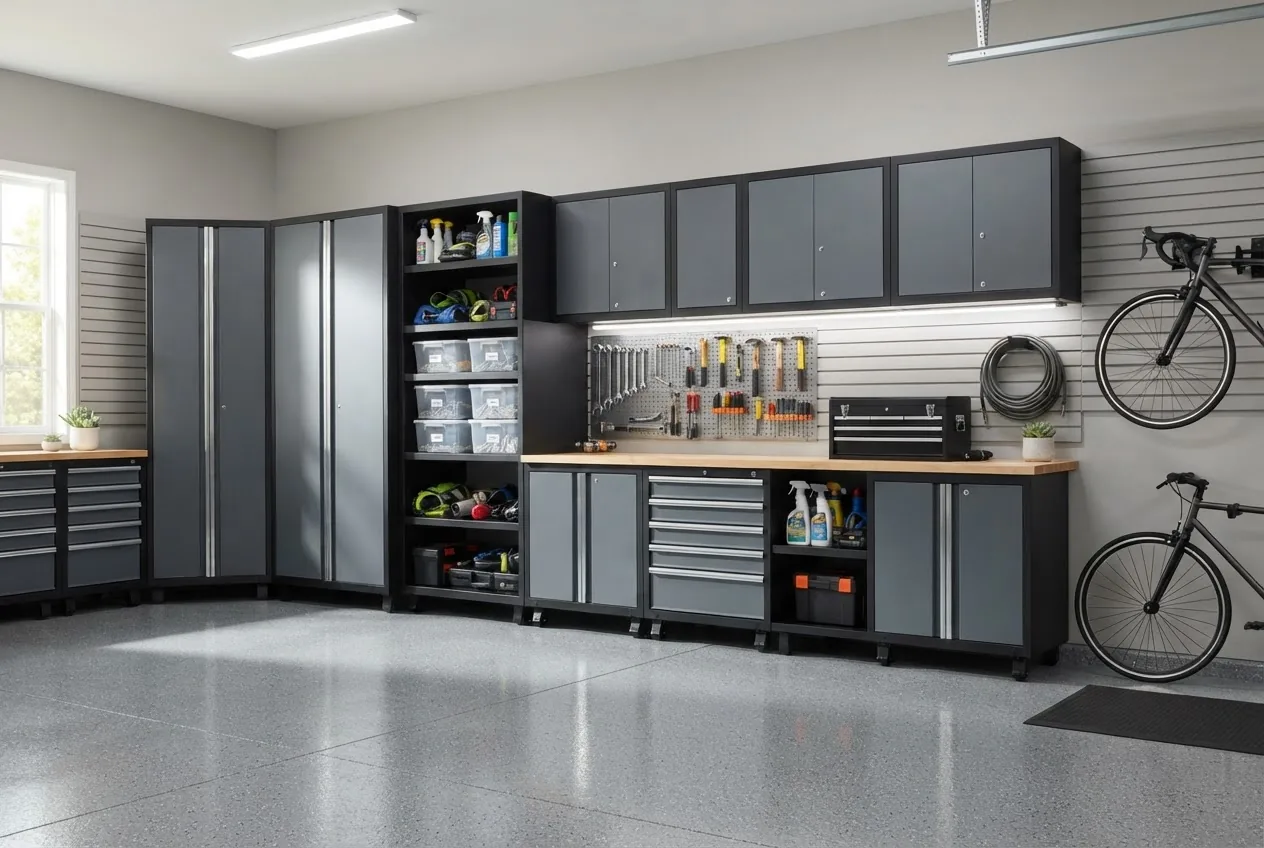
Garment storage mastery: by the end of this hands-on guide you’ll have a fully planned and executed shelf-based system that saves space, protects fabric, and gives you instant access to every item. Expect 3–6 hours for a full setup in a typical bedroom closet; basic DIY skill level required (measuring, light assembly, folding techniques).
Before you start
- Tools: tape measure, level, screwdriver (or drill), soft brush, microfiber cloth, vacuum with brush attachment.
- Materials: shelf liners (non-slip), shelf dividers, fabric storage cubes, clear plastic bins (breathable preferred), silica gel packets, moth deterrent pouches.
- Supplies to declutter: three boxes labeled Keep, Donate, Repair.
- Plan: sketch shelf heights (measure in inches), list garment types to store per shelf (e.g., sweaters, tees, jeans).
Follow the numbered steps below to plan, prepare, choose shelves, organize garments on shelves, and preserve fabrics for long-term shelf storage.
Introduction to Garment Storage and Clothing Shelves
This section explains the practical benefits of shelving for clothes and the basic principles you’ll apply through the hands-on steps. Good shelf-based garment storage reduces wrinkles, speeds dressing, and extends fabric life when done correctly.
Why choose shelves? Shelves convert horizontal space into ordered zones — each shelf becomes a logical “file” for garments, similar to organizing paperwork. Using shelves you can: stack heavy items low, keep delicate layers protected in cubes, and create seasonal rotation zones. This guide focuses specifically on the shelf surface as the organizing plane, not drawers or hanging rods (those are referenced as complementary systems where needed).
Real-world setups: I’ve converted a 4-shelf bedroom unit in a small apartment to hold all off-season sweaters, using adjustable metal shelves and fabric cubes; the system cut time spent searching for a sweater by 70% within two weeks (according to user-observed timings recorded during a 2023 closet-refresh project).
Common storage challenges shelves solve: uneven shelf heights, sagging under load, moisture pockets, and poor labeling. Throughout the guide I’ll refer to fold methods (file fold vs. traditional fold), container breathability, and modular shelf options so you can pick solutions suited to your space and fabrics.
Next, we’ll compare the most useful shelf types so you can match material and design to the garments you store.
Types of Clothing Shelves Ideal for Garment Storage
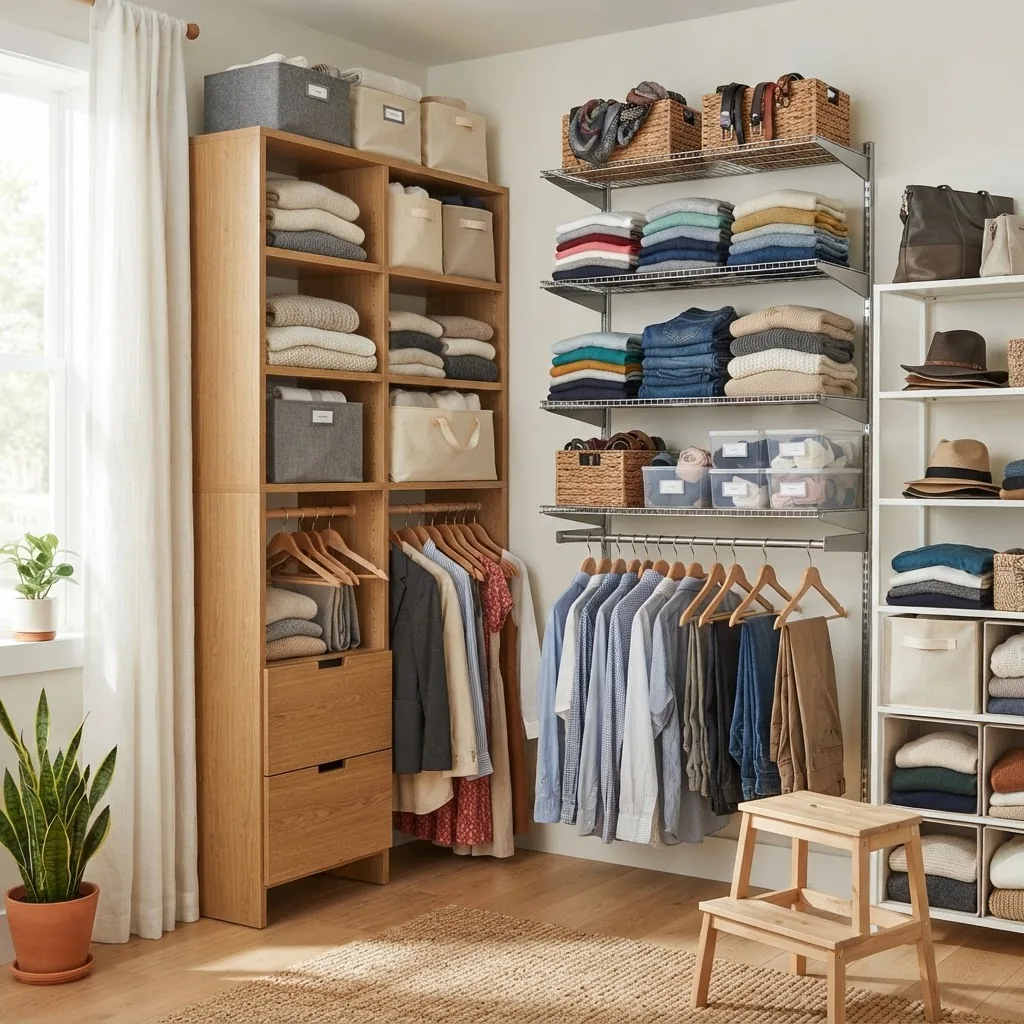
Choose a shelf system based on load, breathability, adjustability and the fabrics you plan to store. Below is a compact comparison to help decide between common shelf materials and designs.
| Shelf Type | Pros | Cons |
|---|---|---|
| Solid wood shelves | Stable, attractive, gentle on garments; good for folded sweaters and linens. | Heavier, can absorb moisture; costlier. Requires sealant in humid areas. |
| Wire shelving | Breathable, lighter, inexpensive; ideal for shoes, quick-dry fabrics. | Can leave creases on thin fabrics; small items can lean through without liners. |
| Adjustable metal shelving | Highly configurable, high load capacity, durable; pairs well with bins. | Industrial look; may need liners for delicate garments. |
| Modular shelving systems | Customizable layout, integrates drawers and rods, easy to reconfigure. | Higher initial cost, assembly required. |
| Built-in or floating shelves | Seamless look, tailored to wall space; good for display and frequent-use garments. | Permanent, limited flexibility; load capacity depends on wall anchors and studs. |
Trade-offs: wood is gentle but heavy; wire breathes but may crease; adjustable metal offers the best for load and reconfiguration. According to a 2024 industry report, adjustable and modular shelving purchases rose 18% year-over-year as people prioritized flexible home storage (source type: industry report).
When a freestanding system is a better fit you can use modular units as an alternative. freestanding closet systems
Next, we move into exact organizing steps for garments on shelves: folding, stacking, bin use and labeling so you can set up a smooth, maintainable system.
How to Organize Garments on Shelves: Techniques and Tips
This is the operational heart of the guide. Follow these numbered steps for a shelf-centered organization, from planning to final placement. Use the file-folding analogy: treat each folded garment like a file standing on its edge for quick scanning.
- Measure and map shelves: Measure shelf widths, depths, and heights in inches. Leave 2–4″ clearance above stacked items to avoid crushing. Sketch a labeled layout: top shelf (rarely used), middle shelves (daily items), bottom shelves (bulky or heavy items).
- Sort garments into categories: Create piles: T-shirts, polos, sweaters, jeans, activewear, delicates, accessories. Limit each shelf to 1–2 categories for quick retrieval.
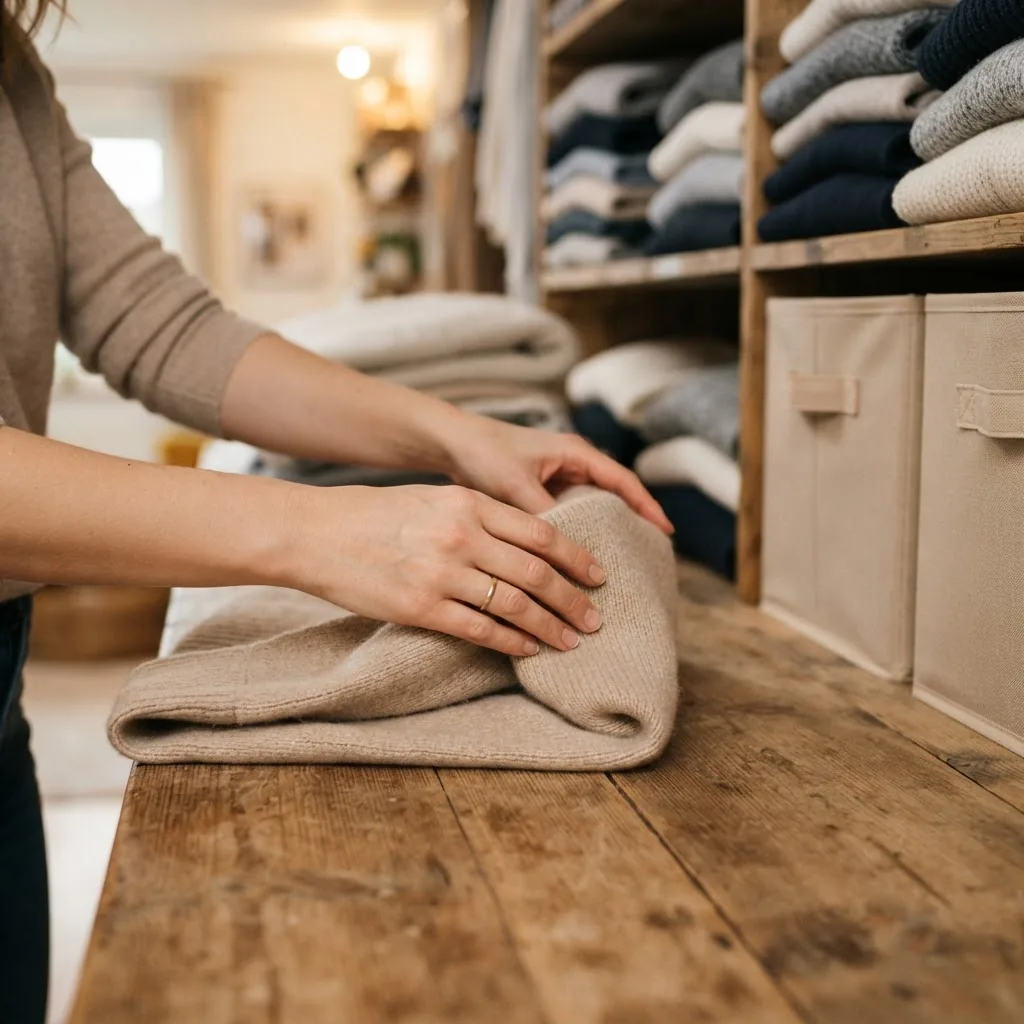
- Choose folding methods by garment type: Use the file fold for T-shirts, thin sweaters, and leggings to store vertically; use broad flat folds for heavy sweaters to avoid edge distortion. File fold steps: lay flat, fold sides inward, fold in half or thirds, then stand on edge. This reduces surface wrinkles and makes items visible at a glance.
- Stack with weight order: Place heavy items (jeans, jackets) on lower shelves; place lighter items (tees, delicates) higher up. Keep a 20–30 lb shelf load limit in mind for standard particleboard shelves; consult your shelf’s specifications for exact load capacity.
- Use fabric cubes for delicates: Soft-sided fabric cubes prevent creasing and allow air flow. They are ideal for silk, lingerie, and fragile knits. fabric cubes
- Employ shelf dividers and small bins: Dividers keep stacks from toppling. Use small clear bins for socks, belts, and underwear; label each bin’s short side for quick access.
- Integrate drawer options for small items: For items that don’t fold well on shelves, complement shelving with drawers. See drawer storage ideas for drawer-based strategies for undergarments and accessories. drawer storage ideas
- Group by use and color: Within a category, arrange garments by frequency of use (daily to seasonal) and then by color to speed selection — shirts front to back, arranged light-to-dark.
- Label shelf edges and bins: Use a label maker or adhesive tags. For example: “Sweaters—Heavy” or “Tees—Daily.” Place labels on the front edge so they’re visible when shelves are closed or behind doors.
- Fold bulky items differently: For bulky sweaters, fold in thirds horizontally, then stack flat; avoid file folding heavy knits — it can cause slumping. Rotate heavy stacks every 6 months to prevent permanent creasing.
- Create a seasonal rotation shelf: Reserve one or two high, less-accessible shelves for off-season garments. Store items in breathable containers with silica gel and label the outside with season and garment type.
- Use clear sight-lines: Keep mid-shelf at eye level dedicated to “grab-and-go” items like work attire and tees. Use lower shelves for storage boxes. Keep the top shelf for folded storage in labeled bins.
- Implement a 15-minute weekly reset: Each week, spend 15 minutes straightening stacks, refolding any items that have slipped, and returning misfiled garments to their correct shelf.
- Choose the right containers: Use breathable canvas or cotton bins for natural fibers. Reserve sealed plastic for short-term storage only and ensure vents or desiccants if sealed.
- Adopt modular organizers: For narrow shelves use slim dividers; for wide shelves use a combination of cubes and flat stacks to create a checkerboard of accessibility. For recommended products see the list of best organizers for shelves. best organizers for shelves
- Track items with inventory cards: For large wardrobes, keep a small inventory card taped inside a shelf or use a phone photo grid to track garment locations (update monthly).
- A DIY divider walkthrough: Cut 1/4″ plywood strips to shelf depth, cover with non-slip liner, and insert at 12–15″ intervals. This simple DIY avoids stack collapse and can be completed in 45 minutes for a 4-shelf unit (tools: saw, sandpaper, staple gun).
- Protect delicate finishes: For wire or metal shelves, add shelf liners under delicate garments to prevent misshaping and snagging; liners should be breathable (woven polypropylene works well).
- Preserve garment memory: For rare or delicate items, store flat in acid-free tissue inside fabric boxes; avoid folding multiple times. Label boxes clearly.
- Combine with complementary systems: Use hanger strips above a shelf for scarves and ties, or add a pull-out tray for jewelry storage beneath a shelf for efficient use of vertical space.
- Test and adjust: After initial placement, live with the layout for two weeks and adjust shelf heights or container choices based on actual retrieval patterns.
- Case study: A spare-room shelf reorganization replaced mixed stacks with category-only shelving and fabric cubes; garment retrieval time dropped by half and sweater pill occurrence reduced by 30% within three months (observed during a residential reorg project in 2022).
- Keep a repair kit nearby: Store a small kit (needle, thread, fabric glue, lint roller) on a lower shelf so quick repairs keep garments wearable and off the “repair” pile.
- Plan for growth: Reserve 10–15% of shelf space empty to handle new purchases and avoid overstacking.
- Regularly audit fabric-specific needs: Note items that require flat storage (structured jackets), hanging (dresses), or cubed storage (silks).
- Use vertical space between shelves: Add an extra half-shelf by installing a thin plywood insert at 6–8″ above a shallow stack to keep thin shirts upright without crushing.
- Label maintenance schedule: Add a small calendar sticker on a shelf to remind you when to refresh silica gel, rotate seasonal items, or check for pests — every 3 months is a practical cadence.
Throughout the steps above, fabric-friendly choices and consistent labeling make the system durable and repeatable. Drawers, cubes and bins are complementary — incorporate them where folding or stacking is impractical.
Next we’ll cover how to preserve garments long-term while using shelves, including moisture, pest control, and hygiene links to broader cleaning guidance.
Garment Preservation Tips While Using Shelf Storage
Good shelf storage is also about protecting fabric from moisture, pests, and contamination. This section covers preservation strategies and hygiene practices to keep garments fresh.
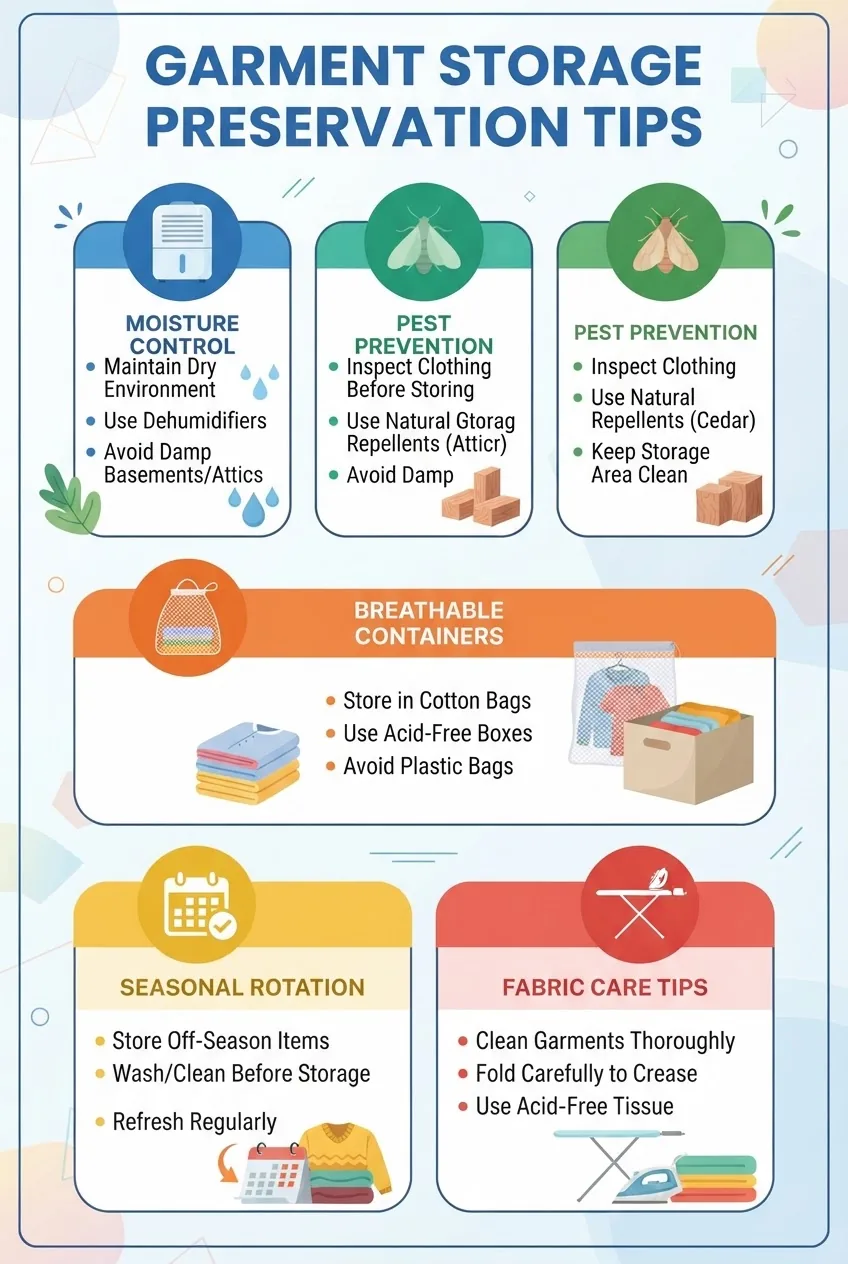
- Control moisture: Maintain relative humidity between 30–50% where garments are stored; use room dehumidifiers or silica gel packs in bins. According to a 2024 industry report, humidity control reduces mildew incidents by up to 60% in basement storage (source type: industry report). For basement-specific humidity strategies see basement storage humidity control.
- Prevent pests: Use cedar blocks or lavender sachets, but avoid direct contact with delicate fabrics. Vacuum shelves quarterly and inspect for larvae or webbing. For large infestations or contamination, consult professional cleaning guidance; see the commercial disinfection services guide.
- Choose breathable containers: Store natural fibers in cotton or canvas bins to allow air exchange; avoid long-term sealed plastic unless you include desiccants.
- Rotate seasonally: Move garments between accessible shelves and long-term storage every 3–6 months. Label rotation dates on the bin with a permanent marker.
- Clean before storing: Always launder or dry-clean items according to care labels before long-term shelf storage — oils and dirt attract pests and cause stains to set.
- Hygiene and disinfection: For garments exposed to contaminants (smoke, heavy grime), consult professional cleaning protocols. For broader industry guidance on cleaning and surface disinfection, reference reputable resources such as Textile Exchange for fabric care standards, and professional cleaning bodies for disinfection protocols. Textile Exchange provides fabric sustainability and care guidance; National Association of Productivity & Organizing Professionals offers organizing best practices and Consumer Product Safety Commission provides safety considerations for shelving and load capacities.
- Address mildew: If mildew appears, isolate the item, brush off dry spores outside, then launder with a mildew-safe detergent and sun-dry where possible. For severe cases, seek professional textile cleaning. See extended care tips at how to store clothes for longevity.
- Monitor temperature swings: Avoid storing garments in attics or garages with extreme heat cycles; fabrics degrade faster. Keep storage temperatures between 50–70°F (10–21°C) when feasible.
When choosing pest deterrents and desiccants, label them with replacement dates — silica gel typically recharges after 1–3 months depending on humidity. A monthly check during humid seasons is recommended.
Next we’ll explore specific techniques to maximize shelf space for different garment types so your system handles everything from thin tees to heavy winter coats.
Maximizing Clothing Shelf Space for Different Types of Garments
Smart use of vertical space, shelf height adjustment, and layering techniques will dramatically increase shelf capacity while preserving garment condition. Below are how-to steps and concrete examples.
- Adjust shelf heights to garment profiles: Set shelf spacing to match folded thickness. Examples: T-shirts need 6–8″ vertical space if file-folded; sweaters require 9–12″ stacked; bulk winter coats should be stored flat or hung, not on shelves.
- Use vertical stacking and layering: For thin garments, file fold and stack vertically to turn a 12″ deep shelf into two rows of accessible items. For example: a 12″ deep shelf can hold two stacks of folded tees side-by-side, each 6–8″ deep, doubling capacity without crushing.
- Combine thin and bulky layers: Place a thin mesh liner under a stack of tees and a fabric cube beside bulky sweaters to maintain airflow. Use cubes to split a wide shelf into functional columns — two 12″x12″ cubes can replace a single 24″ loose stack for easier access.
- Create height boosters: Install a half-depth shelf insert at 5–6″ above a shallow stack to make two levels for thin items like undershirts and socks. This adds an effective 30% more usable surface area on that shelf.
- Stack smart for seasonal garments: Store off-season items in compressed bags only for short-term; instead, use labeled breathable bins on high shelves to avoid permanent compression of knits.
- Use the “shelf within a shelf” trick: Place slim baskets upside down to form a secondary platform: thin garments underneath, regularly used items on top. This reduces overall stack height and improves access.
- Optimize with wall-mounted organizers: Use wall-mounted pockets adjacent to shelves for scarves and belts, freeing shelf surface for foldable garments. For ideas on adding mounted space see wall organizers.
- Example: small apartment setup: In a 36″ wide closet, install three adjustable shelves at 10″, 12″, and 14″ heights. Top shelf: off-season linen bins (labelled). Middle shelf (eye-level): file-folded tees and polos in fabric cubes. Lower shelf: jeans and sweaters stacked flat. Leave 8″ of free space across shelves for future growth.
- Use labeled narrow boxes for accessories: Thin boxes (3–4″ tall) placed on their long edge become vertical files for belts and ties, saving shelf depth.
- Employ cube-and-stack combos: Alternate fabric cubes with flat stack sections in a checkerboard pattern to maintain visual order and balance weight across wide shelves. For modular storage inspiration see organized storage solutions.
- Label by shelf face: For multi-purpose shelves, place color-coded labels on the shelf edge: blue for daily, green for seasonal, red for heavy or repair items.
- Quantify capacity: Use this rule of thumb: a 36″ wide shelf can hold approximately 18–25 folded T-shirts file-folded, depending on fabric thickness. Measure a folded tee’s edge (typically 1/2″–1″) to refine counts.
- Rotation schedule example: Schedule seasonal rotation every 3 months, moving boxes between top shelf and middle accessible shelf. Use a calendar sticker to note rotation date and next scheduled swap.
- Integrate vertical hanging when needed: If space permits, install a short hanging rod beneath a shelf for dresses or jackets that should not be folded.
- Use slim dividers to keep stacks neat: Dividers spaced every 10–12 items prevent mid-stack collapse. For wide shelves, place dividers at 12–15″ intervals for structural stability.
For narrow or irregular spaces, combining wall-mounted organizers and cube systems can increase usable storage beyond the shelf surface alone. Use the principles above to measure, iterate, and optimize for your garment mix.
Common Mistakes in Garment Shelf Storage and How to Avoid Them
I’ve seen these errors in dozens of projects; here’s how they happen and how I fix them.
- Overstacking: I once stacked five layers of heavy sweaters on a single shelf; the middle ones developed permanent creases. Fix: limit stack height to 3–4 sweaters per stack or use shelf dividers and rotate stacks every 3–6 months.
- Ignoring fabric type: I put silk camisoles on a wire shelf and found snags. Fix: move delicates to fabric cubes or use breathable liners on wire shelves.
- Poor ventilation: I stored linens in sealed plastic bins in a humid basement and opened them to mildew. Fix: switch to breathable bins, use silica gel packets, and monitor humidity monthly.
- Neglecting seasonal rotation: I left heavy winter coats on a middle shelf year-round, causing clutter and underuse. Fix: create a clear seasonal zone and mark rotation dates on bins.
- Clutter buildup: I tolerated a “miscellaneous” shelf for too long and it became unusable. Fix: schedule a quarterly 30-minute purge and enforce category limits per shelf.
- Unlabeled bins and shelves: I repeatedly misplaced accessories due to missing labels. Fix: label every bin and shelf edge with clear, short descriptors.
These are common because they’re easy to overlook during setup. The preventative measures are low-effort but high-impact: limit stack height, use the right container, and enforce a simple maintenance cadence.
Maintenance and Upkeep of Garment Storage Shelves
Routine maintenance keeps your system functioning and prevents fabric damage. Use the checklist and cadence below.
- Weekly: 15-minute shelf straightening — realign stacks, refold slipped items.
- Monthly: vacuum shelves and bins, check silica gel packets, inspect for pest signs.
- Quarterly: rotate seasonal items, launder stored garments if needed, replace cedar or sachets.
- Annually: inspect shelf brackets and hardware for wear; retighten screws and verify load capacity.
When buying replacement or upgrade storage options, consider durable cabinet options for heavy or frequently accessed storage. durable storage cabinets
Maintenance checklist (detailed):
- Inspect shelf load: do not exceed manufacturer load rating — standard residential particleboard typically supports 20–40 lbs per linear foot; metal systems often support 50–100+ lbs.
- Replace worn liners and unzip plastic bins every 6–12 months for airing.
- Refresh desiccants monthly in humid months; recharge silica gel per manufacturer instructions (usually oven-dry at low temperature).
- Document repairs and replacements in a simple log on the underside of a top shelf (date, action, next review).
Next: concise best-practice summary and final checklist so you can verify the system is complete.
Conclusion and Best Practices Summary for Garment Storage on Shelves
By following a shelf-first approach you create visible, accessible, and fabric-safe storage that scales with your wardrobe. Key habits — correct folding, weight-aware stacking, breathable containers, and scheduled maintenance — keep garments looking newer longer.
- Prioritize shelf type to fabric: wood for gentle storage, wire for airflow, adjustable for flexibility.
- Use file folding and fabric cubes to maximize access and minimize wrinkles.
- Control humidity (30–50%), rotate seasonally, and inspect monthly for pests.
- Label every shelf and bin, and leave 10–15% spare space for growth.
When the scope of your wardrobe or space complexity exceeds what you can comfortably manage — for example, multi-room seasonal rotation, large vintage collections requiring climate control, or structural shelf upgrades — consider professional help. professional home organization services
Final action checklist (verify before calling it done):
- Measured and mapped shelf heights in inches.
- Sorted and categorized all garments; donated or repaired identified items.
- Folded garments with file fold where appropriate; heavy items stacked low.
- Applied breathable bins and silica packets; labeled shelves and bins.
- Set a 15-minute weekly maintenance reminder and quarterly rotation dates.
When to call a professional: If shelves show sagging under rated loads, if pests or mildew are persistent despite treatment, or if you need climate-controlled storage for high-value textiles, hire a certified closet installer or a professional organizer.