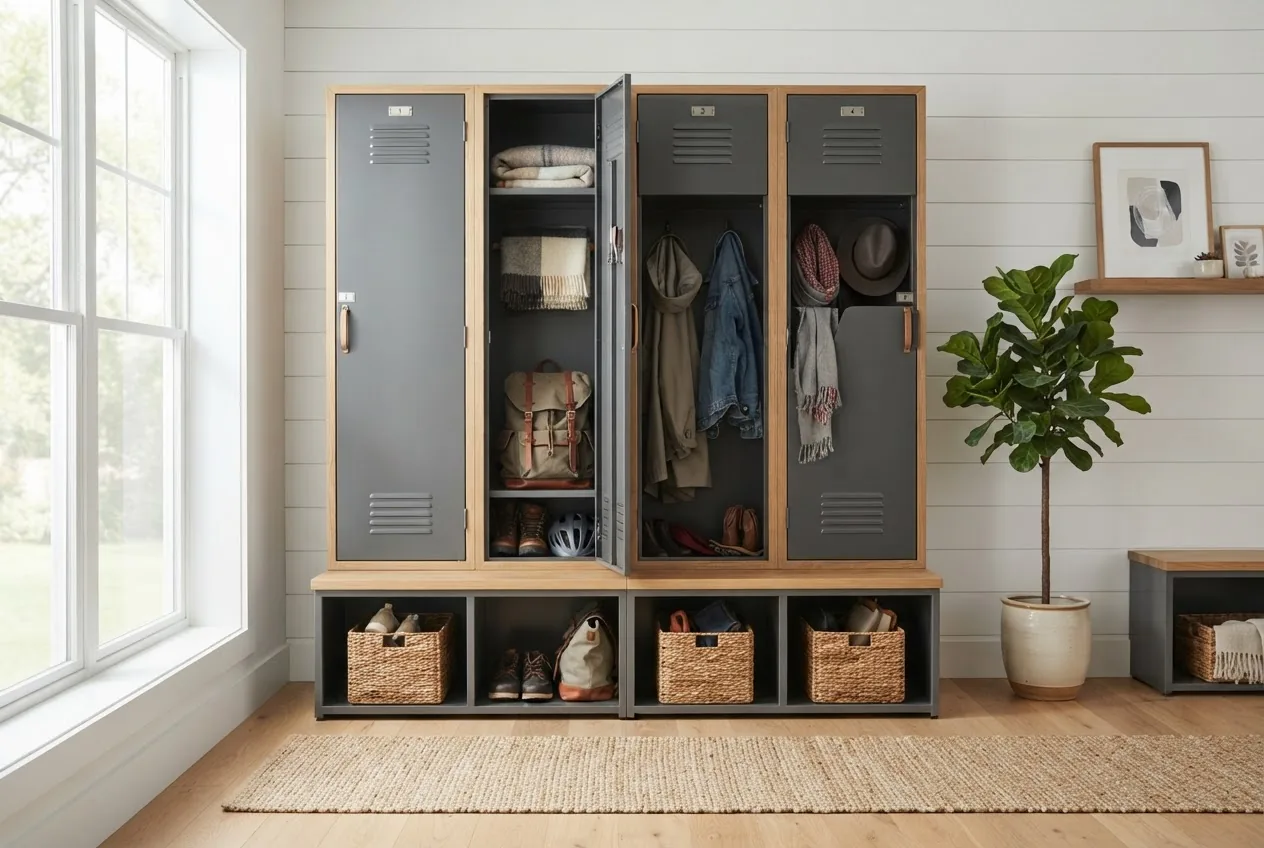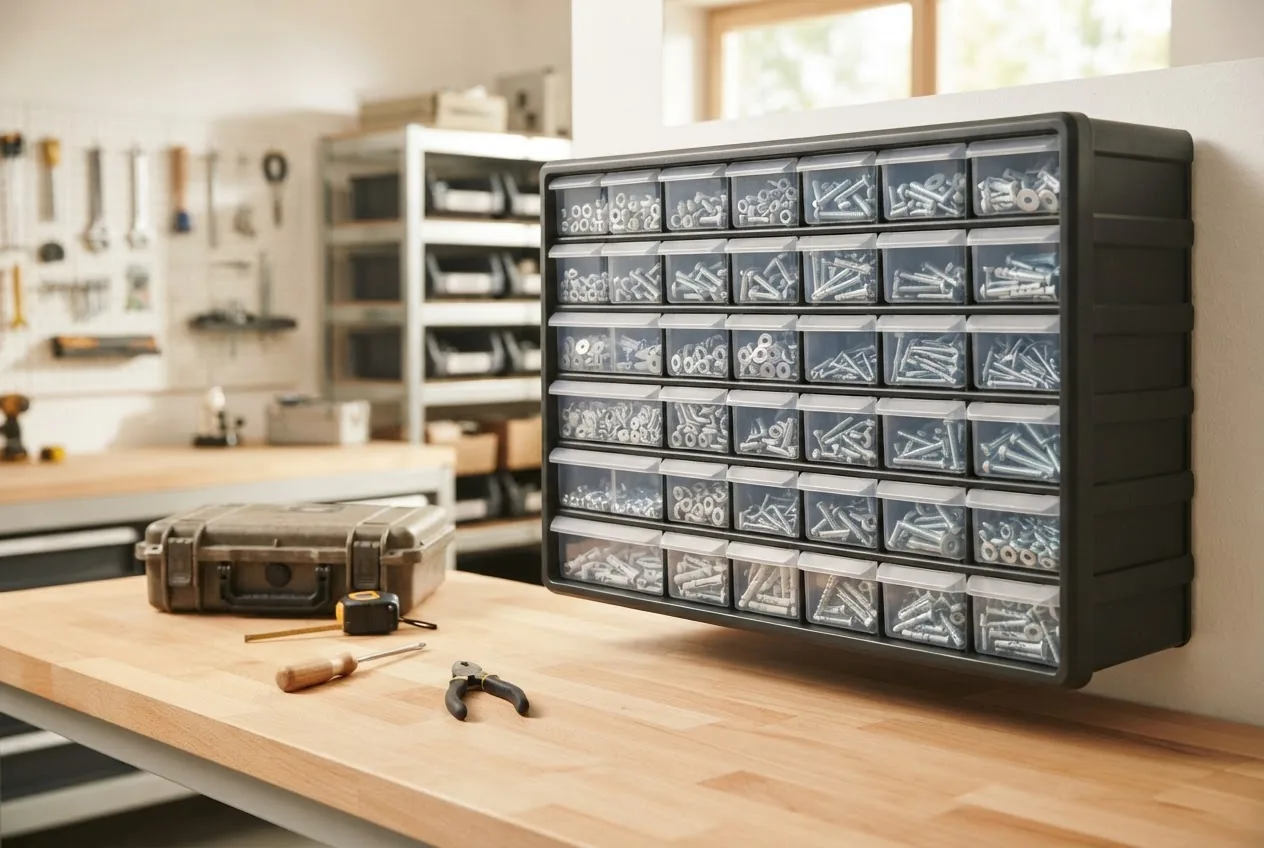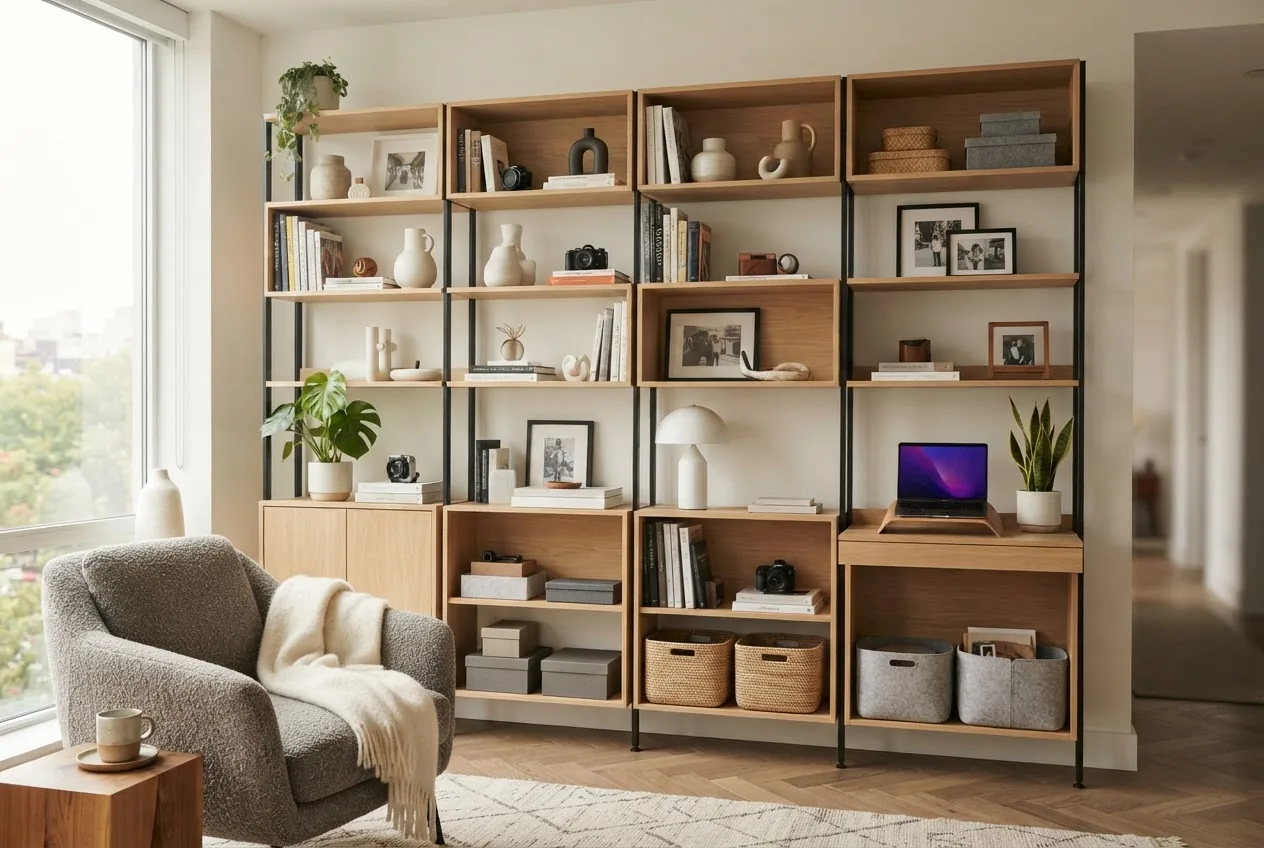
modular shelving system: By the end of this hands-on guide you’ll have planned, configured, and installed a tailored modular shelving layout for one room, estimated loads and chosen materials. Realistic time: planning 1–2 hours, assembly 2–6 hours (per room). Skill level: basic DIY to intermediate (no electrician work required).
Before you start
- Prerequisites: wall type known (drywall on studs, concrete, or masonry), load estimate per shelf in pounds, permission for drilling if renting.
- Required tools: stud finder, magnetic screw-finder, 6′ level, drill (corded or 18V cordless), set of drill bits (1/8″–1/2″), #2 Phillips and flat screwdriver, wrench set, socket set, adjustable wrench, tape measure (25 ft), pencil, ladder.
- Materials & fasteners: modular shelving kit or uprights, shelves, shelf brackets; fasteners sized for wall type (wood screws #10 x 2.5″ for studs, 3/8″ toggle bolts for hollow walls, 3/8″ masonry anchors for block/concrete), threadlocker (optional), shims.
- Safety equipment: safety glasses, work gloves, dust mask, kneepads.
Transitioning from prep to understanding: first we define what a modular shelving system is and what parts make up a dependable setup.
What Is a Modular Shelving System?
A modular shelving system is a configurable storage framework composed of interchangeable components—uprights or standards, brackets, shelves, supports and accessories—designed to be reconfigured as needs change. Think of it like building with LEGO: standard connection points let you add, remove or shift elements without rebuilding the whole system.
Key traits that define modular shelving units:
- Interchangeability: shelves and accessories attach to standardized rails or bolt patterns.
- Scalability: expand horizontally or vertically by linking modules or adding additional uprights.
- Adaptability: adjustable shelf spacing allows mixed loads (books, boxes, tools) without permanent alteration.
- Serviceability: individual parts can be replaced without removing the entire installation.
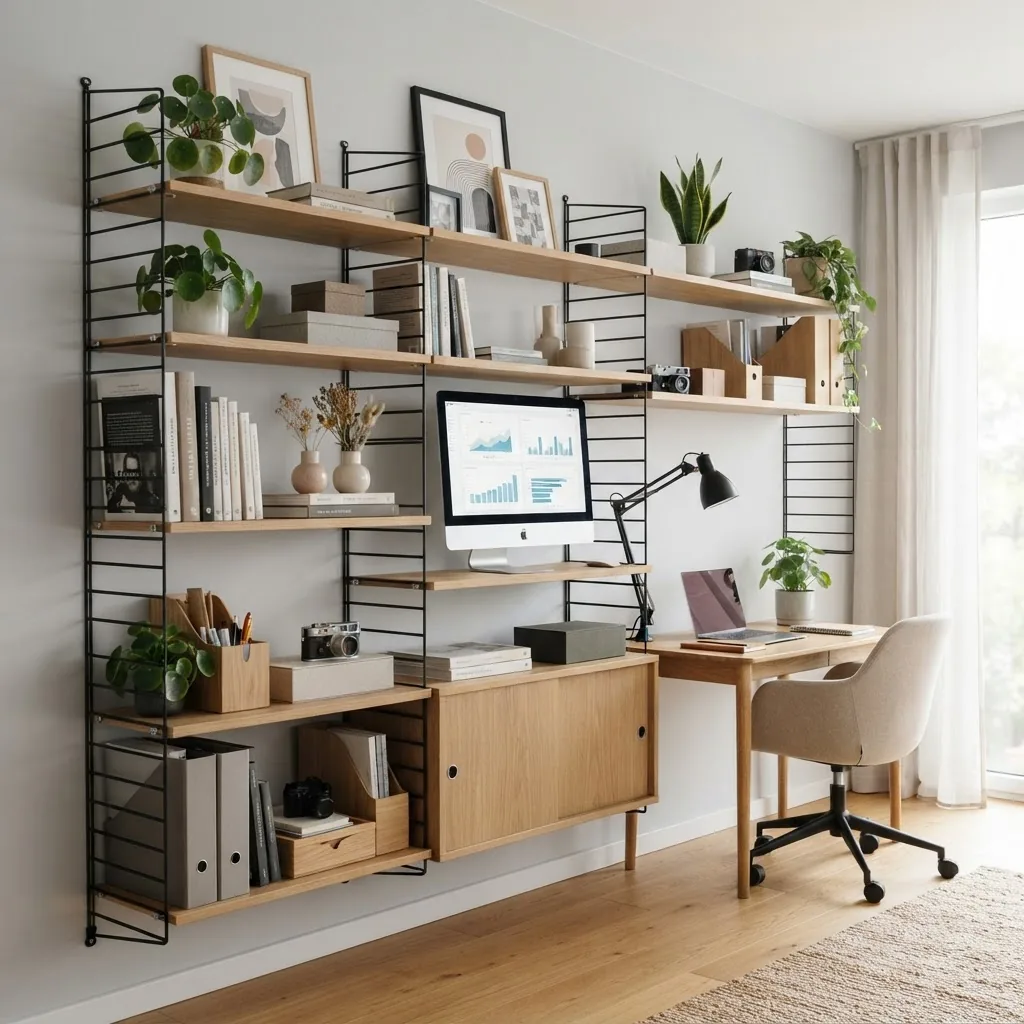
Common components explained:
- Shelves: solid wood, metal, wire or plastic panels that carry the load.
- Brackets: metal supports that hold shelves; many types include adjustable clip-in, peg, or cantilever brackets.
- Uprights/standards: vertical rails (often slotted) that accept brackets and define spacing.
- Supports and anchors: wall or floor anchors that transfer load to structure; key for safety.
Benefits at a glance: modular shelving is flexible for remodeling, rentable spaces, seasonal gear, and evolving storage requirements. Because parts are standardized, you can often source replacements from different vendors if the original maker discontinues a line.
Next, we compare the common material choices and their trade-offs so you can match the system to the use case.
Types of Modular Shelving Systems and Materials
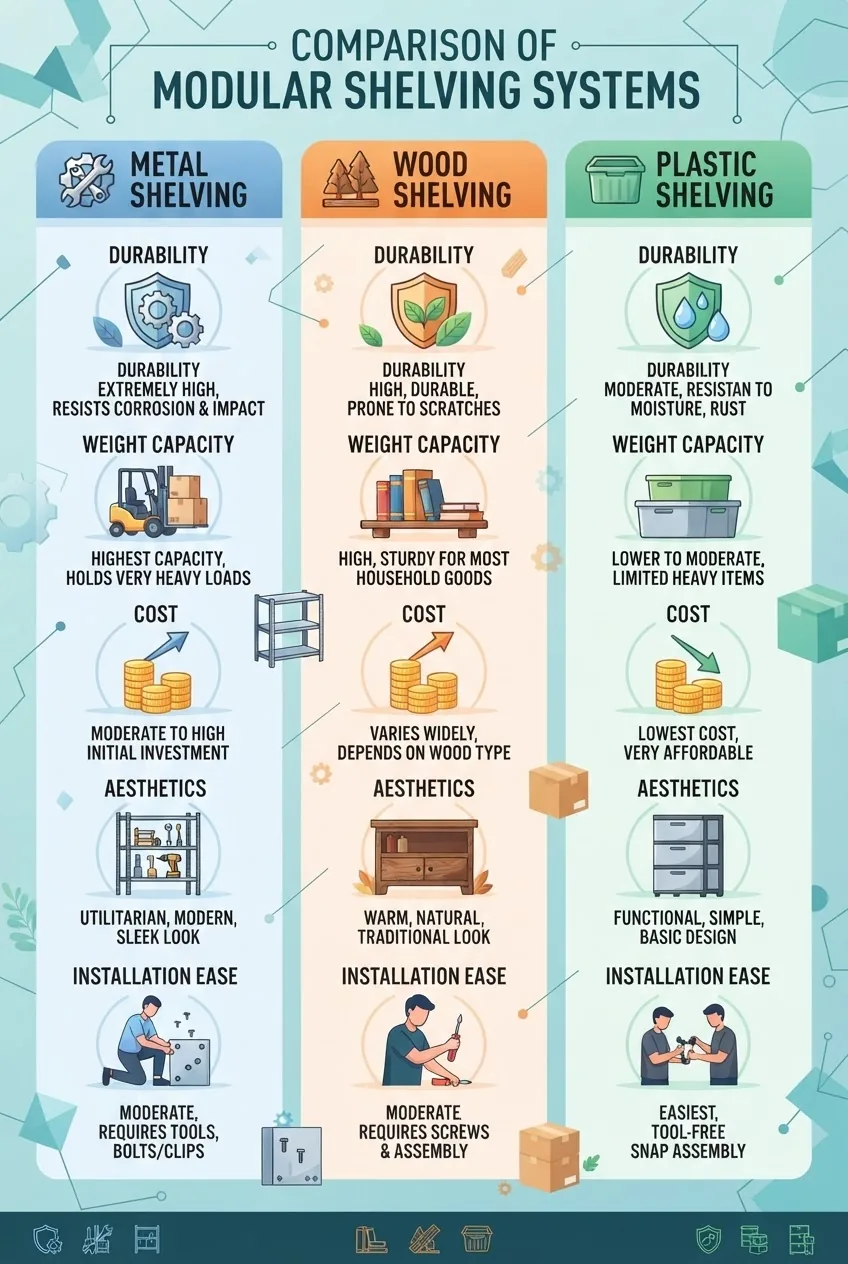
| Type / Material | Durability & Load | Cost & Installation | Best use cases |
|---|---|---|---|
| Metal (steel) | High durability; heavy-load options (300–1,200 lb per shelf for industrial racks depending on model). | Moderate to high cost; needs solid anchors; simple bolt or clip assembly for most kits. | Garages, basements, commercial areas, heavy tools and bulk storage. |
| Wood (solid or plywood) | Aesthetic warmth; weight capacity varies (100–600 lb depending on thickness/support). | Mid-range cost; often needs more precise attachment and finishing; easier for DIY cutting/customization. | Living spaces, home offices, display shelving, kitchens (with sealed finishes). |
| Plastic & Polymer | Low to medium durability; resistant to moisture and chemicals; lower load (50–250 lb). | Low cost; very easy tool-free assembly for many consumer modular kits. | Utility rooms, laundry, lightweight storage, weather-exposed spots. |
| Wire Shelving (chrome or epoxy-coated) | Good durability; allows air circulation; common load range 150–800 lb per shelf. | Moderate cost; clip-in assembly; easy to clean and ideal for damp locations. | Pantries, basements, commercial kitchens, wet or humid areas. |
Short summaries and material nuances:
- Metal systems (steel) are the go-to for heavy-duty applications. They offer the highest predictable loads and longest lifespan; expect to specify gauge, finish (powder-coat resists rust) and fastener grade.
- Wood shelving provides design flexibility—select hardwood faceplates or plywood with edge banding for long-term dimensional stability. For sustainable sourcing look for certified suppliers; Forest Stewardship Council (FSC) notes about responsible wood sourcing are helpful when choosing reclaimed or new lumber.
- Plastic is lightweight and corrosion resistant but deforms under sustained heavy loads—use for frequent humidity or light gear.
- Wire shelving balances airflow and strength; choose epoxy or chrome depending on moisture exposure.
Transition: knowing materials helps you evaluate benefits—next we list the practical advantages that make modular shelving ideal for custom storage solutions.
Benefits of Modular Shelving for Custom Storage Solutions
- Space optimization — Adjust shelf heights in 1″ increments (typical slotted uprights) to eliminate wasted vertical space; example: change shelf spacing from 12″ to 9″ to fit two rows of shoe boxes instead of one.
- Flexible design — Reconfigure modules to change rooms or accommodate new items; reuse uprights and brackets if you move house.
- Improved load distribution — Multiple support points let you spread heavy loads (e.g., 300–800 lb); design redundant supports for concentrated loads like car parts.
- Faster installation — Clip-in systems and pre-drilled uprights cut install time; expect 2–4 hours for a 6-ft wide kit with two people.
- Customization at component level — Add bins, drawers or dividers to optimize access for small parts or art supplies.
- Streamlined storage benefits — streamlined storage benefits such as reduced search time and clearer inventory control for multi-person households or small businesses.
- Supports cleaning and maintenance goals — Clear shelving configurations simplify surface cleaning and decrease dust traps, helping with commercial cleaning efficiency and storage optimization when applied in backrooms or low-traffic commercial storage.
Transition: with benefits established, I’ll walk you step-by-step through planning a layout that matches room constraints and load requirements.
How to Plan and Design Your Modular Shelving Layout
Start by measuring and listing needs. Good planning prevents common mistakes like insufficient anchor strength or wasted vertical capacity.
Planning checklist
- Measure height, width, and depth of intended wall area to nearest 1/8″ using a tape measure.
- Identify wall construction: drywall on studs (typical 16″ or 24″ spacing), concrete/masonry, or plaster—note exact stud spacing and locations.
- Make an inventory of items to store: count boxes, measure tallest item, list heavy items and their approximate weights.
- Estimate distributed and point loads: e.g., 20 boxes at 25 lb each = 500 lb distributed; a tool chest may be 200–400 lb concentrated load.
- Decide permanence: temporary (renters) → freestanding modules; permanent → wall-mounted anchored to studs or masonry.
- Budget ceiling: set material and labor caps (see cost section later).
Key measurement rules (practical thresholds):
- Max shelf depth: for general storage 12–16″ is efficient; for bulk storage or bins use 18–24″. Deeper shelves require stronger brackets and more support points.
- Clearance above heavy items: leave 2–3″ clearance so you can lift boxes without scraping the ceiling or adjacent shelf.
- Upright spacing: space uprights to bracket spans rated for load; common center-to-center spans: 36″, 48″, 60″. For heavy concentrated loads keep spans ≤36″.
- Weight per shelf: plan for at least 25% higher capacity than your estimate to include dynamic loads (moving boxes). If a shelf will see >400 lb, use metal shelving with reinforced cross-brace and at least two wall anchors per upright.
Design workflow — stepwise (use this before you pick materials):
- Document requirements: Photograph current storage, list items by dimension and weight, and assign frequency-of-use ratings (daily, weekly, seasonal).
- Choose type by use: select metal for heavy loads, wood for visible spaces, wire for humid areas, plastic for budget and moisture resistance.
- Map zones: reserve the most accessible 3–4 feet of vertical depth for daily-use items; store seasonal or heavy bins higher or lower.
- Plan modular accessory needs: note where you want drawers, hooks, or bins to minimize later retrofitting—modular solutions often accept add-ons at specified slot pitches (commonly 1″ or 2″).
- Verify clearance and ergonomics: target shelf height so the top shelf is reachable—no higher than 72″ without a step stool for regular access.
- Mock layout: use painter’s tape to mark uprights and shelf lines on the wall; test reach and clearance physically before ordering parts.
When a wall-mounted solution isn’t suitable consider freestanding storage solutions that still accept modular components and are ideal for renters or uneven walls.
Transition: after planning, the next section gives the step-by-step installation process, including precise fastener types and safety checks.
Installation Process: Tools, Tips, and Techniques
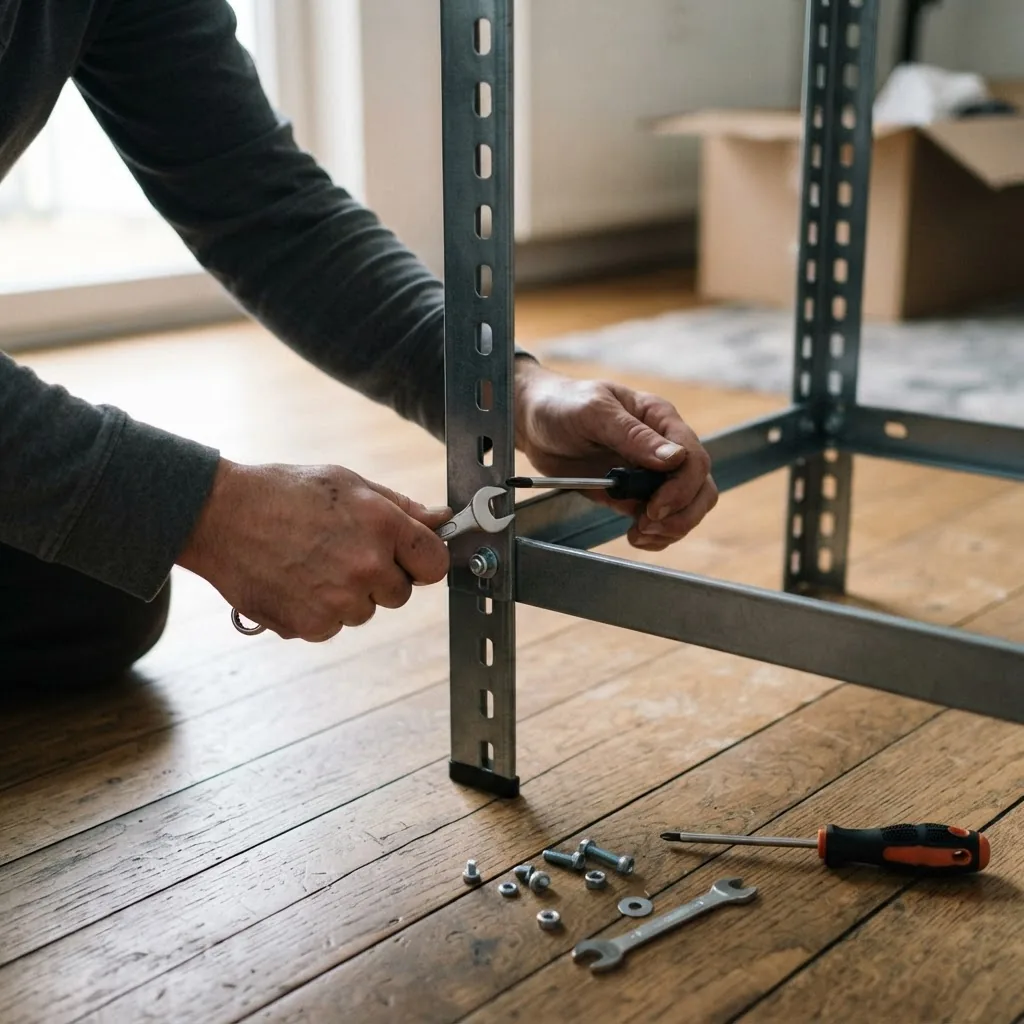
This installation guide assumes you have completed the planning checklist above. Follow each numbered step in order. Where I state sizes or settings, use those exact values unless your kit specifies otherwise.
- Confirm materials and parts: Unbox and inventory components. Count uprights, shelf panels, brackets, bolts, washers and anchors. Verify shelf lengths (commonly 24″, 36″, 48″) and bracket types. If parts are missing, contact vendor before starting—do not substitute different slot spacings without measuring.
- Locate structure and mark anchors: Use a stud finder (calibrated per manufacturer) to locate studs at 16″ or 24″ centers. Mark both top and bottom of your planned upright positions. For masonry or concrete, mark anchor drill locations. For hollow walls plan toggle bolts rated for specific shear loads—#3/8″ toggles often support 100–200 lb each; use two per upright minimum for medium loads.
- Pre-drill pilot holes and test anchors: For wood studs pre-drill 3/16″ pilot holes for #10 screws to avoid splitting. For masonry, use a hammer drill with a 3/8″ carbide masonry bit for 3/8″ anchors. Install one test anchor and load-test with 30–50 lb before proceeding to full install to confirm holding strength.
- Assemble upright framework off the wall: Build the frame or lay out uprights and attach wall clips or support rails per manufacturer torque specs. Use a torque-limited driver or hand tool—over-torquing can strip threads or deform slots.
- Mount uprights to wall: With two people, hold uprights level and fasten to the prepared anchors using #10 x 2.5″ screws into studs, or 3/8″ concrete anchors for masonry. Tighten until snug; do not over-tighten. Leave top screws slightly loose (1–2 turns) until all uprights are set and you confirm perfect vertical plumb with a 6′ level.
- Level and shim: Use a 6′ level vertically on each upright. If walls are out of plumb more than 1/4″ over 48″, use shims between upright and wall at top and bottom; then reinstall screws with caution. Re-check level after shimming. For freestanding units, adjust leveling feet to get the unit within 1/8″ vertical tolerance.
- Attach brackets and shelves: Clip or bolt brackets into uprights at planned heights. For heavy loads, use two brackets per side and add center supports for spans >36″. Place shelves onto brackets; for metal shelves secured by screws, use #8 x 3/4″ self-tapping screws at corners and midpoints as recommended.
- Secure cross-braces and add wall-to-rack ties: For tall or heavy systems add cross-bracing or anti-tip straps to adjacent studs. Anchor straps into top third of the rack and into studs with 3″ wood screws. According to a CPSC safety advisory, tall furniture should be anchored to prevent tip-over hazards—use anchors rated for the rack weight and anticipated load. CPSC guidance provides safety benchmarks for anchoring tall furniture.
- Test with graduated loads: Load shelves starting at 25% capacity and increase in 25% increments, checking for deflection, wobble or anchor pull-out. Accept maximum deflection ≤1/4″ under full load for most shelving; if deflection exceeds 1/2″ consider added supports or reducing span.
- Secure accessories and finalize labeling: Install drawer units, bins, hooks and labels. Use cable ties or shelf lips to keep smaller items from sliding. For drawer integration, follow the drawer manufacturer’s mounting instructions; pilot drill where required to avoid splitting shelf material.
- Final safety check: Confirm all fasteners are tightened to manufacturer torque specs, no sharp edges, and anti-tip anchors are installed. Leave a test sticker noting installation date and maximum rated load per shelf.
Tools and hardware specifics I use most:
- Drill bits: 1/8″, 3/16″, 1/4″, 3/8″ carbide masonry bit.
- Screws: #10 x 2.5″ wood screws for stud-mounted uprights; #8 x 3/4″ self-tapping for metal-to-metal shelf attachment.
- Anchors: 3/8″ sleeve or wedge anchors for concrete; 3/8″ toggle bolts or heavy-duty hollow-wall anchors for drywall when studs are not available.
- Torque: hand-tight plus 1/8 turn with wrench; avoid impact driver for final torque on anchors to prevent over-compression.
External installation best-practices: for stud detection and layout techniques see Family Handyman installation guides (good practical reference). For regulatory safety and anchoring guidelines consult CPSC.
Transition: after the technical steps I cover common mistakes I’ve seen and how to avoid repeating them, then a quick verification checklist and when to call a pro.
Common mistakes and how to avoid them (practitioner notes)
I once mounted a heavy-duty workshop shelf using only toggles because the stud layout didn’t align with shelf uprights. Under load the toggles pulled and the shelf sagged—lesson: relocate uprights to studs or add a ledger board screwed into studs to carry heavy loads. Another time I used 18″ shelf depth for heavy bins and discovered cantilever deflection; I reduced span and added a center upright. Always test with incremental loads.
Quick verification checklist
- Uprights plumb within 1/8″ over 6′
- Anchors rated for expected loads and installed per instructions
- No deflection >1/4″ at mid-span under design load
- Anti-tip anchors installed for tall units
- Accessories securely mounted and labeled
- Installation date and owner noted on a sticker
When to call a professional
Hire a professional if your installation involves load-bearing wall modification, masonry anchoring with no prior experience, loads above 1,000 lb per bay, or if you lack tools or confidence to ensure safe anchoring. Licensed contractors will provide load calculations and warranties when requested.
Transition: once installed, accessories take the system from functional to optimized. The next section covers add-ons and accessory strategies.
Accessory Add-Ons and Enhancements for Modular Shelving
Accessories let you tune the system to tasks: small-bin organizers for parts, drawer units for concealed storage, hooks for hanging tools, and labeling systems for quick retrieval.
Popular add-ons and practical usage:
- Bins and baskets: plastic or wire bins sized to shelf depth (e.g., 12″ deep bins for 12–14″ shelves) keep small items contained and stackable.
- Drawer modules: integrate slide-mounted or box drawers to store frequently used small parts. For deeper organization consider incorporating drawer units into lower bays for heavy items you want hidden yet accessible.
- Fabric cubes & soft storage: use for textiles or toys—fit cubes into cubby-style shelving to soften the look and contain dust; see tips on fabric cubes and storage bins.
- Shelf liners: non-slip liners on smooth metal or wire shelves protect fragile items and prevent small parts from falling through.
- Hooks and peg accessories: mount tool hooks or peg panels to uprights to convert vertical space into hanging zones—specify hook load ratings (typically 25–75 lb each).
- Labeling systems: use printable labels or color-coded tags; label edges of shelves at 1″ high so labels remain visible when boxes are stacked.
- Drawer soft-close and ball-bearing slides: for heavy drawers specify 100–200 lb-rated slides and pre-drill pilot holes per installation guide.
Transition: now that you know accessories you can see how modular shelving adapts across rooms. The following section contains room-by-room use cases with mini case studies.
Modular Shelving in Different Home Areas: Use Cases
This section gives concise, actionable layouts and small case studies for each area: garage, kitchen, basement, utility room, pantry, home office and hobby spaces. Each mini case shows recommended materials, spacing, and examples.
Garage
Recommended system: heavy-duty metal shelving with 18–24″ deep shelves, uprights anchored to studs or floor where possible. Use 48″ wide bays with center supports for tool boxes and paint cans.
Case study: A two-car garage converted to mixed storage—install three 48″x18″ bays with 5 shelves each at 18″, 14″, 12″, 12″ and 18″ top clearance. Bottom shelf 6″ off floor to prevent moisture contact. Heavy loads (lawn mower parts) placed on lower shelves with plywood shelf reinforcement and cross-bracing. Pair with wall-mounted slatwall for hanging hand tools.
See professional-grade cabinet integration in garage storage units when adding enclosed cabinetry to modular racks.
Kitchen and Pantry
Recommended system: wire shelving or sealed wood with 12–16″ depths. Space shelves at 10–12″ for canned goods, 14–16″ for small appliances. Use adjustable wire shelving for airflow in humid kitchens.
Case study: Pantry conversion using 12″ deep wire shelves on 1″ increments: designate bottom shelves for bulk storage (20–40 lb bins), middle two shelves for daily items at eye level, and top for seasonal cookware. Add sliding baskets for produce and clear bins for dry goods for inventory visibility.
Basement
Recommended system: powder-coated steel or wire shelving that resists moisture. Elevate bottom shelf 4–6″ off floor to reduce damp contact. Use sealed plywood or plastic bins for moisture-sensitive items.
Case study: Finished basement storage—install four 36″x16″ bays with center supports and closed-front bins for textiles. Label fronts and maintain 18″ aisle clearance for moving boxes and vacuum access.
For extended guidance see basement modular shelving.
Utility Room & Laundry
Recommended system: plastic or coated wire shelves to resist detergent chemicals and moisture. Include 14–16″ depth; leave 24″ clearance above washers for folding space. Use hooks for irons and drying racks.
Pantry and Food Prep
Wire shelving with epoxy coating prevents corrosion. For heavy bulk food containers use metal shelves rated to at least 300 lb per shelf. Keep spices and frequently used tools at 36–48″ height for ergonomic reach.
Home Office
Recommended system: wood or MDF-faced shelves with 12–14″ depth for books and files. Include 15–18″ between shelves for binders and 12″ for books. Add integrated cable troughs and power strip mounts to keep electronics organized.
Hobby / Art Studio
Recommended system: mixed shelving—wire for paint storage and wood-faced shelves for delicate paper and flat storage. Modular racks that accept bins and drawers let you shift from large-format canvas to small tools without rebuilding. For tips on storing and organizing creative supplies see the linked guide.
Retail or Small Business Backroom
Recommended system: metal racking with labeled zones. Use uniform bin sizes and FIFO (first-in, first-out) organization for perishable or rotating stock. Combine shelf tags with barcode labels for inventory tracking. Modular units allow quick reconfiguration during seasonal shifts.
Additional garage-specific options:
- Combine modular racks with wall organizers to move frequently used items off shelves—see garage wall organizers.
- Budget-friendly plastic garage shelves are viable for medium loads—see plastic garage shelves for options.
Transition: after setup and use, a short maintenance routine keeps shelves performing and safe—covered next.
Maintenance, Cleaning, and Troubleshooting Common Issues
Maintenance intervals: inspect anchors and fasteners every six months; tighten fasteners and re-check for rust or deformation annually. For humid or corrosive environments, inspect quarterly.
Cleaning
- Metal shelves: wipe with mild detergent and water; dry immediately to prevent rust. For powder-coated steel, avoid solvent cleaners.
- Wood shelves: dust weekly; use a damp cloth with a mild wood cleaner and reapply sealant every 2–3 years if in high-use areas.
- Wire shelving: vacuum and wipe annually; apply silicone spray on welded joints if squeaking appears.
Troubleshooting common issues
- Sagging shelves: If mid-span deflection >1/2″, add a center support or reduce shelf span. Add a steel channel or 3/4″ plywood underlayment attached to brackets for extra stiffness.
- Loose uprights: Tighten wall screws; if holes have enlarged, replace with larger-diameter anchors or move upright and patch old holes.
- Rust formation: For surface rust remove with 120-grit sandpaper, apply rust inhibitor and repaint with rust-resistant enamel; replace corroded parts that have lost structural integrity.
- Shelf instability under dynamic load: Add anti-tip straps and cross-bracing; avoid sudden loading near shelf edges.
- Anchors pulling out: Re-assess anchor type—toggle bolts in hollow walls are preferable when studs are not available; for heavy loads move the upright to a stud or add a ledger board spanning studs.
If a repair involves structural alteration to load-bearing walls or if anchors will carry more than 1,000 lb cumulative, consult a structural engineer or licensed contractor.
Transition: cost planning is the next practical step—here are realistic budgets and what drives price.
Cost Considerations and Budgeting for Modular Shelving Systems
Cost drivers include material type, shelf count, accessories, anchors and labor. Below are typical ranges (US market) and examples to create a budget.
- Entry-level consumer modular kit (plastic or light steel): $80–$300 for a 4-shelf 36″ wide bay.
- Mid-range home kit (powder-coated metal or finished wood): $300–$800 per 48″ bay with higher-grade brackets and accessories.
- Heavy-duty or commercial racking: $800–$2,500 per 48″ bay depending on load ratings and steel gauge.
- Installation labor: DIY is free; professional installation typically $150–$600 per bay depending on wall prep, anchors and travel (labor rates vary regionally).
Example budgets:
- Small pantry upgrade (one 36″ bay): materials $150, accessories $50, DIY labor 2 hours.
- Two-bay garage heavy-duty install: materials $1,200, anchors and reinforcement $200, professional installation $400–$700.
Cost optimization tips:
- Buy uprights and brackets separately from local steel suppliers for heavy-duty systems to reduce markup.
- Repurpose reclaimed wood for visible shelves, but invest in sealing/finish to extend life.
- Plan for expansion when ordering to avoid incompatible components later.
According to a 2024 industry report, modular shelving adoption in residential remodeling budgets rose by an estimated 18% year-over-year due to modularity and reusability—factor this into long-term ROI calculations.
Transition: consider sustainability and design trends next—both matter for homeowner choices and resale value.
Sustainability and Design Trends in Modular Shelving
Trends driving purchases:
- Eco-friendly materials: reclaimed wood, low-VOC finishes, and recycled steel are increasingly popular. For responsible sourcing, consult FSC and similar certifications.
- Minimalist aesthetics: concealed hardware, thin uprights, and integrated lighting create a floating shelving look for modern interiors.
- Mixed-material modules: steel frames with wood shelves for an industrial-modern look that balances durability and warmth.
- Modular tech integration: built-in charging docks, LED strip lighting and cable management pathways are now common in home office shelving.
Lifecycle and repairability: choose systems with bolt-in components and standard fasteners; avoid proprietary one-piece molded systems if you want long-term serviceability. According to a 2023 home storage industry report, buyers rank repairability and recyclability as top priorities behind price and durability.
Transition to wrap-up: final summary and next steps to start your project.
Conclusion
Key takeaways: a modular shelving system delivers flexibility, space savings and long-term value when planned around wall structure, item dimensions and load needs. Start with precise measurements, pick the right material for the room, anchor into structure appropriately, and test with graduated loads. If you follow the planning checklist, installation steps and maintenance schedule in this guide you’ll have a durable, adaptable storage solution that grows with your needs.
Ready to start? Use the planning checklist above, mock the layout with tape, then order components sized to your span and load. If you need professional help for heavy loads or masonry anchoring, contact a licensed installer.