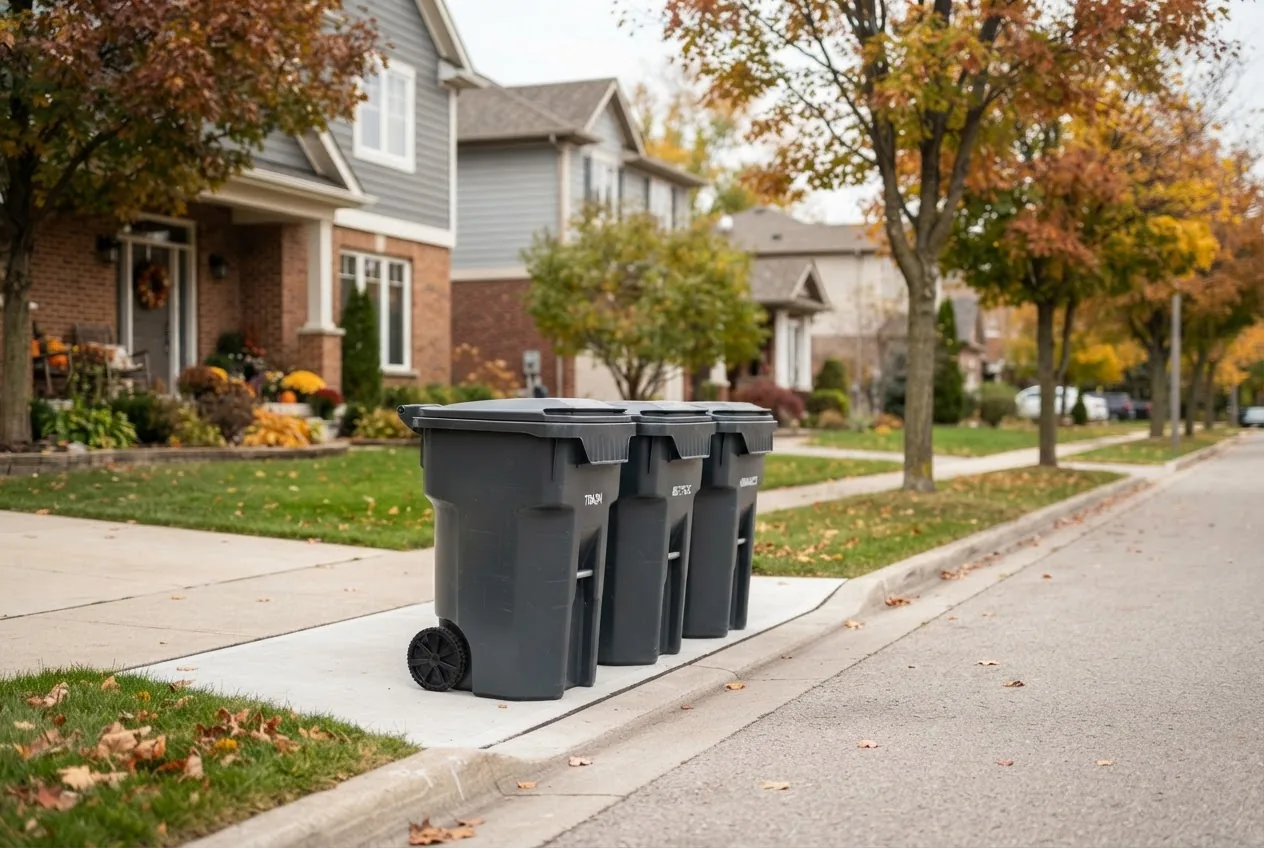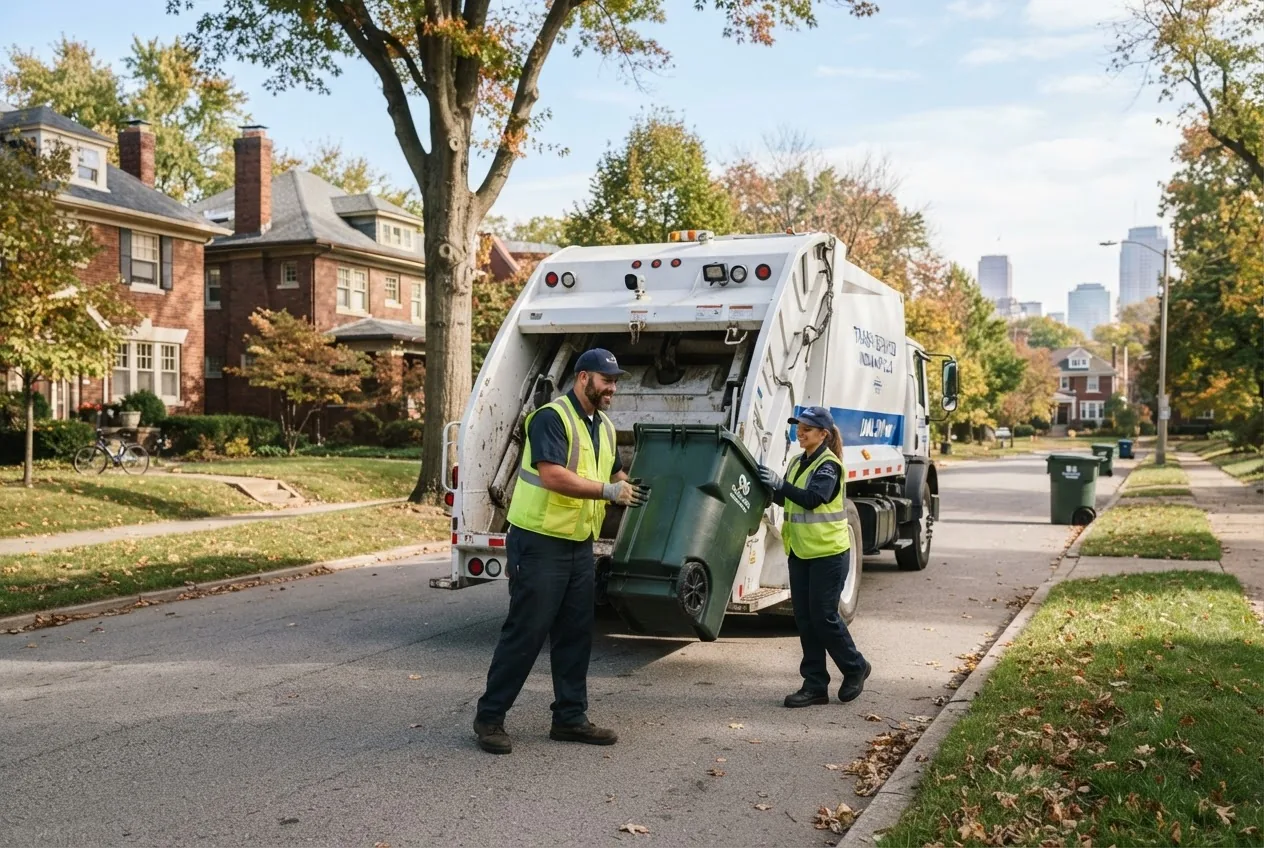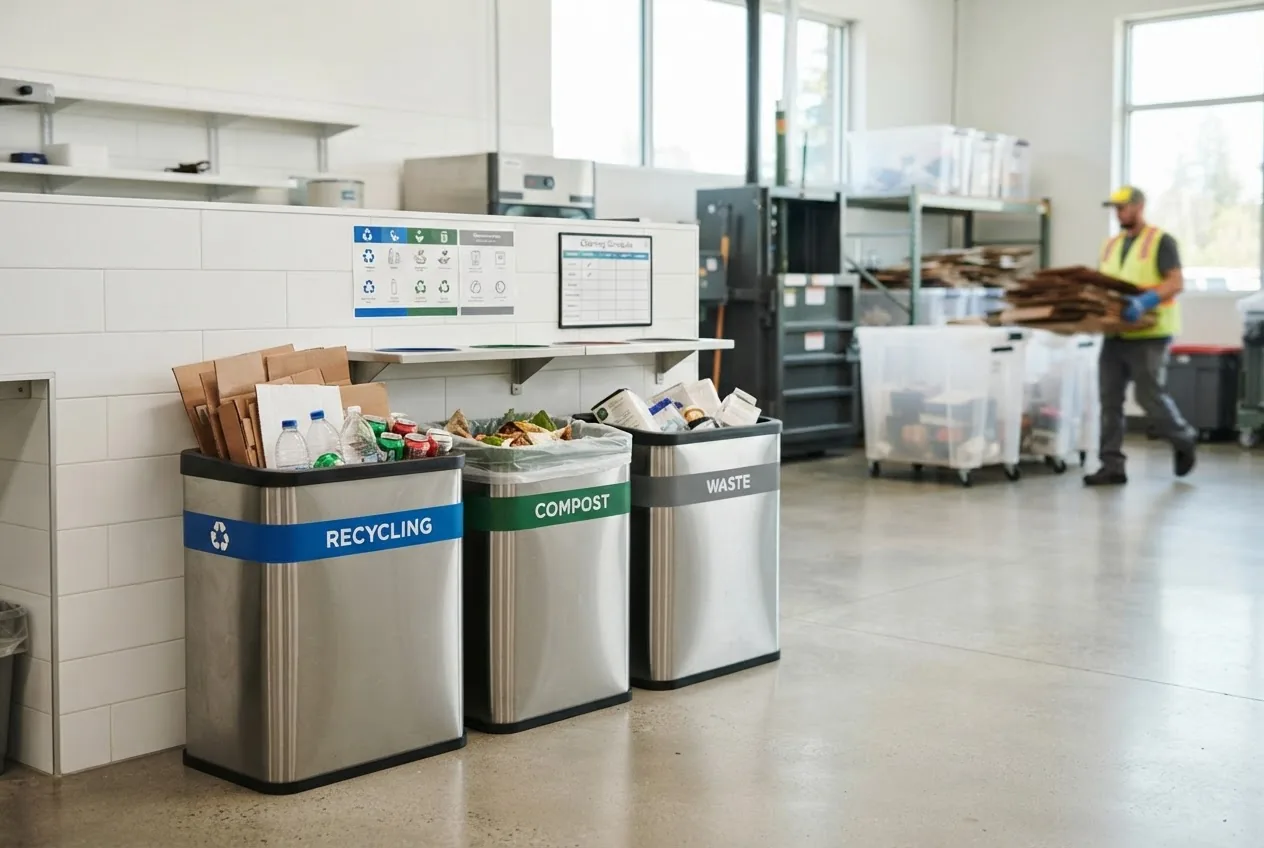
Trash and recycling — by the end of this hands-on guide you’ll be able to sort household waste correctly, prepare items for curbside or drop-off, and visit a recycling center confidently; plan 2–4 hours initially to set up systems, then 15–30 minutes weekly. Skill level: beginner to experienced home manager.
Understanding Trash and Recycling Basics
This section explains municipal waste categories, how recyclables differ from landfill waste, and why clear sorting matters for recovery rates. You’ll learn basic terms and a short checklist you can apply immediately to your kitchen or garage.
What is municipal waste? Municipal waste (also called solid waste) is the everyday trash and recyclables generated by households, businesses, and institutions. It includes materials that can be recovered (paper, metals, some plastics), organic waste suitable for composting, and non-recoverable landfill waste.
Recycling categories commonly used by collection programs are:
- Paper and cardboard (newspapers, clean cardboard boxes)
- Plastics (commonly numbered #1 and #2; some jurisdictions accept #3–#7)
- Glass (clear, brown, green — sometimes single-stream)
- Metals (aluminum cans, steel tins)
- Organics (food scraps and yard waste for composting)

Clear segregation reduces contamination and improves the value of recovered materials. Contamination — when wrong items are mixed into recycling — can force an entire load to the landfill. A practical rule: if an item is heavily soiled, wet, or unknown, it often belongs in trash unless the label or local rules say otherwise.
For localized pickup rules consult municipal sources — for example, see Birmingham garbage pickup guidelines and for collection logistics see garbage collection services and requirements.
Transition: now that you have the vocabulary, next we’ll map specific waste types to where they belong.
Types of Waste: Trash, Garbage, and Solid Waste Explained
Understanding the distinction between common waste categories helps you decide whether something is curbside trash, recycling, compost, or requires special handling.
Garbage vs trash vs solid waste: In practice these terms overlap. I use “trash” for non-recyclable household refuse, “garbage” for wet kitchen waste, and “solid waste” as the umbrella that includes landfill, recyclables, compost, and special wastes.
Common types with examples:
- Recyclables: clean paper, cardboard, aluminum cans, rinsed #1/#2 plastic bottles.
- Biodegradable/organics: fruit and vegetable scraps, coffee grounds, yard trimmings (for composting).
- Non-recyclable trash: greasy pizza boxes, used tissues, broken ceramics.
- Hazardous household waste (HHW): paints, pesticides, fluorescent tubes — do not place in curbside bins; see special disposal.
- Bulky waste: mattresses, furniture, appliances — require special pickup or drop-off.
- Construction & demolition debris: concrete, drywall, lumber — often managed by contractors or debris removal companies for construction waste.
- Soil and dirt: handled by specialist services in many areas — see dirt removal services.
Residential and commercial needs differ: for site-scale projects see commercial dumpster rental requirements and for business recycling programs see relevant guides on commercial disposal.
Final destinations and rules vary — check landfill waste disposal requirements for regulatory thresholds and accepted materials.
Transition: with categories clear, the next section shows exactly how to sort and prepare materials step by step.
How to Properly Sort and Prepare Trash and Recycling
Before you start collecting: set up a simple system and labeling to avoid contamination. The steps below assume a household of 1–4 people; scale container sizes to match the following quantities and frequencies.
Before you start
- Containers: 1 x 10–20 gallon recycling bin, 1 x 20–32 gallon trash can, 1 x 5–10 gallon kitchen compost pail (if composting).
- Tools: permanent marker and waterproof labels, pair of dish brushes, gloves, and a small plastic tub for rinsing.
- Local rules: print or save your municipality’s recycling list (accepted plastics by number, glass rules, and seasonal yard waste schedules).
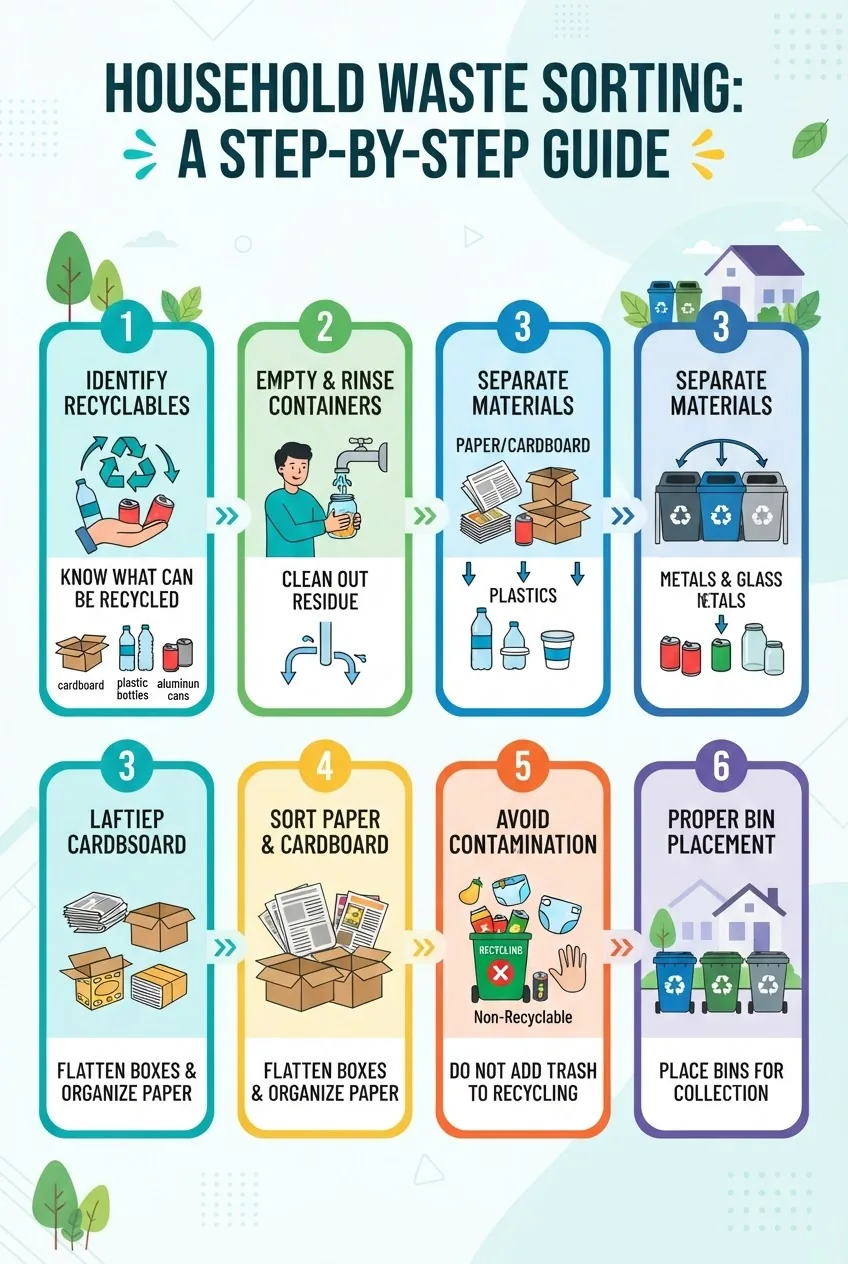
- Set Up clearly labeled bins. Place recycling bin next to kitchen trash so sorting happens immediately. Label face with “Paper,” “Plastics #1–#2,” “Cans” as accepted by your service. Use a 10–20 gallon indoor recycling bin and a 30–32 gallon outdoor recycling cart if your program provides one.
- Identify recyclables before rinsing. Check the bottom of containers for plastic numbers; keep a short cheat-sheet on the bin lid. Only rinse containers that had food residue: a 5–10 second cold water rinse removes most residue and prevents contamination.
- Flatten and compact cardboard. Break down boxes to under 12″ high for most curbside carts. Stack up to 10 flattened boxes per pickup if space allows; tie heavy bundles with twine if the program requires.
- Separate paper types. Keep clean paper and mixed paper separate from greasy pizza boxes. Tear off heavily soiled portions or compost them if the materials are acceptable for organics programs.
- Group glass by color when requested. Where single-stream programs accept glass, remove metal lids and rinse. If local rules require separated glass, store in a cardboard box labeled by color and drop it at the center weekly.
- Contain small plastics and film. Bags, wrappers, and plastic film typically are not accepted in curbside recycling — collect these in a bag and take to supermarket drop-off if your area has one; otherwise dispose as trash.
- Handle food-soiled items correctly. Scrape plates and use a compost pail for food scraps if your city or yard waste program accepts organics. If no composting option exists, wrap small food-soiled items in newspaper and place them in trash to reduce odors.
- Prepare metals and electronics. Empty aerosol cans completely and leave the valve intact if allowed; otherwise, check HHW rules. For electronics and batteries, keep separated and take them to designated e-waste or HHW drop-off facilities.
- Bundle yard waste. Tie branches into 3–4 foot bundles, each under 50 lbs, or use compostable yard-waste bags as required by many programs. Do not include invasive plant species unless instructed.
- Label and bag hazardous items for drop-off. Store paints, pesticides, household chemicals, and fluorescent bulbs in original containers with lids tightly closed and take them to hazardous waste events — never mix them with regular trash or recycling.
- Arrange bulky and appliance pickups. For mattresses, couches, and white goods, schedule a special collection or prepare them for drop-off. Measure items and verify pickup size/weight limits (commonly under 75–150 lbs per item for many services).
- Do a weekly contamination check. Inspect the bins once per week; remove non-accepted items and retrain household members with the quick checklist: rinse, empty, no plastic bags, flatten cardboard.
- Document exceptions for your area. Save a one-page list of materials not accepted curbside and where to drop them (HHW, electronics, textiles, mattresses). This list saves time and prevents mistaken throws that cost municipalities extra sorting.
- Maintain records for large disposals. For renovations or large clear-outs, document weight or volume and receipts if you use a local dumpster rental services or a transfer station; many communities require disposal proofs for bulky waste pickups.
- Train household contributors. Spend 10 minutes with family or roommates to show one physical example of “acceptable” and “not acceptable” for each bin — repetition reduces contamination dramatically.
Transition: after mastering sorting, learn how to use centers and drop-off points safely and efficiently.
Using Trash and Recycling Centers: What to Know
Visiting a recycling center or transfer station can clear backlog, accept bulky items, and handle materials your curbside program rejects. Here’s a step-by-step walkthrough of a typical visit and practical tips to speed the process.

Before you go: call ahead or check the center hours online, bring identification, and separate loads in the vehicle by material type to reduce on-site sorting time. Expect to spend 15–60 minutes on-site depending on queue and materials.
- Confirm accepted items and fees. Check the center’s website or call to confirm they accept your items (electronics, tires, bulk cardboard, appliances). Many centers list fees by item weight or unit. Keep $10–50 in small bills for drop-off charges; receipts are typical for commercial loads.
- Pre-sort in the driveway. Load materials into labeled containers: paper, plastics, glass, metal, electronics, and bulk. This reduces the staff-assisted sorting time and often lowers disposal fees since staff charges are sometimes per mixed load.
- Follow on-site traffic flow and attendants’ directions. Wear closed-toe shoes and secure loose items. Staff will direct you to specific bays — stay in your vehicle when asked and hand items to attendants if required.
- Unload as instructed. Place items in the correct bays exactly as labeled. Improper placement may result in refusal or transfer to landfill and possible additional charges.
- Keep documentation of hazardous items. If dropping off HHW or electronics, you may be asked to sign a form; retain any paperwork for records, especially if your waste is business-related.
- Ask about diversion programs. Many centers run reuse or resale programs for furniture, building materials, and working appliances; you may avoid fees by donating items in good condition.
- Consider professional pickup for heavy loads. If your load exceeds 500–1,000 lbs, you may save money and time with specialized services — see junk removal services and residential pickup options, or if a business, consider commercial junk removal services.
- Check dump site rules for public dumping. If you consider a public dump, verify limits and paperwork — read public dumping requirements at dumps to avoid fines.
- Rent a local dumpster for large cleanouts. For multi-day projects, compare quotes and permit rules from providers — see local dumpster rental services.
- Dispose of bulky furniture correctly. Many centers accept furniture for a fee or through scheduled bulky-item collection programs — see furniture disposal and couch dumping options for step-by-step preparation.
Transition: once your items are accepted and sorted, it’s useful to understand the broader environmental benefits of diverting waste from landfills.
Environmental Impact and Benefits of Waste Recycling
Recycling reduces landfill space, conserves raw materials, and lowers greenhouse gas emissions. The following figures illustrate measurable benefits and help prioritize household actions.
According to a 2024 industry report from the Environmental Protection Agency, recycling and composting diverted millions of tons of municipal solid waste from landfills, reducing methane emissions and saving significant energy in material production. EPA recycling resources provide program benchmarks and best practices.
Key benefits with example statistics:
- Landfill diversion: Recycling a ton of paper saves about 3.3 cubic yards of landfill space and reduces logging pressure — per a 2023 study from a national recycling program (industry report).
- Energy savings: Producing aluminum from recycled cans uses ~95% less energy than from bauxite ore, per a 2022 metals industry analysis (industry report).
- Emissions reduction: Composting organics locally reduces methane generation compared to landfilling, with measurable CO2-equivalent savings reported in municipal case studies (2021–2023 municipal data sets).
Businesses scale impact: for organizational programs, compare waste hauling and processing costs — see commercial recycling services and costs to understand per-ton pricing and incentives.
For further best-practice frameworks and lifecycle analyses, consult sustainability NGOs such as World Wildlife Fund and municipal guidance pages at local government resources.
Transition: even with good intentions, common mistakes undermine recycling outcomes — the next section compares those pitfalls and offers fixes.
Common Challenges and How to Avoid Recycling Mistakes
| Challenge | Consequence | Fix |
|---|---|---|
| Contamination (food, liquids) | Load rejected and sent to landfill | Rinse lightly, empty liquids, keep food scraps separate |
| Wrong plastics (#3–#7) | Processing machinery damage; rejected materials | Check local list; bag and drop at specialized collection if accepted |
| Bagged recyclables | Bags tangle in sorting equipment | Keep loose or use clear, identified collection points |
| Hazardous items in curbside | Safety risk and contamination | Use HHW drop-off events and follow local rules — see hazardous waste removal and disposal rules. |
From experience, common errors I see: I once accepted a full grocery bag of mixed recyclables from a neighbor and the whole bag had to be landfilled because of greasy pizza boxes. I now insist on a quick visual check and a rinse step during weekly prep to avoid exactly this.
Another repeated failure I observe is storing mixed materials in the trunk unsegregated; on arrival, people dump everything in one pile — this increases staff sorting time and sometimes results in extra charges. Pre-sorting in the driveway eliminates this problem.
Transition: with mistakes and fixes understood, you can now adopt practical habits to reduce waste at the source.
Tips for Reducing Waste and Improving Recycling Habits at Home
These actionable tips adopt a “reduce, reuse, recycle” order and give concrete steps you can implement today.
- Buy concentrated and bulk products. Choose concentrated cleaners (reduces packaging by >50%) and buy bulk where possible; aim to cut household packaging by one bag per week.
- Use reusable produce and shopping bags. Keep 2–3 reusable bags in your car and one set of 5 washable mesh produce bags to replace single-use bags for groceries.
- Implement a 2-week “repair first” rule. Before discarding small electronics or textiles, attempt a repair; often a $10–25 part fixes the item and prevents waste.
- Compost food scraps. Start with a 5–10 gallon indoor pail with a carbon filter and empty to backyard compost or municipal organics weekly; aim to divert ~30% of your weekly trash by weight.
- Prioritize reusable containers. Replace single-use storage with 6–8 glass or BPA-free containers; annual savings: dozens of plastic bags and wraps.
- Donate usable furniture and clothing. Schedule pickups or drop-offs for at least two items per quarter rather than placing them in trash; check resale or reuse programs at local centers.
- Plan meals and shop with lists. Reduce food waste by 20–30% using meal planning and simple FIFO (first-in, first-out) fridge organization.
- Choose products with minimal mixed-material packaging. Avoid items that combine unrecyclable materials (e.g., metalized film); if unavoidable, reuse or find specialty drop-offs.
- Organize an annual neighborhood cleanup. Participate in community events to remove bulky waste responsibly and learn about local spring cleanup options.
- Keep an accessible quick-reference sheet. Pin a one-page accepted-items list to the inside of a cabinet door near your bins for daily reminders.
Transition: finish with a compact checklist and guidance on when to call a professional.
Common mistakes and how to avoid them
I once loaded an entire trunk with mixed building debris for a single center visit; the weight violation created an extra fee and I had to split loads. Now I weigh large loads beforehand and call ahead for permits. I also used to toss film plastics in recycling; after a rejected load I started collecting film separately for supermarket drop-off.
Final checklist
- Bins labeled and placed near the kitchen: recycling, trash, compost.
- All containers emptied and lightly rinsed (5–10 seconds).
- Cardboard flattened and bundled (under 4′ x 4′ when tied).
- Bulky items measured and scheduled for special pickup or dropped at center.
- Hazardous items boxed and scheduled for HHW drop-off.
- Documentation saved for commercial or heavy disposals (receipts, weights).
When to call a professional
Hire professionals if the job exceeds 500–1,000 lbs, contains mixed construction debris, hazardous materials, or if you need fast, insured removal. Compare quotes and check that the provider disposes of materials at licensed facilities; for bulky cleanouts, consider junk removal services and residential pickup options or commercial junk removal services.