By the end of this guide you will have selected, installed, and configured a durable metal racking and storage solution for a specific room (garage, basement, closet or workshop), understand load limits, and set a maintenance plan. Expect 3–8 hours for a basic boltless system installation; intermediate skill level (basic carpentry, simple tool use) is assumed.
Before you start
- Site choice: measure length, width and usable height in inches and millimetres; note floor type (concrete, wood).
- Tools: socket set, adjustable wrench, rubber mallet, level, tape measure, stud finder, drill with masonry bit (if anchoring to concrete).
- Materials: chosen metal rack kit, wall anchors or concrete wedge anchors, anti-tip kit, protective gloves, rust-inhibitor spray.
- Safety: eye protection, closed-toe shoes, at least one helper for lifting heavy beams or pallet components.
Introduction to Metal Racking and Storage Systems
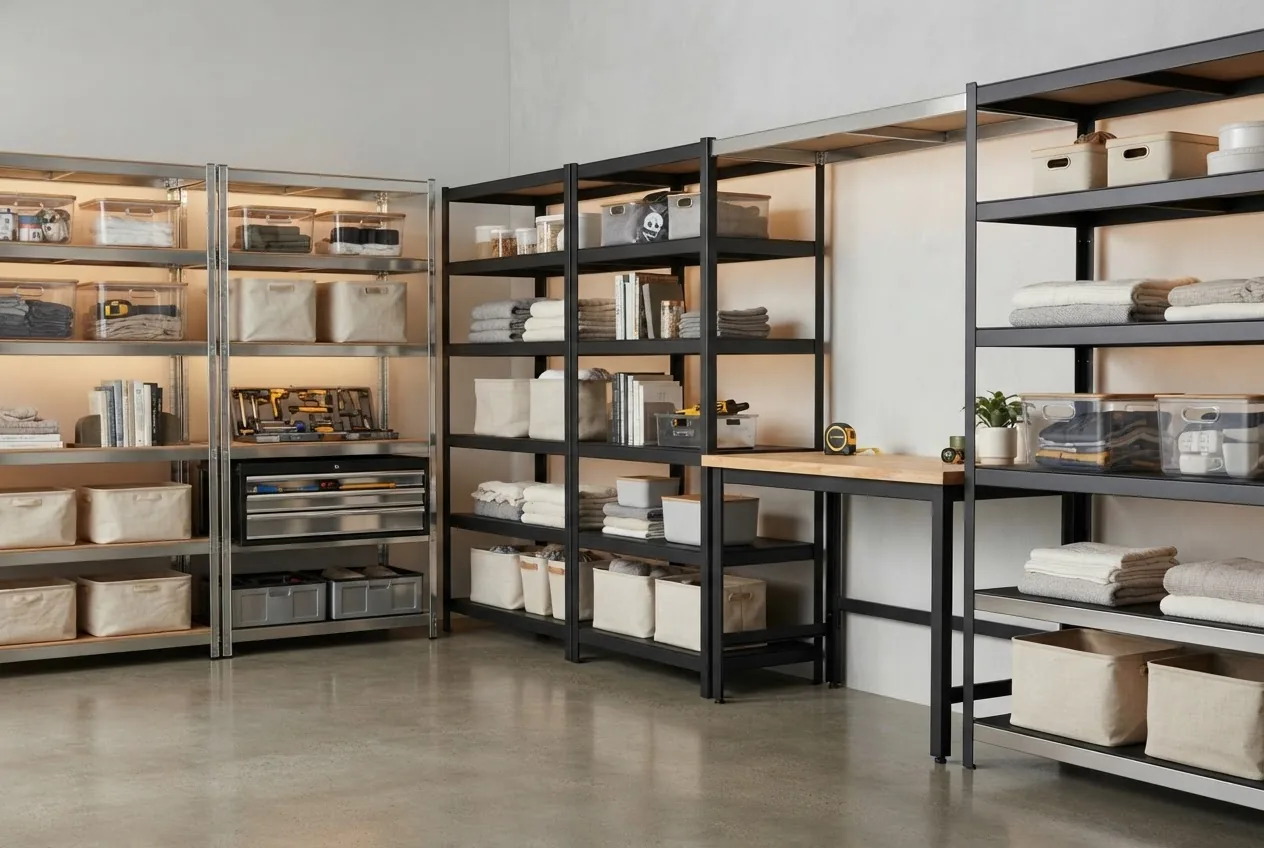
This hands-on guide focuses on practical, room-focused solutions for racking and storage using durable metal components. Metal storage solutions are valued for long-term strength, predictable load behavior and modular flexibility. In homes—garages, basements, pantries, and craft rooms—metal organizers shorten retrieval times, increase usable cubic volume and reduce pest and moisture risks when configured properly.
We’ll define the main system types, run through selection criteria and present a full installation walkthrough (with tool lists, anchoring steps and load calculations). Case scenarios show choices for a one-car garage, a basement workshop and a linen closet. Where standards apply, I reference them so you can verify compliance before committing to heavy loads or commercial applications.
Transition: first learn the types of systems and how each fits common home rooms, then move on to selection and step-by-step installation.
Types of Metal Storage Racking Systems
Below are the primary storage racking system types you’ll encounter, with practical notes on where each works best at home.
-
Boltless shelving (often called rivet or clip shelving)
Description: Uprights with pre-punched holes that accept clips or rivets; beams and wire/steel shelves slide or clip into place. No nuts and bolts on most kits — assembly is fast and reversible.
Best for: Garages, pantries, utility closets, craft rooms. Typical shelf depths: 12″–36″. Load capacity: individual shelves commonly rated 200–800 lb (90–360 kg). Advantages: quick to reconfigure, inexpensive, easy to ship. -
Pallet racking
Description: Heavy-duty uprights and beams designed to hold palletized loads, usually assembled with bolted connections and deeper beams for forklifts in commercial uses. Scalable to higher vertical heights (8’–30’+) with cross-bracing.
Best for: Home workshops that store pallet-sized lumber, bulk pet food, or where you need higher load capacity per bay. Typical bay capacity varies from 1,000–10,000+ lb depending on beam configuration. -
Cantilever racking
Description: Horizontal arms projecting from a single upright column for storing long, awkward loads (pipe, lumber, skis). Arms are either bolted or welded; adjustable arms variants exist.
Best for: Workshop wall bays, garage lumber storage, hobbyist spaces where long items would otherwise block aisles. -
Wall-mounted metal shelving
Description: Slotted standards fixed to studs and brackets that hold shelves. These are lower-cost, lightweight and keep floor area clear.
Best for: Overhead storage above workbenches, laundry rooms, and pantry areas. -
Modular metal shelving systems
Description: Systems built from interchangeable uprights, beams and shelf panels (often steel or aluminum), allowing custom bay widths and heights. They include add-ons like drawers, bins and wire decks.
Best for: Multirole rooms where you may want to switch from open shelving to drawer modules later. These systems provide the best long-term flexibility. -
Freestanding vs anchored racks
Description: Freestanding models rely on weight and floor footprint; anchored systems are bolted to floor or wall for tip resistance.
Best practice: Anchor if bay height exceeds 6′ or if you will store heavy loads—preference for anchored in homes with children or uneven floors.
flexible freestanding storage
Comparison table — quick specs to help you decide:
| Type | Typical Load per Shelf / Bay | Best Home Use |
|---|---|---|
| Boltless shelving | 200–800 lb / shelf | Garage, pantry, craft room |
| Pallet racking | 1,000–10,000+ lb / bay | Heavy workshop, bulk storage |
| Cantilever | Varies by arm rating (200–2,000 lb) | Lumber, pipes, long items |
| Wall-mounted | 100–600 lb / bracket | Laundry, above workbench |
Transition: now that you know the available metal organizer types, next we’ll explore the advantages that make metal the preferred choice for long-term home storage.
Advantages of Choosing Metal Organizers for Storage
Metal organizers deliver predictable structural performance with clear maintenance paths. Below I list the practical benefits and link to basement-focused options where relevant.
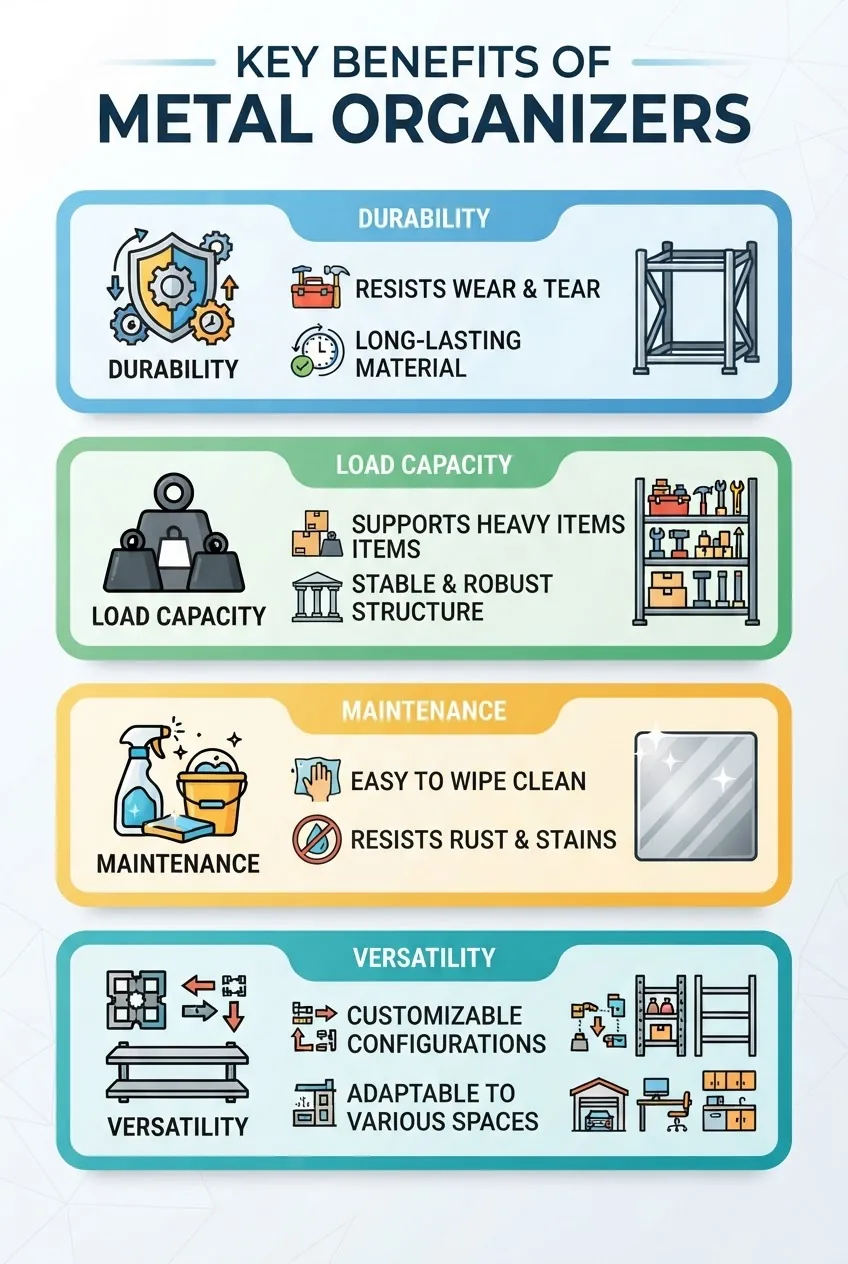
- Durability: Steel and aluminum resist crushing and abrasion better than plastics. According to a 2024 industry report, modern powder-coated steel panels show improved surface wear resistance in humid environments.
- High load capacity: Metal beams and uprights are engineered to known load ratings, allowing safe stacking of heavy goods with clear safety margins.
- Resistance to wear: Powder-coated finishes and galvanized steel reduce surface degradation from contact, chemicals and impact.
- Versatility and modularity: Metal systems accept accessories (buckets, drawers, dividers) that extend utility over decades.
- Maintenance ease: Metal shelves are washable and can be recoated; damaged parts (beams, uprights) are replaceable without replacing the whole unit.
Practical link for basement-specific recommendations: basement storage solutions
Why pick metal over alternatives? Metal offers superior long-term value for heavy or irregular loads. For garage-specific durable storage comparisons, see garage cabinet storage.
Transition: with those advantages in mind, the next section explains how to select the right system for your room and load requirements.
How to Choose the Right Metal Storage Racking System
Selecting the right metal storage racking system starts with four measurements and two calculations. This step-by-step helps you match capacity, footprint and budget to your intended use.
- Measure and map the space. Measure floor length, width and usable height. Record clearances around doors and ceilings. Note stud locations (on framed walls) and concrete thickness if anchoring to slab.
- Define the load profile. List typical items with approximate weights: e.g., 50 lb paint cans, 40 lb toolbox, 30 lb medium storage bins, 35 lb 5-gal bucket. Add up expected load per shelf and per bay.
- Calculate required load capacity with safety margin. Use: Required shelf capacity = (total expected shelf load) × 1.25 safety factor. Example: if a shelf will hold 400 lb, choose a shelf rated ≥ 500 lb. For bay-level capacity, sum shelf capacities or consult manufacturer bay rating.
- Choose material and finish. For damp basements, prefer galvanized steel or powder-coated steel with galvanic protection on joints. For light-duty indoor use, cold-rolled powder-coated steel suffices. Aluminum offers corrosion resistance for humid environments but at higher cost.
- Select the system type to match shape of items. Long items → cantilever. Small bins/boxes → boltless or modular shelving. Pallets and heavy bulk → pallet racking.
- Decide anchor vs freestanding. If the rack exceeds 6′ height, support heavy loads or is in a household with kids, select anchored or bolted floor models. Freestanding is acceptable for low-profile, low-load installations.
- Check compatibility with room use. For multi-use rooms (garage + workshop), choose modular systems with optional drawers and worktop add-ons to adapt over time.
- Factor in access and ergonomics. Allow 30″–36″ aisle clearance for full access to bins and trolleys in garages; narrower aisles may save space but limit maneuverability.
- Budget and lifecycle cost. Compare initial cost vs expected lifetime cost (replacement cycles, coatings, part availability). Metal tends to have a higher upfront price but lower replacement frequency.
Transition: measurements and choices done — next, the concrete step-by-step installation and setup best practices.
Installation and Setup Best Practices
This is the core hands-on section. It contains the step-by-step assembly and anchoring procedure for a typical boltless metal racking system, plus safety standards and anchoring notes for pallet and cantilever racks. Standards are cited so you can verify load and assembly requirements before you commit.
Standards and safety: According to a 2024 safety report from a recognized standards body, correct anchoring and following manufacturer torque specs reduces tip and collapse risk substantially. Review general regulatory guidance before installing high-load bays: OSHA racking safety guidance and ANSI storage equipment standards.
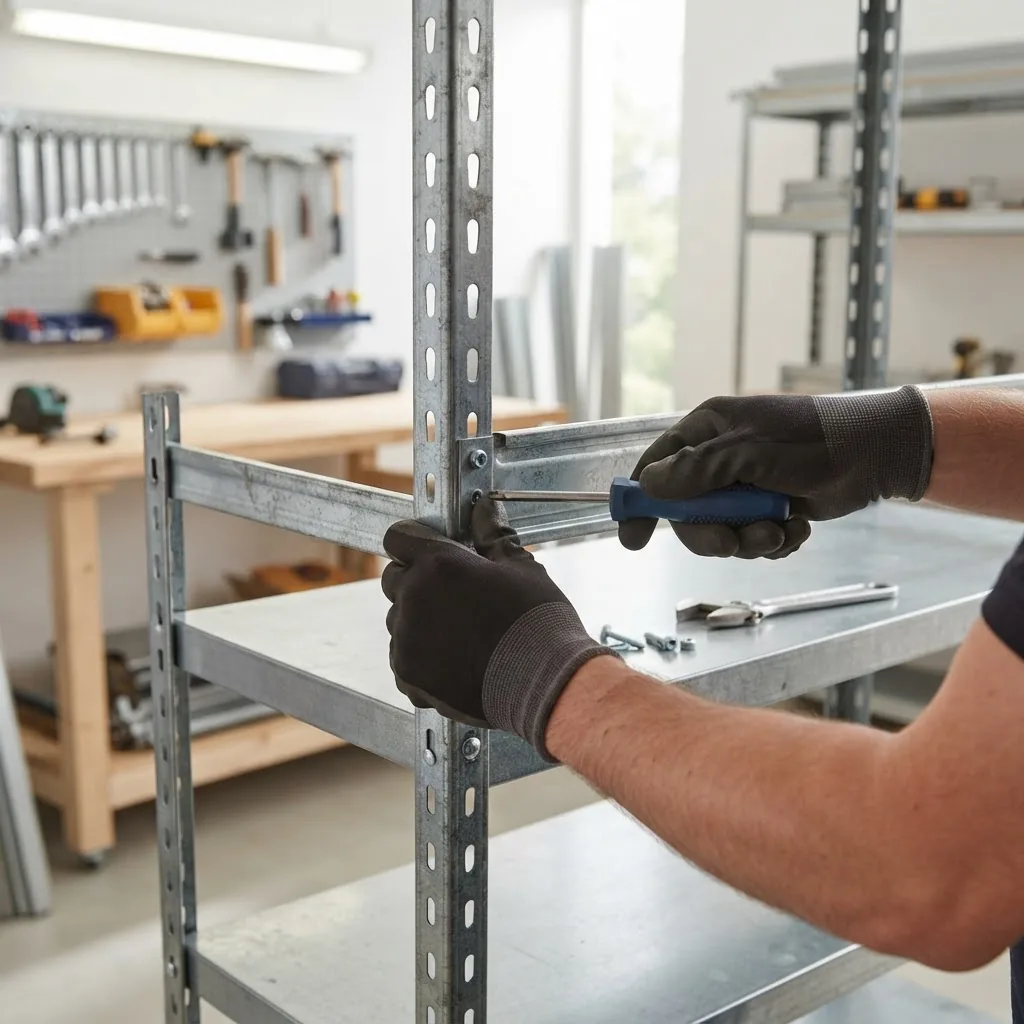
- Inspect the kit and confirm parts. Unpack and lay out uprights, rails, shelf panels, clips and hardware. Count parts against the manufacturer list. Reject bent uprights or warped shelves. Tools: socket set, rubber mallet, level, tape measure, safety goggles.
- Prepare the installation area. Clear a workspace three times the footprint to stage parts. Sweep the floor and mark the rack footprint with chalk or painter’s tape. Locate and mark studs if wall anchoring. On concrete, measure slab thickness; 3.5″ slab typically accepts 3/8″–1/2″ wedge anchors.
- Assemble base frames on their side. For boltless shelving, lay an upright on the floor and insert lower clips at the recommended lowest shelf height (commonly 6″–12″ off the floor). Use a rubber mallet to seat clips. Repeat for opposing upright.
- Stand and align uprights. With help, stand the paired uprights. Use a level to plumb vertically. For multi-bay systems, install cross beams progressively, checking squareness at each step.
- Install shelves and secure decking. Place shelf panels or wire decks and ensure they fully seat on beams. For pallet racking, install wire decking or timber decking per manufacturer spacing and secure with clips.
- Anchor the rack. If anchoring to concrete, pre-drill using a hammer drill with a masonry bit sized for your wedge anchor (commonly 3/8″ or 1/2″). Torque anchors to manufacturer specs (typical wedge anchor torque: 50–70 ft-lb for 1/2″ anchors in 3.5″ slab). If anchoring to studs, use structural lag screws into two studs per upright with 3″ screws minimum.
- Anti-tip bracing and seismic considerations. Install anti-tip brackets and cross-bracing. In seismic zones, follow local code; bracing increases lateral strength and prevents collapse during ground motion.
- Label and distribute loads. Apply load labels on each shelf showing maximum permissible load (e.g., “Max 600 lb per shelf”). Distribute heavy items to lower shelves—keep the heaviest 30% of your load below 36″ from the floor for stability.
- Test the system. Step-test with incremental weights: place 25% of expected load across a shelf, inspect for deformation; increase to 50% then 100% and re-check. If visible bowing exceeds 1/4″ over 36″ span, reconfigure spacing or upgrade shelf rating.
- Document and photograph. Photograph the completed installation and retain manufacturer drawings and assembly instructions for future inspections or resale value. Create a simple maintenance log noting date, loads installed, and any repairs.
- Case study: one-car garage boltless installation (practical walkthrough).
Scenario: 8′ wide bay, targeted use: paints (10 × 5-gal), hand tools, five 18″ plastic bins with gear. Measurements: bay width 48″, height usable 96″. Calculation: plan four shelves at 18″ intervals; expected shelf load ~350 lb. Safety margin: 350 × 1.25 = 437.5 lb → select shelves rated ≥ 500 lb. Installation time: two persons, 3.5 hours including anchoring. Result: anchored boltless rack with anti-tip bracket, labels and load-distribution plan. - When commercial-grade assembly is needed. For high, multi-bay pallet systems or installations requiring custom welding or bolt patterns, consider professional assembly. For links to professional installers see: professional home organization services and check local contractor licensing.
Transition: having completed installation, maintain the system to extend life and prevent safety problems — the next section covers care and rust prevention.
Maintenance and Care for Metal Organizer Systems
Routine maintenance preserves load capacity and finish. A maintenance routine performed twice yearly prevents corrosion and identifies loose fasteners.
- Inspect fasteners and clips every 6 months. Check for loose bolts, rusted clips or cracked welds. Tighten bolts to manufacturer torque values; replace any rusted components rather than reusing them.
- Clean shelves quarterly. Remove dust and chemical residues with a mild detergent solution and rinse. For greasy workshop applications, use trisodium phosphate-based cleaner per label instructions.
- Prevent rust with coating. Reapply a thin layer of rust-inhibitor or automotive-grade wax to cut edges and exposed metal after drill cuts. For outdoor or damp basements, use a zinc-rich primer or touch-up with galvanized paint.
- Repair dents and bent members. Small dents reduce capacity—replace bent uprights or beams. Never attempt to straighten a bent upright and return it to service without engineering approval.
- Maintain load signage and logs. Replace faded load labels. Keep a binder with invoices, installation photos and load calculations for each bay.
Real-world routine: I schedule spring and fall checks; in a coastal home I increased inspections to quarterly because salt air accelerates corrosion. According to a 2024 industry corrosion study, galvanized finishes reduce rust initiation by up to 70% in moderate coastal exposure.
Transition: with regular care you’ll extend system life; next learn organization tactics that make metal racks maximally useful across rooms.
Organizing Strategies Using Metal Racking Systems
Metal racks perform best when items are categorized, labeled and placed with accessibility in mind. Below are room-specific examples and cross-links to complementary organizer types.
General principles:
- Group like items together by frequency of use: daily, weekly, seasonal.
- Place heavy items low (below 36″).
- Use clear bins for small parts and label the front edge with contents and weight where needed.
- Reserve top shelves for infrequently used items; store in sealed containers if dust or humidity is an issue.
Room examples:
- Garage: designate one bay for cleaning supplies, one for automotive, one for sport gear. Add pegboard on side walls for frequently used tools.
- Basement workshop: use cantilever arms for lumber; adjacent bays with modular steel shelves for power tools and labeled bins for fasteners.
- Closet/wardrobe: use narrow metal shelving for folded garments with a labeled shelf for seasonal rotation.
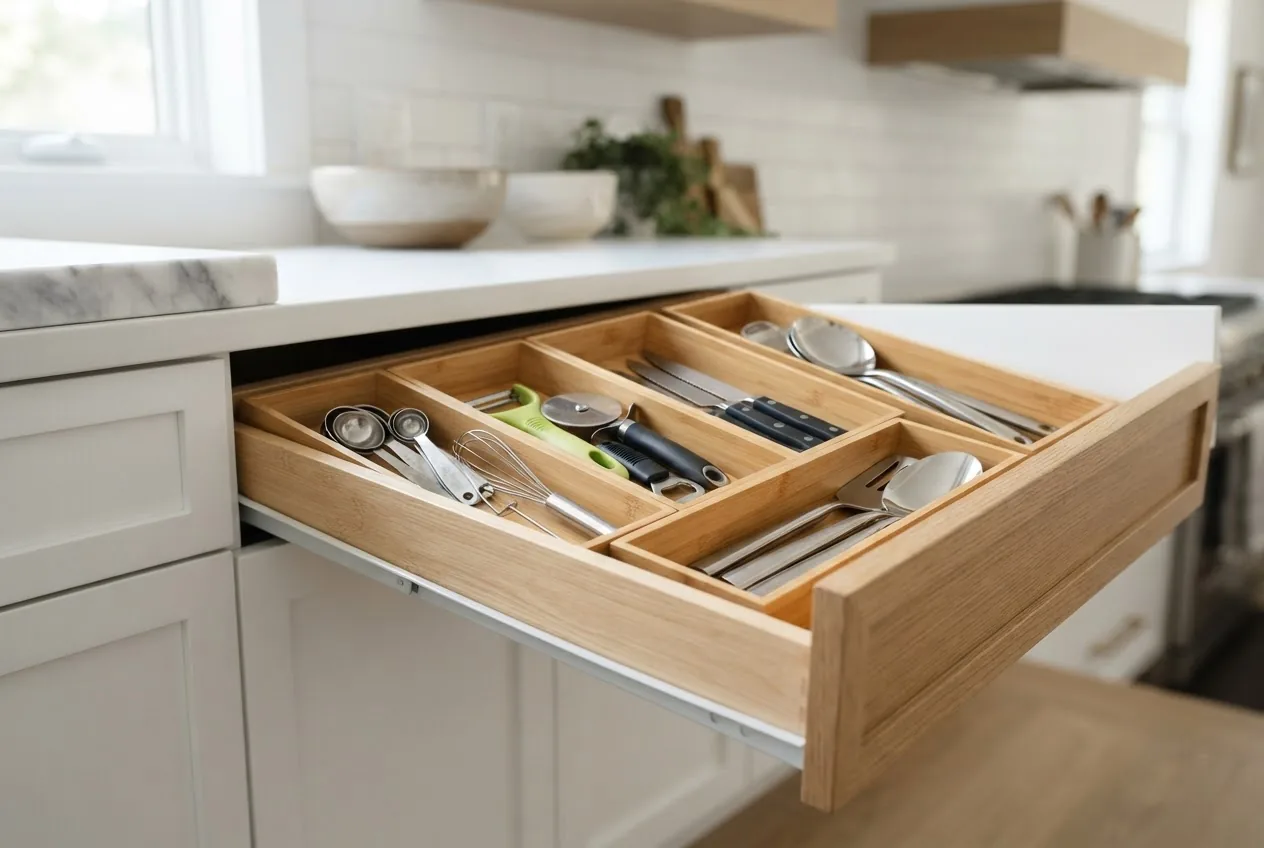
Specific cross-references: expand storage strategies with drawer systems and creative modules: efficient drawer storage solutions, and if you store art materials on metal racks, see art supply storage options.
For broader room layouts and decluttering systems combine metal racks with general organizer strategies: streamlined room storage tips. If you want mixed modular approaches, consider cube storage ideas.
Garage-specific wall strategies pair well with metal racks; for ideas: garage wall organizers. For clothing and linen placement on metal shelves: garment storage shelves.
Transition: after organizing comes budgeting and sourcing — the next section covers price ranges and where to buy quality systems.
Cost Considerations and Where to Buy Metal Storage Racks
Costs vary widely by system type, material and finish. Expect the following rough ranges for home-oriented systems (2024 retail context):
| System | Typical Price Range (USD) | Notes |
|---|---|---|
| Boltless shelving (4-shelf bay) | $80–$300 | Price depends on steel gauge and brand |
| Modular metal shelving (heavy-duty) | $200–$800 per bay | Includes heavier gauge, accessories increase cost |
| Pallet racking (per bay) | $500–$2,500+ | Depends on height, beam load and bracing |
Value considerations:
- Buy from suppliers that publish load ratings and spare part availability — replacement beams and panels extend life.
- Consider used pallet racking from reclamation dealers for savings, but inspect for weld defects and rust.
- Factor in installation anchors and anti-tip hardware at an additional $20–$150 per bay.
Where to buy: national hardware retailers, specialty industrial-rack suppliers, and local reclamation yards. For comparative shopping and buyer guidance see a reputable home improvement retailer’s buying guide: Home Depot racking resources. According to a 2024 industry pricing report, steel supply fluctuations impacted heavy-duty rack pricing by 8–12% year-over-year.
Transition: even well-chosen and installed racks can encounter issues; the next section answers common problems and fixes.
Common Challenges and Troubleshooting Tips
Q: Load safety — what if a shelf bows?
Answer: If shelf bowing > 1/4″ over 36″, remove load, relocate heavy items to lower shelf, and either increase shelf spacing or upgrade to a higher-rated beam. Replace any deformed shelf panels immediately.
Q: Installation errors — rack feels wobbly after assembly?
Answer: Confirm uprights are plumb with a level, tighten all fasteners to manufacturer torque specs, and anchor to floor or wall per instructions. If wobble persists, add cross-bracing or consult a pro.
Q: Space constraints — how to increase usable capacity?
Answer: Use vertical space with taller bays (anchored), narrower shelf depths (12″–14″) for bins, and place infrequently accessed items above 72″ with safe step stool access.
Q: Corrosion issues — found surface rust?
Answer: Remove surface rust with a wire brush, apply a zinc-rich primer or rust-inhibitor and repaint. Replace any structural components with significant section loss (>10%).
Q: Maintenance mistakes — missed inspections?
Answer: Schedule semiannual checks; document findings. Missing inspections can allow minor corrosion or loose anchors to become structural failures.
Transition: final recommendations and a concise summary follow to help you act on this guide.
Summary and Final Recommendations
Key takeaways: pick a system matched to your measured space and load calculations, anchor racks taller than 6′, and perform semiannual maintenance focusing on fasteners and corrosion control. Metal organizers deliver long-term value when installed per manufacturer load ratings and safety standards.
Final recommendations:
- Always use a 1.25 safety factor when sizing shelves and bays.
- Prefer galvanized or powder-coated finishes in damp spaces.
- Label loads and record maintenance actions for safety audits.
- If you plan pallet-level storage or multi-bay high-load systems, consult an installer or structural engineer.
Hands-On Installation Steps (Practical Workflow)
Below is the practical, action-first sequence for assembling and setting up a typical boltless metal racking bay in a home garage. Each step is written for two-person teams unless noted.
- Confirm parts and tools — Count uprights, beams, shelf panels and hardware against the manufacturer list. Tools: 3/4″ and 1/2″ sockets, adjustable wrench, rubber mallet, level, tape measure, permanent marker.
- Mark the footprint — Measure bay width and depth; mark corners with painter’s tape. Allow 30″–36″ aisle clearance. Check for overhead obstructions (openers, ductwork) within 12″ of planned shelf tops.
- Install base clips — On a laid-down upright, place lower shelf clips at 6″–8″ from floor to keep equipment off damp concrete. Use a rubber mallet to seat clips fully until flush.
- Connect paired uprights — With helper, stand the uprights and clip in the first beam level. Use a level to ensure plumb; adjust clip positions as needed to correct tilt.
- Progressively add beams and shelves — Add beams and shelf decks from bottom to top; this keeps the bay stable and reduces tipping risk. Tighten any supplied nuts per spec but do not overtighten rivet-style clips.
- Anchor to floor or wall — For concrete: drill pilot holes with 3/8″–1/2″ masonry bit to depth per anchor instructions; insert wedge anchors and torque to spec. For wood studs: use 3″ structural lag screws into two studs for each upright.
- Install anti-tip and cross bracing — Attach cross braces diagonally across the back of the bay and secure anti-tip brackets to wall studs or anchor points. Confirm bracing is tensioned and straight.
- Load test incrementally — Add 25% of expected shelf load and check for movement; then 50%, then full load. Inspect for noticeable deflection and bolt loosening at each increment.
- Label capacities — Affix a printed sticker with maximum shelf and bay ratings (e.g., “Shelf max 500 lb; Bay max 2000 lb”) at eye level on the bay’s front upright.
- Create a maintenance record — Photograph the bay, note date, installer name and initial test weights. Store the record with receipts and manufacturer manuals.
Common mistakes and how to avoid them
I once assembled an entire four-bay rack without anchoring because the floor felt solid; during a move a heavy cart bumped the bay and caused a small collapse. Lesson: always anchor tall bays and test incremental loads. I also ignored localized rust on a bolt and later had to replace the beam—replace rusted parts early.
Compact checklist
- Measurements recorded: width, depth, usable height — yes / no
- Load calculations done with 1.25 safety factor — yes / no
- Parts verified against packing list — yes / no
- Anchors selected for slab/stud type and torqued to spec — yes / no
- Anti-tip and bracing installed — yes / no
- Load test performed: 25% → 50% → 100% — yes / no
- Maintenance log created and labeled — yes / no
When to call in a professional
Call a pro if you plan to install pallet racking over 8′ tall, retrofit anchors into an older slab, require welding, or are unsure about load calculations. For compliance or commercial conversions, consult a licensed racking installer or structural engineer.