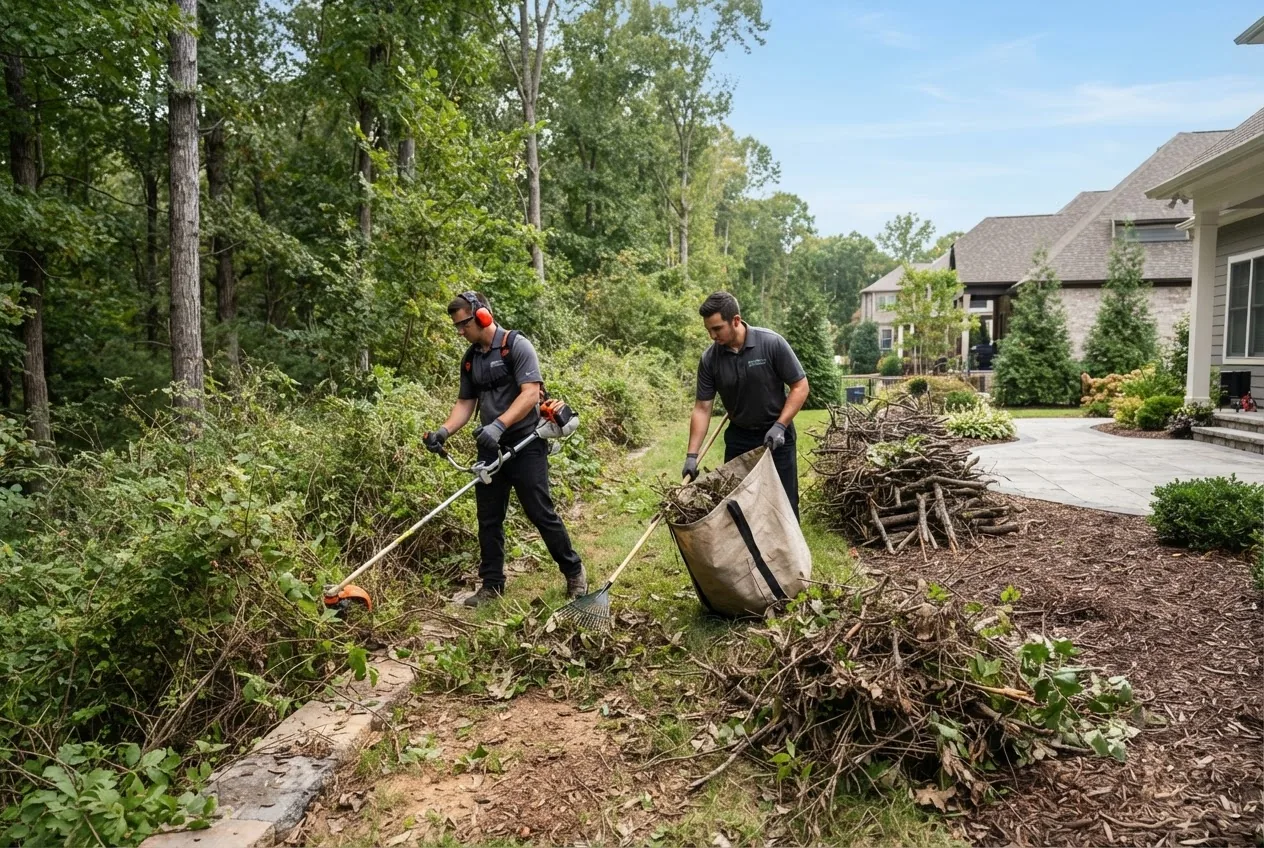
Brush removal — by the end of this hands-on guide you will be able to choose the right removal method, run a safe DIY clearout, or scope and hire a local contractor. Expect a single small-lot clear in 4–8 hours (skilled DIY), full-acre projects take days and assume intermediate tool skills.
Before you start
- Permits and local rules checked (call your county planning or forestry office)
- Tools and PPE gathered (see list below)
- Disposal plan decided: green waste, mulch, landfill, or haul-away
- Neighbors and utilities notified if work affects shared fencing or ROW
Tools and materials you’ll commonly need
- Personal protective equipment: hard hat, eye protection, hearing protection, cut-resistant gloves, steel-toe boots
- Hand tools: loppers, folding saw, pruning saw, hand pruners
- Power tools: brush cutter/brushcutter with metal blade or nylon line, chainsaw (50cc+ for trunks), reciprocating saw
- Mechanical options (rented or contractor): skid steer with mulcher head, tracked mulcher, excavator with shear
- Disposal supplies: tarps, heavy-duty contractor bags, wheelbarrow, wood chipper (rental), dumpster or trailer
- Marking tools: stakes, flagging tape, spray paint
Understanding Brush Removal: What It Entails
Brush removal or brush clearing is the process of cutting, separating and removing dense undergrowth, saplings, vines and woody debris from a parcel of land to reduce fire risk, prepare a site for development, restore pasture, or improve aesthetics. Vegetation management spans a spectrum from light maintenance trimming to full land clearing.
Typical elements of brush removal:
- Identification of vegetation types: grasses, shrubs, saplings (under 6″ DBH), and small trees
- Selection of removal method: manual cutting, mechanical mulching, or targeted chemical control
- Segregation of materials for reuse: chipping for mulch, logs for firewood, green waste for compost
- Safe transport and legal disposal per local regulations
Brush removal differs from tree removal in scale and technique. Where a tree-removal project centers on felling and limb management of large-diameter trunks, brush clearing focuses on mass removal of smaller-diameter stems and dense undergrowth. That distinction affects equipment choices, permitting, and cost estimates.
Environmental impact and regulatory considerations
- Wildlife habitat: removing dense brush can displace nesting or burrowing animals — always survey before major work.
- Soil erosion: large-scale removal exposes soil; erosion control (silt fence, seed, mulch) is often required.
- Herbicide use: regulated in many jurisdictions; consult environmental protection authorities before chemical controller application. See EPA guidance.
Common project sizes and outcomes
- Small lot tidy (0.1–0.5 acre): remove shoulder-high brush, open sightlines — typically 4–8 hours
- Yard-to-edge clear (0.5–2 acres): mulching or staged removal with chip-out — 1–3 days
- Land clearing (2+ acres): mechanical mulching or excavation, erosion control, permits — days to weeks
Case example — suburban parcel (0.4 acre)
A homeowner had 30 linear feet of dense Himalayan blackberry and 10 saplings under 3″ diameter. Using a brush cutter and hand loppers, the team cleared the area in 6 hours, chipped material for mulch, and saved $450 versus a full contractor mulching crew. (Local contractor estimate comparison, 2024 project)
Transitioning to methods: deciding whether to DIY or hire pros depends on scale, hazards, and disposal needs — read on.
Methods of Brush Removal: DIY vs Professional Services
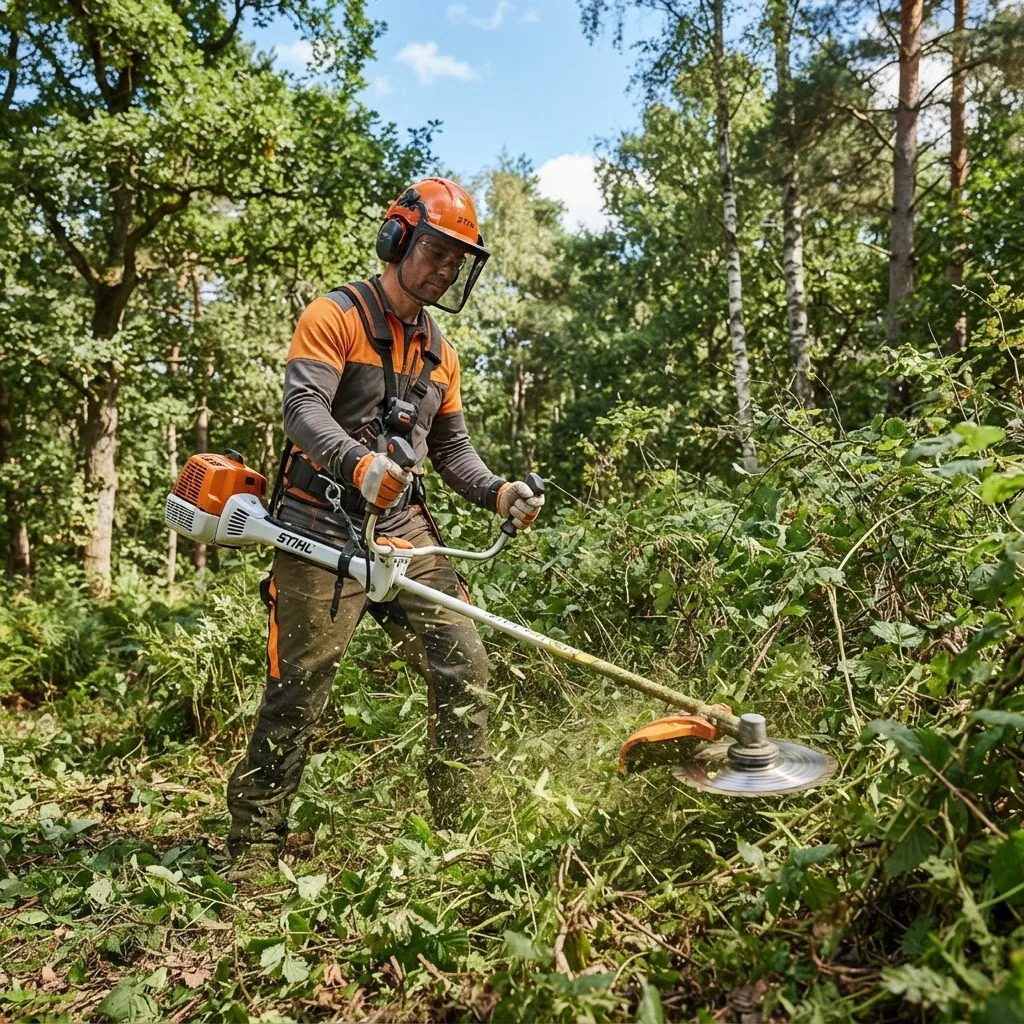
The three primary approaches to removing brush are manual, mechanical, and chemical control. Below is a focused comparison to help you weigh safety, cost, time, and environmental trade-offs.
| Method | Common equipment | Best for | Pros / Cons |
|---|---|---|---|
| Manual cutting | Loppers, pruning saws, hand saws, chainsaw | Small areas, selective clearing, near structures | Low equipment cost; slow and labor-intensive; safest near utilities |
| Mechanical mulching | Skid steers, tracked mulchers, flail mowers, chipper | Large acreage, dense accumulations | Fast, reduces to mulch on site; higher rental/contract cost; requires operator skill |
| Chemical control | Brush-killing herbicides, sprayers | Invasive species, regrowth prevention | Long-term regrowth control; regulatory and environmental risks; not immediate clearance |
Short pros and cons
- DIY Manual: Pros — low cost, selective; Cons — slow, physically demanding, limited for large stumps.
- DIY Mechanical (rented): Pros — faster; Cons — operator learning curve, rental insurance, transport logistics.
- Professional Services: Pros — insured operators, fast, access to heavy machinery; Cons — higher upfront cost, scheduling lead time.
Step-by-step DIY brush removal (practical, tool-centered)
- Survey and mark the area. Walk the perimeter, mark utilities and sensitive zones with flagging tape and stakes; map work area in 10–20 ft grid for task planning.
- Clear access paths. Create a 3–4 ft clear path for movement, keeping escape routes away from the cutting face.
- Cut low and work high. Remove low brush first (grasses, vines) then tackle saplings; cut stems into ≤3 ft sections for handling and chipping.
- Use the right tool head-to-head. Use a brush cutter with metal blade for woody stems up to 2″ diameter; chainsaws for larger trunks—limit chainsaw cutting to trained users.
- Chip or pile material. Chip branches up to 6″ diameter with a chipper, or make burn piles only where permitted and safe; otherwise haul debris to green waste facility.
- Inspect and treat stumps. Stump grinding (rental or contractor) recommended for root removal; chemical stump treatments can inhibit regrowth if allowed locally.
- Final sweep and erosion control. Seed exposed soil, apply mulch or wattles on slopes >10% within 24–48 hours to reduce erosion.
When professional services make sense
- Large acreage (>1 acre) or areas with slope >15% where erosion is a concern
- Presence of power-lines, gas lines, or unknown underground utilities
- Regulatory permit requirements or when mechanical mulching is the selected method
- Need for debris hauling, certified disposal, or insurance-backed liability coverage
Industry perspective and credential note: always check licensing and insurance. For commercial or municipal projects, consult the National Association of Landscape Professionals for standards and operator certification: National Association of Landscape Professionals.
Logistics and cross-service links: brush projects are often paired with other removals; for example see guidance on professional moving-out logistics in office furniture removal and professional service needs.
Transition: once you’ve chosen a method, the next step is finding and vetting local providers or rental options.
How to Find a Brush Removal Service Near Me
Finding a reliable local contractor requires targeted searches, vetting, and comparing estimates. Use a mix of digital search terms, local references, and on-site quotes for best results.
- Search with focused keywords. Use queries like “brush removal service near me,” “mechanical mulching contractor [county name],” or “brush clearing and haul-away.” Include your city and ZIP for accurate local results.
- Check credentials. Confirm business license, proof of insurance (liability and workers’ compensation), and equipment ownership or rental partnerships.
- Ask for detailed written estimates. Request line-item estimates showing labor hours, equipment, disposal fees, travel fees, and any permits included or excluded.
- Request references and photos. Ask for before/after photos from recent nearby jobs and contact 1–2 references for direct feedback on timelines and cleanup quality.
- Compare quotes on the same scope. Standardize scope (acreage, debris removal level, stumps ground or left) so you’re comparing apples-to-apples.
- Confirm disposal plan. Verify whether the contractor chips on-site, hauls to a transfer station, or disposes in a landfill; get disposal receipts if required.
- Review contract terms. Check for start date, completion window, deposit and final payment schedule, damage liability and cleanup standard.
Tips for local search success:
- Use localized directories and Nextdoor for neighborhood references
- Check recent customer reviews and watch for patterns (late start times, missed cleanup)
- For mechanically heavy jobs, prioritize firms with their own mulcher heads and chip trucks
- When you need coordinated pick-up or delivery services during a property cleanout, search simultaneously for furniture delivery and pickup services
Local regulations and permits often determine whether a contractor can start immediately. If you see notices or historical overlays on municipal GIS maps, ask the contractor specifically about permitting and bonded work.
Cost Breakdown: What Influences Brush Removal Pricing
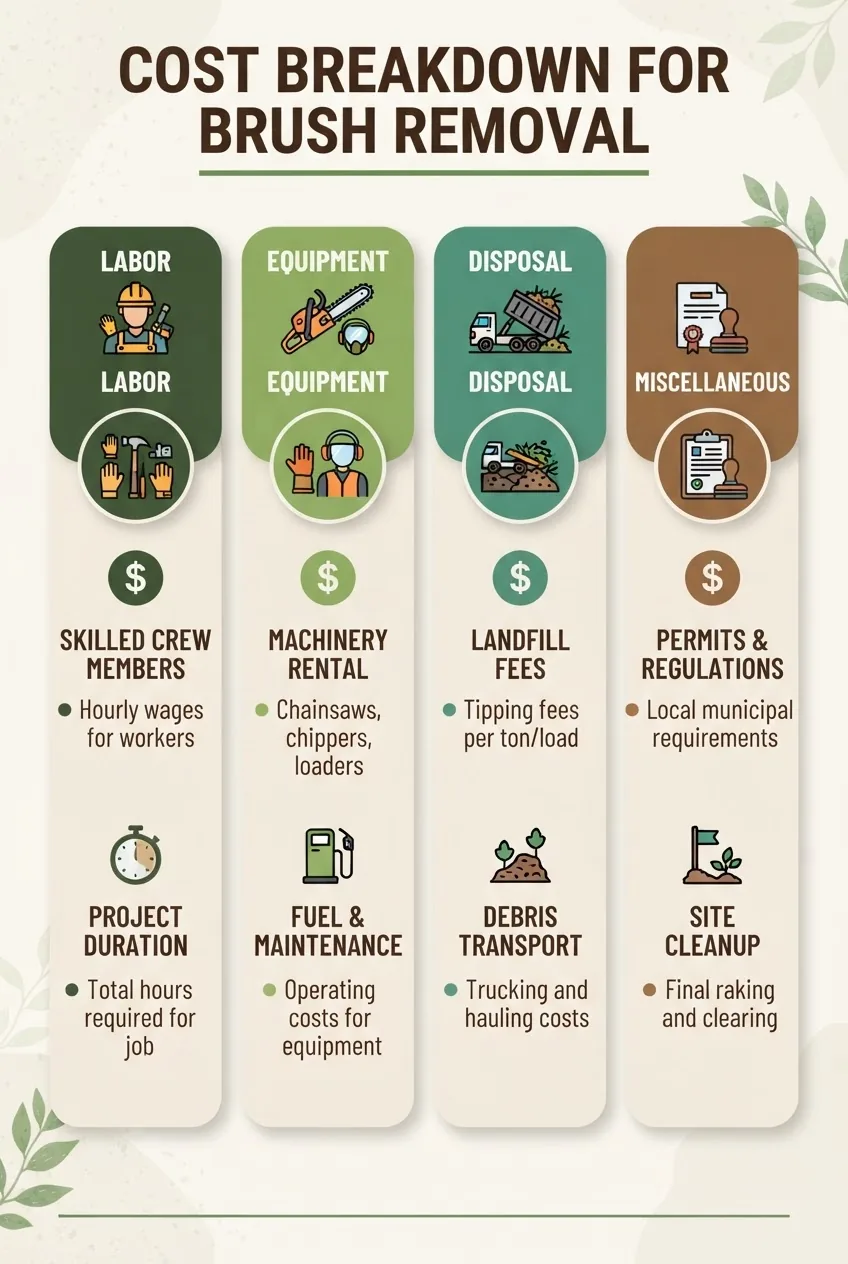
Brush removal pricing varies widely with scale, accessibility, equipment used, disposal choices, and local labor rates. Below is a practical cost model and illustrative examples to help you budget realistically.
Stat block — baseline factors (typical U.S. market)
- Average hourly labor rate (crew): $60–$120 per hour per worker (According to a 2024 industry report)
- Skid steer with mulcher rental or service: $150–$400 per hour for contract work; rental $400–$800/day plus operator (2024 rental market data)
- Disposal tipping fees: $50–$150 per ton at municipal transfer stations (varies by region)
- Dumpster rental (15–30 yd): $300–$800 per week depending on region and load type
Pricing examples (realistic scenarios)
- Small lot tidy (0.25 acre): Manual labor 6–8 hours by 1–2 people, chipper rental $150–$300, disposal minimal. Typical cost: $300–$900.
- Suburban mulch-out (0.5–1 acre): Contractor uses a skid steer mulcher for 6–12 hours, chip-out or on-site mulch: Typical contractor cost: $1,200–$4,000 depending on access and debris volume.
- Full acre mechanical clearing: Tracked mulcher + chip truck, 1–3 days, permits/erosion control required: Typical cost: $5,000–$18,000 (According to a 2023 commercial land-clearing dataset).
How contractors typically calculate bids
- Time and labor: Crew size × hourly rate × estimated hours. Example: 3 workers × $85/hr × 6 hrs = $1,530.
- Equipment charge: Hourly or flat-day rate for mulcher or chipper. Example: $250/hr mulcher × 6 hrs = $1,500.
- Disposal: Estimated tons or cubic yards × tipping fee OR flat haul-away fee. Example: 3 tons × $75/ton = $225.
- Travel and mobilization: Flat fee or per-mile. Example: $150 mobilization + $1.50/mi.
- Permits and erosion control: If required, contractor includes permit cost and materials (silt fence, seed): $200–$2,000 depending on scope.
Fees, add-ons and common surprises
- Stump grinding: $50–$150 per stump depending on diameter.
- Large-diameter trees (>6″ DBH) often billed separately as tree removal with crane or bucket truck.
- Hazardous material handling (asbestos in structures, chemical drums) is extra and requires certified removal crews.
- Site restoration (seed, hydroseeding, erosion matting) usually add $0.20–$2.00 per sq ft.
FAQ (within cost section)
Q: Is cost estimated by acreage or volume? A: Contractors use a mix — driveable-accessible acreage for mulching and volume (cubic yards or tons) for haul-away. For mulching, acreage and vegetation density set the price; for hauling, cubic yards/tonnage guides fees.
Q: How do I lower costs? A: Reduce hauling by agreeing to on-site chipping and leaving chips as mulch, do selective manual pruning yourself to reduce crew hours, or schedule work off-peak season for better rates.
Cross-reference cost contexts: brush removal is often part of larger property cleanouts; compare and allocate costs alongside estate cleanout services and cost details when budgeting comprehensive projects.
Transition: once you understand pricing, prepare the site and tools safely before work begins.
Preparation and Safety Tips Before Brush Removal
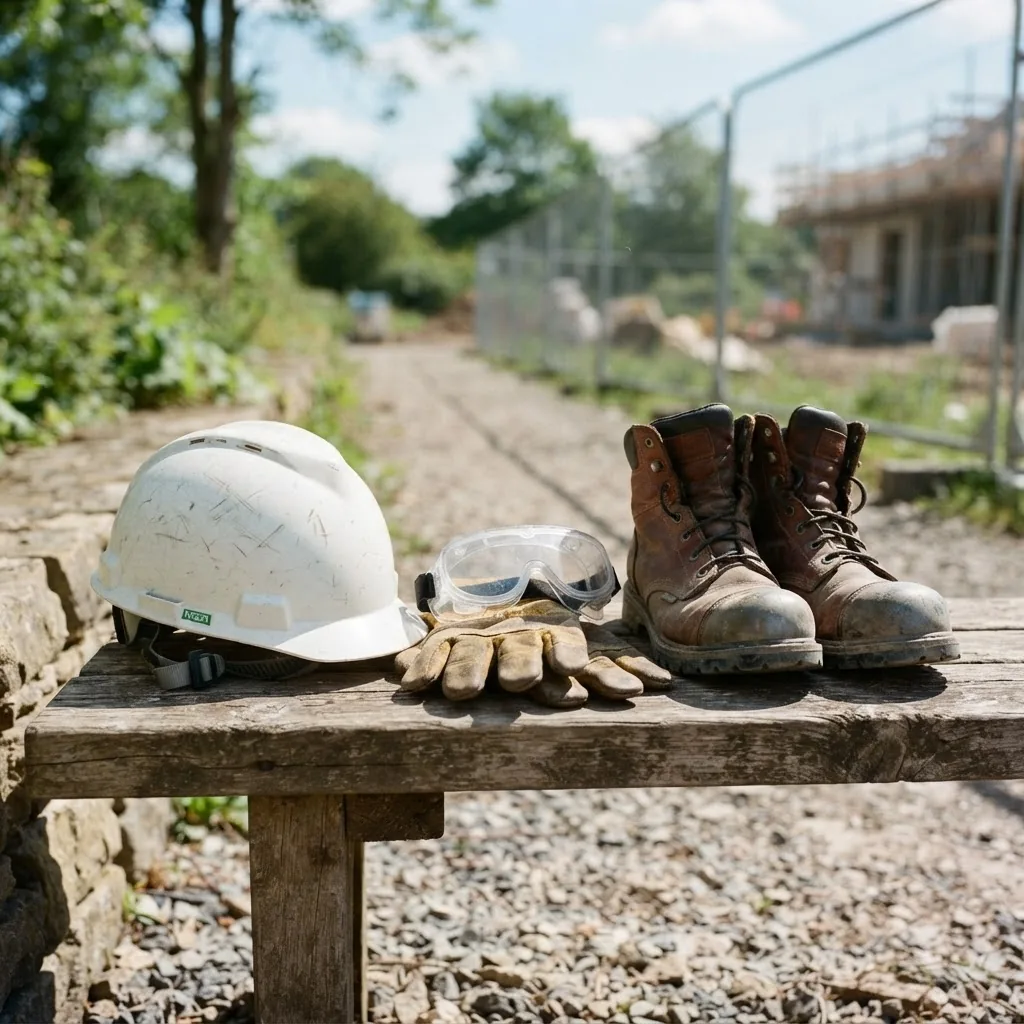
Preparation reduces injury risk and prevents regulatory headaches. Below are concrete steps you should complete before any cutting starts.
- Call utility locates. Dial the national one-call line (811 in the U.S.) at least 3 business days before digging or stump grinding to locate underground utilities; for overhead lines maintain a 10 ft minimum clearance while operating mechanical arms.
- Conduct a wildlife and habitat sweep. Early season work (spring) risks disturbing nesting birds; if nests are present, schedule around breeding seasons or contact local wildlife agency guidance.
- Secure permits if required. Check county or state forestry websites; removal within sensitive corridors or wetlands commonly requires a permit. See your state forestry or county planning office; for federal guidance see USDA Forest Service.
- Organize PPE and tool checks. Inspect chainsaws for sharp bars, chain tension, and full fuel; test brush cutter blades for cracks; verify chippers have emergency stops and infeed guards.
- Set up erosion controls. On slopes >10% install silt fences, straw wattles, or temporary erosion blankets before soil exposure.
- Establish an emergency plan. Have a charged phone, first-aid kit, and an evacuation route; for chainsaw injuries, pack a trauma dressing and tourniquet and plan nearest ER route.
- Plan for weather and seasonality. Avoid wet ground where heavy equipment can cause rutting; winter dormant-season work may be restricted in some regions for wildlife reasons but reduces regrowth.
Checklist before cutting
- Utility locate complete (call 811 or local equivalent)
- All operators trained on equipment (chainsaw certified or experienced)
- PPE present and fitted: helmets, eye protection, chaps for chainsaw use
- Fire extinguisher and water source on site if using power equipment
- Traffic and pedestrian controls in place if work near roads
Case note and testimonial
“We were on a 2-acre lot with steep sections. Contractors insisted on erosion controls, and we saved weeks of rework and fines,” said a property owner after hiring a licensed contractor (paraphrased customer testimonial, 2024). Always get written confirmation that erosion measures will be installed.
Transition to disposal options: after removal, proper disposal or recycling of brush matters for cost and environmental compliance.
Disposal and Recycling Options for Removed Brush
After cutting, you must decide how to handle the woody material. Local rules differ; choose the option that fits your budget, environmental goals, and permit constraints.
- On-site chipping and mulching. Chippers convert branches up to 6″–8″ into mulch. Benefits: reduces hauling cost and provides ground cover. Limitations: may not accept large trunks; requires chipper or contractor.
- Wood chip pickup by contractor. Contractors either leave chips as mulch or haul to processing centers; negotiate whether chips stay or are removed and cost differences.
- Composting and green waste drop-off. Municipal compost facilities accept brush and yard waste by cubic yard or ton; check local acceptance rules for treated wood or invasive species.
- Landfill or transfer station disposal. Use when material cannot be reused; expect tipping fees per ton. Keep receipts for compliance and reimbursement if part of estate or insurance claims.
- Burning. Only where legal and safe — many jurisdictions restrict open burns. Obtain burn permits from local fire authorities where permitted and follow season-specific fire restrictions. See local fire authority rules and your state forestry guidance.
- Salvage uses. Logs and large limbs can be stockpiled for firewood (season and drying time: 6–12 months), habitat piles, or milling if valuable hardwoods are present.
Cross-service disposal reference: if you also need appliance removal during a property cleanout, coordinate pickups. See guidance on appliance pickup and disposal options for combined logistics.
Environmental and legal notes
- Some municipalities prohibit chipping of invasive species on public green waste; check disposal routes for invasives.
- Herbicide-treated brush may be prohibited from composting facilities — verify chemical use before sending to green waste sites.
- Document disposal with weigh tickets or receipts for records or permit compliance.
Transition to benefits: proper disposal ties directly to the long-term benefits you’ll realize after clearing.
Benefits of Brush Removal for Your Property
Removing brush delivers measurable benefits: reduced wildfire risk, improved sightlines, enhanced curb appeal, and more usable land. For many property owners, carefully planned removal also increases property value when combined with erosion control and thoughtful landscaping.
Example scenario — fire risk reduction: According to a 2023 government forestry report, reducing ladder fuels and maintaining a 30-foot defensible space around structures can lower home ignition probability substantially. Proper brush removal specifically targets ladder fuels (shrubs and small trees) that transmit fire from ground fuels to canopy.
Example scenario — land use conversion: clearing a 0.5-acre parcel of shoulder-high scrub to a well-graded lawn or vegetable plot can increase functional yard space by up to 40% and improve saleability if combined with simple landscaping.
When coordinating a larger property cleanout, consider pairing brush clearing with Couch Removal Guide for Furniture Haul Away and Disposal to streamline logistics and save on mobilization costs.
Hands-On Step-by-Step Guide: Core Procedure
Below are the numbered, action-first steps to perform a typical DIY brush removal on a small to medium lot (0.1–1 acre). Follow quantities, timings, and safety limits precisely.
- Mark and map the work area (1–2 hours). Walk perimeter, stake corners every 25–50 ft, place flagging on hazards, and draw a simple map. Identify 1–2 staging areas for equipment and chip piles located 50–100 ft from the cutting area.
- Call for locates and permits (3–5 days lead time). Contact 811 for underground utilities and your county planning office for permit checks at least 72 hours before work. Keep permit numbers in your on-site paperwork.
- Perform a wildlife and nesting survey (30–60 minutes). Scan for nests and dens; if found, contact your state wildlife agency and reschedule as needed for breeding seasons (common windows: March–August in many regions).
- Set up PPE and emergency gear (15–30 minutes). Ensure each operator has helmet, face shield, hearing protection, gloves, saw chaps, and first-aid kit. Place a charged phone and a fire extinguisher within 25 ft of operations.
- Clear access paths and remove low fuels (1–3 hours depending on size). Use a brush cutter with nylon line to clear grasses and vines; remove debris to staging areas as you progress to avoid tripping hazards.
- Cut saplings and shrubs into manageable sections (2–8 hours). For stems up to 2″ diameter use a brush cutter or loppers; between 2″ and 6″ consider chainsaw; cut sections to ≤3 ft for manual handling and chipping.
- Handle larger small trees and stumps (variable, contractor recommended for >6″ DBH). For stumps under 6″ you can grind with a stump grinder; for stumps larger than 6″ or near structures hire a certified arborist or contractor.
- Chip material or prepare haul piles (2–6 hours). Feed branches into chipper by size order (small to large), keep hands away from infeed, and use push sticks. Accumulate chips in designated area 10–20 ft from work face.
- Final clean and erosion control (1–4 hours). Remove trip hazards, scatter chips for mulch, seed exposed soil areas within 48 hours, and install erosion matting where slope >10%.
- Document disposal and complete paperwork (30–60 minutes). Secure weigh tickets or receipts for green waste, note start/completion times, and take before/after photos for records.
Common mistakes and how to avoid them
From my experience on multiple residential and commercial jobs:
- I underestimated the regrowth after initial cutting — I now always treat stumps or plan follow-up mowing at 6–12 month intervals to prevent resprouting.
- I once skipped utility locates on a small yard and struck a shallow irrigation line — always call 811 no matter how small the dig.
- I attempted to run a rented mulcher without training; the machine stalled repeatedly and cost me extra rental days — always get operator training or hire a certified operator for heavy equipment.
Checklist to verify your work
- All marked brush removed to agreed scope
- Chips, logs, and debris placed per disposal plan
- Stumps treated or ground as specified
- Erosion control measures installed and seeded where required
- Documentation: permits, disposal receipts, before/after photos
When to call in a professional
Hire a professional when: the area exceeds 1 acre, slopes are steep (>15%), there are power lines or hazardous trees, municipal permits are required, or you need guaranteed insurance and bonded cleanup. Professionals are also advised when heavy equipment or cranes are necessary.
Common mistakes and how to avoid them (consolidated)
Repeated from field experience: underestimating volume, ignoring locates, and improper equipment choices drive most budget overruns. Treat these as mandatory pre-checks: map, call locates, and get two equipment quotes.
Conclusion
Brush removal requires clear decisions about method, realistic budgeting, and safety-first execution. Small DIY projects can be completed in a day with the right tools; larger mechanical or full-acre jobs usually require licensed contractors. Review permits, document disposal, and coordinate related services like furniture or appliance haul-away to save mobilization costs. When in doubt, call a licensed, insured contractor for an on-site estimate.
Ready to start? If you’re coordinating a larger property cleanout, consider combining tasks to reduce costs and downtime.