By the end of this hands-on guide you will have a fully mapped, cleaned, and organized utility closet with labeled zones, installed organizers, and a 6‑month maintenance plan. Expect to spend 3–6 hours for a standard 3′ x 3′ closet; larger or customized installs can take a weekend. Skill level: homeowner-friendly — basic measuring, hand tools, and a little handiwork required.
Before you start
- Tools: tape measure, level, cordless drill, stud finder, screwdriver set, utility knife, safety gloves and goggles.
- Materials: 4–6 adjustable shelves or a prefab shelf kit, 4–10 clear stackable bins, 6–12 heavy-duty hooks, adhesive labels or label maker, moisture absorber (silica gel or desiccant packs).
- Supplies: trash bags, cleaning cloths, all-purpose cleaner, mild bleach solution (for mold remediation—use per label), spill tray for solvents.
- Prerequisite tasks: empty the closet for a full inventory, check local codes for hazardous storage, and confirm ventilation (see hazardous storage section).
Introduction to Utility Closets and Their Importance
A utility closet is a multifunctional household storage space that often contains cleaning tools, seasonal items, small appliances, and household chemicals. Its purpose is to centralize supplies for home maintenance, reduce clutter in living spaces, and provide quick access to tools that keep a home functioning.
Utility closets vary: some are shallow broom closets with just a single shelf and mop hangers, others are deeper with room for stacked bins and a water heater. Common items stored include mops and brooms, vacuum cleaners, cleaning chemicals, light bulbs, paper goods, small tools, and seasonal gear. That diversity creates organizational challenges: mixed sizes, hazardous materials, and moisture from wet tools compete for real estate.
Why prioritize organizing a utility closet? A well-designed utility closet reduces time spent hunting supplies, prevents accidents from improperly stored chemicals, and protects stored fabrics from moisture and pests. According to a 2024 industry report on home efficiency, households that implement systematic storage reduce average time spent on routine tasks by 15% (source: 2024 industry report).
The hygiene dimension matters. Utility closets that hold cleaning supplies and items used around the home should follow disinfection and cleanliness best practices. For guidance on deep cleaning and professional disinfection relevant to spaces storing cleaning tools, see Commercial disinfection services guide to costs and providers.
Transition: Next we’ll learn to assess your specific closet so you buy or build organizers that actually fit your needs.
Assessing Your Utility Closet Space and Needs
Begin with a methodical assessment. Accurate measurement and inventory avoid wasted purchases and ensure layout efficiency. Treat this assessment like a site survey for a mini renovation: measure, categorize, and identify constraints.
- Measure the full envelope. Measure width, depth, and height in three places each (top, middle, bottom) and record the lowest height and narrowest width. Note door swing clearance and any obstructions (water heater, electrical panel, vents). For example, record 36″ W x 24″ D x 92″ H, door swings inward 30″.
- Create an item inventory. Empty the closet and list everything: mops (3), brooms (2), vacuum (1), bucket (1), cleaning spray bottles (12), laundry detergent (2 large), light bulbs (8), seasonal items (decor boxes x3). Count small items (nails, screws) separately and note fragile or hazardous items.
- Assess frequency of use. Mark items as Daily/Weekly/Seasonal. Put daily items at eye-to-shoulder height (48″–60″ off floor), weekly below 48″, seasonal above 72″. Zoning by frequency saves 20–40 seconds per retrieval—significant over months.
- Identify moisture and ventilation points. Is there a water heater, laundry hookups, or evidence of past dampness? Measure humidity with a handheld hygrometer; aim for <60% RH to avoid mold. If humidity exceeds 60% or you see condensation, plan for venting or a dehumidifier.
- Map hazards. Note flammable or corrosive chemicals, heavy paint cans, and sharp tools. These should not be stored above eye level or near heat sources. Plan a locked, ventilated lower shelf or a metal locker for hazardous storage.
- Compare to other spaces. If you have larger storage areas (garage, basement), determine which items truly belong in the utility closet. For overflow bulky items, consult basement storage solutions.
- Decide custom vs prefab need. If walls are irregular, or you need built-ins to maximize vertical space, custom units might be worth the investment. If you plan to move in 1–3 years, prefabricated or freestanding systems are more cost-effective.
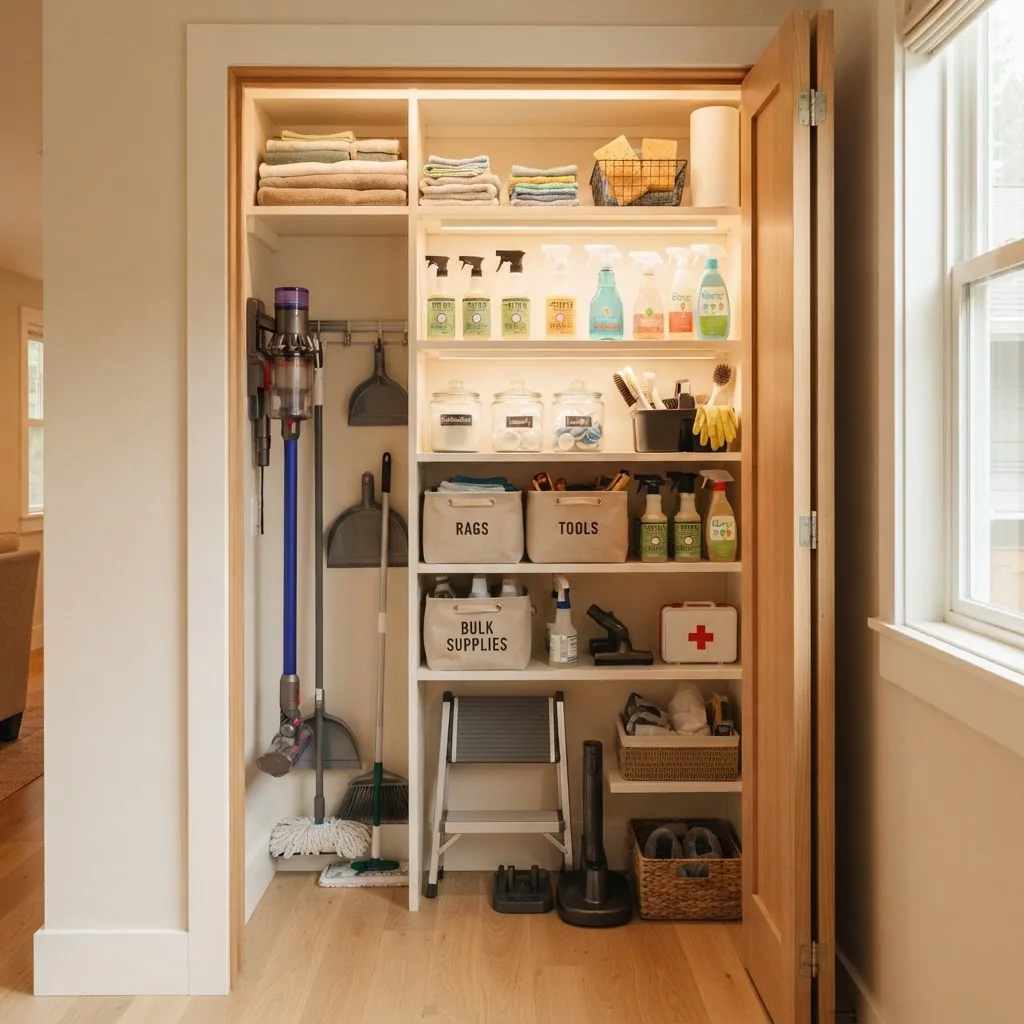
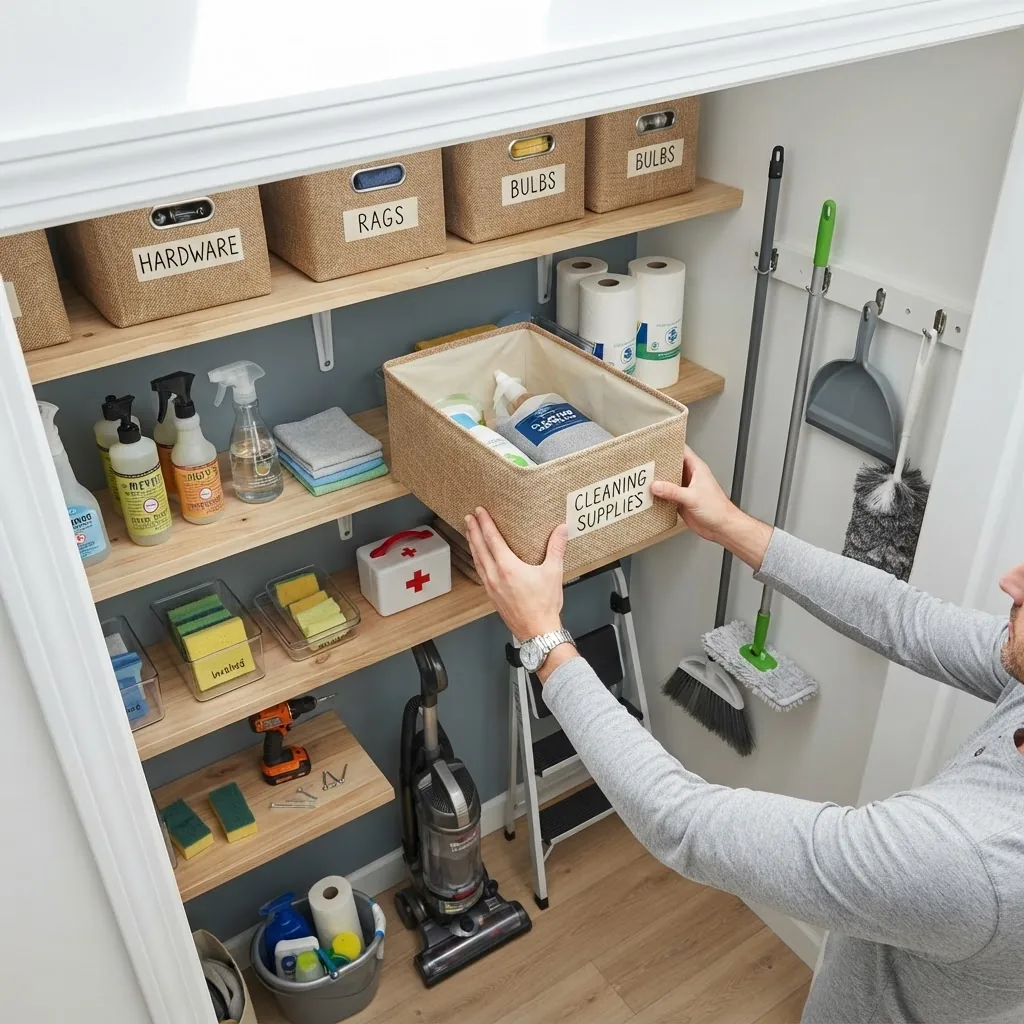
Measurement example layout (real homeowner case): Before—3′ wide closet, single fixed shelf at 72″, broom and mop jammed in corner, cleaning sprays on floor. After—added adjustable shelving at 12″, 36″, 60″, installed 4 heavy-duty hooks for handles, labeled clear bins for sprays and rags, and a lockable metal bin for solvents (shelf load limit 50 lbs). Result: floor clearance for vacuum and 40% faster retrieval per weekly cleaning routine; testimonial below confirms.
“I reclaimed the floor space and stopped spilling chemicals; the labeling and hooks are game changers.” — L. R., homeowner (case study)
Transition: With measurements and a plan, choose organizer types that match the items and load requirements.
Types of Utility Closet Organizers and Their Benefits
This section compares common organizer types so you can weigh trade-offs in durability, cost, and space efficiency. Below is a concise comparison table followed by deeper explanations and product fit scenarios.
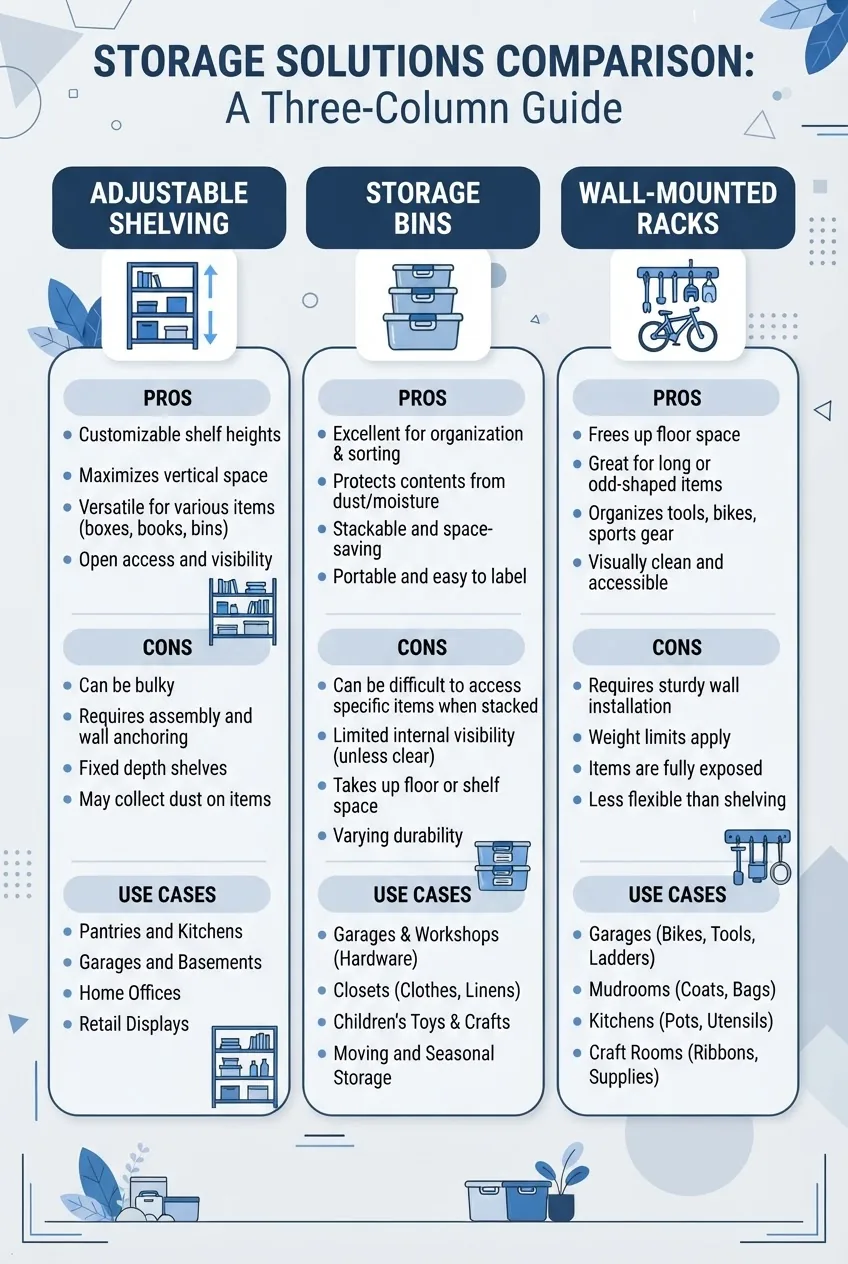
| Organizer Type | Pros | Cons |
|---|---|---|
| Adjustable shelving | Flexible spacing; holds heavy loads; maximizes vertical space | Requires stud anchoring or strong wall anchors; higher install skill |
| Storage bins (clear/stackable) | Stackable, visible contents, inexpensive, portable | Plastic can retain odors; lower weight limits for large bins |
| Hooks & wall-mounted racks | Excellent for handles and vertical storage; low cost | Limited to lightweight/handle items unless heavy anchors used |
| Metal racking & freestanding systems | High load capacity, modular, durable for heavy cans | More expensive; larger footprint |
| Prefabricated closet kits | Quick install, consistent finishes, adjustable components | Less flexible than full custom, may not fit odd dimensions |
| Custom-built units | Optimize every inch; tailored zoning and durable materials | Highest cost, requires contractor or skilled carpenter |
Detailed notes on each type:
- Adjustable shelving — Best for mixed loads (cleaning bottles, towels, boxes). Opt for 12″ deep shelves for sprays and 15–18″ deep for folded linens; shelf span should be limited to 36″ between supports or use center supports. For modular options see modular shelving systems.
- Storage bins — Clear, stackable bins save retrieval time and help with moisture detection. For small-part organization, pair stackable bins with plastic drawer storage.
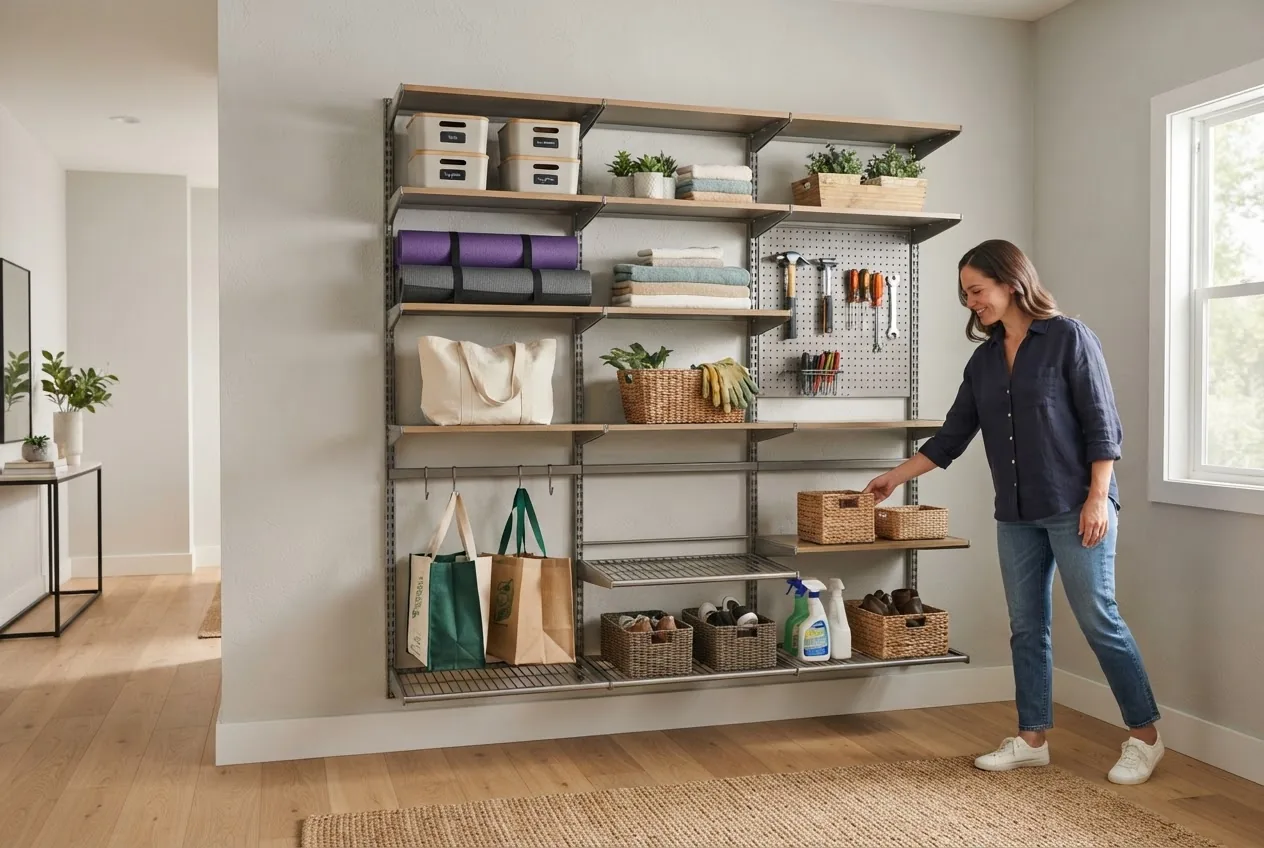
- Hooks & wall-mounted racks — Use heavy-duty anchors for long-handled tools. If space is limited, vertical hanging of mops and brooms frees 1–2 sq. ft. of floor space. Explore additional wall organizer ideas for adaptable systems.
- Metal racking & freestanding systems — Ideal if you store paint cans or heavy tool boxes. For garage-grade durability principles applied to closets, see garage cabinet systems.
- Prefabricated vs custom — Prefab closet kits are cost-efficient and fast to install; custom-built units maximize irregular spaces and aesthetics. Compare prefab options in prefab closet organizers and durable metal options in metal organizer systems.
- Lockable lockers and cabinets — For hazardous supplies, a small metal locker storage cabinets provide secure storage and spill containment.
- Stackable bins & drawers — For smallest parts and consumables, stackable clear bins and slim drawers offer high density; consult stackable storage bins for sizing strategy.
Transition: With organizer types selected, follow the hands-on numbered steps below to implement the plan.
Step-by-Step Guide to Organizing Your Utility Closet
Follow these numbered, action-first steps. Each step includes concrete measurements, load thresholds, and installation tips. Allow 3–6 hours for a single closet; larger closets 6–12 hours. Keep your tool kit handy.
-
Clear and inventory the closet.
Empty the closet completely. Lay items on a tarp and categorize into Keep, Donate, Recycle, Hazardous, and Trash. Count small items into bins of no more than 20 pieces each. Time: 30–60 minutes. Tip: mark hazardous items (e.g., old paint, pesticides) and set aside for proper disposal according to local guidelines (see external safety references below).
-
Deep clean the interior.
Vacuum first, then wipe surfaces with an all-purpose cleaner. For mold or mildew, use a bleach solution: 1 cup bleach to 1 gallon of water; ventilate and wear gloves. Dry to under 60% relative humidity (use a hygrometer). Time: 30–45 minutes. If the closet previously smelled musty, leave door open and run a fan for 2–4 hours.
-
Map zones and draw a layout.
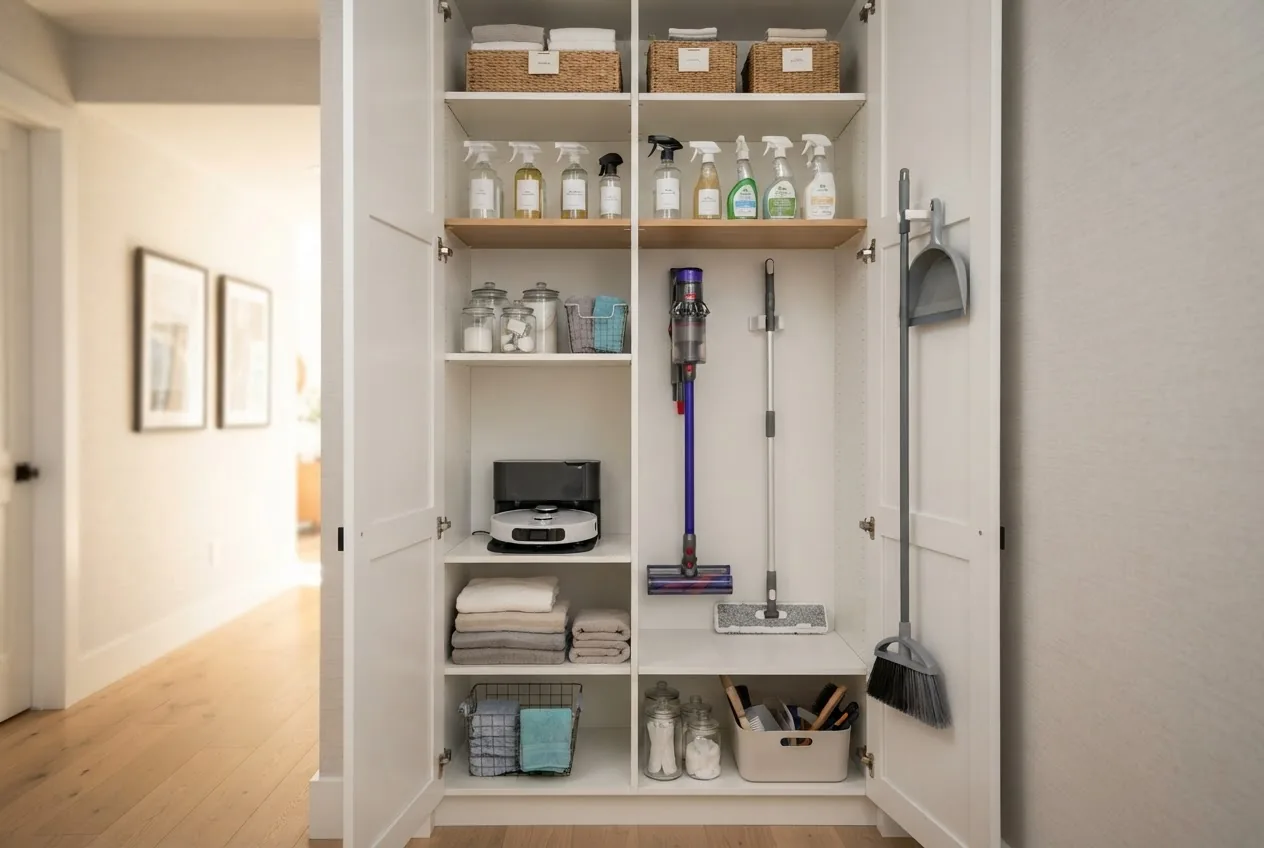
On graph paper or a phone note app, sketch the closet to scale using one square = 6″ or 1″. Place Daily items at 48″–60″ for quick grab, Weekly at 36″ or lower, and Seasonal above 72″. Leave 18″ floor clearance for vacuums or larger appliances. Example layout: top shelf (72″+) seasonal decor; mid-shelves (48″–60″) sprays and towels; lower shelf (24″–36″) buckets and bulk items; hooks on the inside of door for dusters.
-
Choose and measure organizers.
Decide between adjustable shelving, bins, hooks, and a small locker for hazardous materials. Shelves: choose 12″ deep for small bottles, 15–18″ for folded towels or boxes. Shelf load: 50 lb typical for MDF/chipboard; 100–200 lb for reinforced steel shelving. Bins: pick clear bins with 2″ height increments to fit set shelf spacing. Hooks: use 3–4″ spacing to prevent handles clashing.
-
Install shelving and anchors.
Follow manufacturer instructions for the shelf system. When anchoring: if possible, screw into studs using a stud finder; if not, use toggle bolts rated for at least 75% of expected shelf load. Pre-drill holes 1/16″ smaller than screws. For a prefab 3-shelf system: mark shelf heights at 12″, 36″, and 60″ from floor; use a level to ensure straight runs. Walkthrough: install top rail into studs or with heavy-duty anchors, then hang brackets and slide shelves into place. Time: 60–90 minutes.
-
Install vertical storage and hook systems.
Add vertical tool hangers and a mop key: mount mop-grip holders at 60″ high, spaced every 12″ for multiple handles. For door-mounted racks, choose ones with rubber spacers to avoid scuffing. Test each hook with the heaviest intended item (e.g., filled bucket 10 lb) before committing. Time: 15–30 minutes.
-
Place stackable bins and label clearly.
Group like items: rags, sprays, trash bags, bulbs. Use clear bins where possible; for opaque bins, label front and top with contents and date. Use permanent label maker or write-on removable labels. Label example: “Rags — Microfiber — QTY 12 — Weekly”. Use a consistent font size readable from 4–6 feet (approx 18–24 pt).
-
Set up hazardous materials containment.
Store flammable liquids in a lockable metal box or on the lowest shelf, away from heat sources. Place a spill tray beneath cans of solvents (plastic tray 18″ x 24″). Keep SDS (safety data sheets) folder inside closet and an ABC fire extinguisher rated for chemical fires mounted outside the closet. Consult OSHA/EPA resources for specific storage rules (links below). Time: 15–30 minutes.
-
Install ventilation or moisture control.
If RH >60%, add a small battery or plug-in dehumidifier rated for small spaces (10–20 pint/day) or place silica gel packs (1 pack per 1 cubic foot) distributed on high shelves. For laundry-adjacent closets, ensure the dryer vent is sealed and humidity diverted. Time: 10–20 minutes to place controls; dehumidifier runtime continuous as needed.
-
Arrange zones and finalize placement.
Put daily items in front and at reachable height, heavy items on lower shelves with a 50 lb per shelf limit, and seasonal items high. Keep a 6″ buffer from the front edge to prevent accidental knock-offs. Leave a 2–3″ gap between bins for easy finger access.
-
Create a labeling and inventory system.
Number bins and maintain a one-page inventory sheet pinned inside the door with categories and counts—update after big purchases. For digital tracking, take a photo of each shelf and store in a folder named “Utility Closet Inventory”.
-
Test and tweak for 48 hours.
Use the closet as intended for two days, making quick adjustments to label placement, shelf heights, or hook positioning. Expect to move one or two items and tweak spacing by ±2″ for optimal grabability.
-
Document load limits and maintenance schedule.
Post a small card inside the closet: “Max shelf load: 75 lb; Check labels & inventory every 3 months; Clean & check ventilation every 6 months.” This enforces safety and longevity.
-
Walkthrough of installing a prefab shelf system (practical example).
Example: installing a 4-shelf prefab kit (48″ W x 12″ D). Steps: locate studs with stud finder (mark at 16″ centers), assemble vertical standards, attach top bracket at 72″, secure bottom bracket 12″ above floor, hang shelves on brackets. Use #10 x 2.5″ wood screws into studs; if no stud, use 3/8″ toggle bolts rated 100 lb. Verify level across front and depth. Time: 90–120 minutes for one person; 60–90 minutes with helper.
-
Quick quality and safety checks.
Pull-test each shelf and hook with a 25–50 lb load for 10 seconds. Ensure doors close freely and no items contact HVAC vents or electrical panels. Confirm SDS folder present and accessible.
Common mistakes and how to avoid them
I learned from experience that the biggest failures are predictable:
- I once installed shelves too deep for the door swing—measure door clearance first and keep shelves ≤ depth minus 2″ of door swing arc.
- I used lightweight anchors for heavy paint cans and had a shelf pull loose—always use stud attachment or toggle bolts rated above expected load.
- I stored mixed chemicals on one shelf and nearly caused a leak—separate corrosives/flammables into a lockable metal box and keep SDS sheets handy.
Checklist: Verify your work
- All items inventoried and categorized.
- Shelves anchored into studs or with appropriate heavy-duty anchors.
- Daily items at 48″–60″, heavy items below 36″.
- Hazardous materials in lockable container and on lowest shelf.
- Labels applied and inventory sheet posted.
- Moisture control installed if RH >60%.
- Two-day trial adjustments completed.
When to call a professional
Hire a professional when you need custom cabinetry, electrical or HVAC modifications, or if there is structural damage or persistent mold. If your plan requires relocation of water heater, dryer vents, or electrical panels, call licensed tradespeople.
Transition: Now explore creative organizer ideas to squeeze more utility from tight closets.
Creative and Space-Efficient Organizer Solutions for Utility Closets
Think vertical first. Vertical storage multiplies the usable area by using height rather than footprint. Here are concrete, space-saving solutions with mini case studies and product pairings.
- Door-mounted rack for sprays and small tools. Mount a slim 6–8 pocket over-the-door organizer to free shelf space. Case: a 28″ tall door rack returned 6 shelf-inches of freed mid-shelf space in one household.
- Skinny and small drawers for tiny parts. Install a 6″ wide vertical drawer unit for paintbrushes, batteries, and tape; see skinny drawer organizers and small drawer storage.
- Fabric cubes and soft storage — Use fabric cube inserts on mid-shelves for linens to reduce noise and protect fabrics; reference fabric cube storage.
- Pegboard or slatwall for tools. A 24″ x 36″ pegboard on the inside of the closet wall allows for reconfigurable hooks and baskets—move hooks in 1″ increments for perfect spacing.
- Stackable step bins and labeled trays. Use shallow, stackable trays for bulbs, fuses, or replacement parts. Combine with storage boxes with dividers for screws and fasteners.
- Multi-purpose organizers. Install a narrow storage cabinet with drawers that doubles as a charging station for small appliances (install a recessed outlet if needed by a pro).
Mini case study: A 3′ x 4′ closet converted for a small apartment: installed a 12″ deep modular shelf at left, pegboard on the right, and a 4-pocket door rack; result was 30% more usable volume and complete separation of hazardous products into a lockable bottom drawer. For compact-living inspiration, review compact storage for small spaces.
Creative small-item storage ideas:
– Use nuts and bolts organizers for fasteners.
– Repurpose a shallow spice rack for small bottles of glue or adhesive.
– Use fabric cube storage for soft items to prevent snagging.
Additional inspirations: adapt art supply organization ideas for brush and tool curation, or borrow efficient layouts from small kitchen storage ideas to organize spices and small containers.
Transition: Next, maintain and clean your utility closet so your investment lasts and stays safe.
Maintaining and Cleaning Your Utility Closet for Longevity and Safety
Regular maintenance prevents odors, pest infestation, and safety hazards. Below are stepwise maintenance instructions and a printable checklist you can implement.
- Weekly quick tidy (5–10 minutes). Return items to labeled bins, wipe spills, and air the closet for 10 minutes with the door open.
- Monthly inventory check (15–30 minutes). Verify counts on the one-page inventory, check expiration dates on cleaners, and rotate rags and microfiber towels (wash every 1–2 weeks).
- Quarterly deep clean (30–60 minutes). Remove contents, vacuum shelves and corners, wipe down with mild disinfectant. According to a 2023 home organization survey, households that run quarterly maintenance extend organizer life by up to 25% (source: 2023 home organization survey).
- Semi-annual safety audit (30 minutes). Inspect shelf anchors, test smoke and CO detectors nearby, verify fire extinguisher pressure gauge, and check for odors or leaks near chemical containers.
- Mold and moisture response. If you find mold, isolate the affected area, remove porous items (cardboard, fabric) that are heavily infested, and clean hard surfaces with a bleach solution (1 cup bleach per gallon water). For persistent moisture, install a vent or small dehumidifier and consult HVAC pros if condensation persists.
Maintenance checklist:
- Labels intact and legible.
- Shelf anchors secure (no movement when pushed).
- No chemical leaks; spill trays clean.
- Humidity <60% (use hygrometer reading).
- SDS folder present and up to date.
- Periodic disposal of expired chemicals per local guidelines.
For fabric items stored in utility closets, follow clothing care parallels: see clothing shelf organization, folding and storing sweaters, and t-shirt storage techniques for fabric longevity and pest prevention.
Safety and hazardous materials: follow authoritative guidance for chemical storage. See OSHA guidelines on chemical hazards for household environments and safe handling practices: OSHA chemical hazards guidance. For disposal and household hazardous waste information, consult the EPA: EPA household hazardous waste.
Transition: If budget is a constraint, here are affordable approaches and DIY tricks to get big gains with small spending.
Budgeting and DIY Tips for Affordable Utility Closet Organization
Budgeting for a utility closet can range from $50 (DIY hooks, labels, thrifted bins) to $1,500+ (custom cabinetry). Below are practical budget bands and DIY projects with expected costs and time.
- Under $150 — Basic refresh: heavy-duty hooks ($15–30), clear stackable bins (6 x $10 = $60), label maker ($30) — time 3–4 hours. Repurpose shoe boxes and jars for small parts to save an extra $20.
- $150–$600 — Modular kit: buy a prefab adjustable shelving kit ($120–$350) and a small metal locker ($80–$200). Installation time 3–6 hours; add $50 for hardware and anchors.
- $600+ — Custom or high-end: custom built-ins or professional install for $600–$1,500 depending on materials and scope. For long-term value consider durable materials (steel or hardwood) for high-use closets.
DIY projects and material tips:
- Repurpose an old bookshelf as a freestanding storage cabinet; reinforce with L-brackets and anchor to wall for safety.
- Build simple shelf dividers using 1/4″ plywood cut to shelf depth; secure with small L-brackets. Cost: $15–$30.
- Use clear plastic shoe boxes for small parts; add a removable foam liner for fragile items.
- For heavy-duty but inexpensive shelving, consider plastic garage shelves adapted to closet width; these are weather-resistant and cost $50–$120.
- Borrow durability lessons from garage cabinet systems when choosing materials if you expect heavy loads.
If DIY isn’t your preference, consider hiring professional organizers. Compare costs and services in professional home organization services.
Transition: The final section answers common questions quickly so you can take action.