By the end of this hands-on guide you’ll have measured your space, selected the right plastic drawer storage system, stacked and secured units safely, and organized items for immediate use. Expect 2–4 hours for a typical bedroom or office setup; this assumes a basic DIY skill level (measuring, light lifting, and following assembly instructions).
Before you start
- Tools and materials: tape measure, notepad, pen, level, rubber mallet, 4–6 small non-slip pads, optional anti-tip straps or zip ties.
- Supplies: packing paper or shelf liners, drawer dividers, labels, rubbing alcohol, microfiber cloths, mild detergent.
- Data: list items to store, grouped by weight and frequency of access (daily, weekly, occasional).
- Safety: two-person lift for stacked units taller than 4 feet or heavier than 40 lb per stack.
Follow the numbered steps below as the core workflow; each step opens with a bold action-first phrase and includes exact thresholds, recommended dimensions, and practical trade-offs.
-
Measure and map your space — get usable dimensions and clearance
Measure width, depth and height of the storage zone to the nearest 1/8″ and note door swing, window sills, and baseboard trim. For walk-under desks allow 26–28″ internal height. For narrow hallways use units no deeper than 10–12″. Record floor-to-ceiling height and plan a maximum stack height of 60% of ceiling height to leave a margin for stability.
Decide load-bearing limits: if you have floating floors or a raised platform, reduce intended per-stack weight by 20%.
-
Audit the items you will store — categorize by size, weight, and access frequency
Create three lists: heavy (tools, electronics), medium (clothing, linens), light (stationery, cosmetics). Measure common items: folded T-shirt ~1″ thickness, shoebox ~13″×7″×5″. Use these to determine drawer dimensions and capacity.
Capacity rule-of-thumb: a single drawer that is 12″ deep × 16″ wide × 6″ high holds roughly 10–12 folded T-shirts or 2–3 shoeboxes. Use this when choosing between 2 drawer plastic storage options or multi-drawer units.
-
Choose the right material and construction — compare plastic types and durability
Prefer polypropylene (PP) for chemical resistance and flexibility, and ABS or high-impact polystyrene (HIPS) for stronger drawer faces. Avoid low-grade polystyrene for load-bearing components. Expect recommended maximum static drawer loads of 20–40 lb for consumer units; check manufacturer specs.
According to a 2024 industry report on consumer plastics, polypropylene and ABS show superior fatigue resistance in drawer slides compared with basic polystyrene (source: industry report).
First-time buyers should look for units with metal-reinforced drawer slides or thicker plastic ribs in the cabinet walls if storing heavier items.
-
Select the modular stacking system — decide between interlocking stacks or freestanding modules
Choose interlocking stackable plastic storage drawers if you plan to build vertically and want guaranteed alignment. Interlocking tabs and keyed corners typically allow stacking up to 3–6 modules—respect manufacturer weight limits per module (often 50–150 lb cumulative).
For flexible arrangements, choose modular systems with flat tops plus anti-slip pads and optional locking clips so units can be combined in offset configurations. Consider adjustable-height feet for uneven floors; these can add 0.25–0.75″ of height correction.
-
Pick drawer sizes, counts and layouts — balance drawer height with item dimensions
Rules to follow: small-item drawers 2–4″ high, medium 5–8″, deep drawers 9–12″ for bulky items. Typical multi-drawer tower example: (top to bottom) two 3″ shallow drawers, three 6″ medium drawers, one 10″ deep drawer. A 2-drawer plastic storage unit often pairs one shallow and one deep drawer—great for socks + sweaters.
When choosing between a storage box with drawers (single cabinet) and separate modular stacks, favor single cabinets for mobility and modular stacks for space optimization.
-
Assess locking mechanisms and security — choose based on use case
Drawer locking options: simple latch, key-lock cylinder, or interlock bars. For child-safe storage, pick keyed locks or latch systems and avoid small removable parts. For tool or parts storage, metal cam locks add security. Check that locks do not reduce usable drawer height more than 0.25″.
-
Compare clear vs opaque drawers — visibility vs aesthetics
Clear drawers (plastic storage containers with drawers made from transparent PP or PETG) speed identification but show contents and dust. Opaque drawers hide clutter and provide a uniform look; use labels or windowed pockets for identification. Mix both types where practical: clear top drawers for frequently accessed items, opaque bottoms for seasonal storage.
-
Plan layout and traffic flow — place heavy drawers low, frequent-access drawers at waist height
Install heaviest drawers at the bottom of stacks. Place daily-use items between 30–48″ from the floor to reduce bending. Keep aisles at least 28–36″ wide for comfortable access; smaller apartments can use pull-out drawer towers under desks or counters (depth 10–14″).
-
Assemble and stack units safely — step-by-step assembly and anchoring
- Prepare base: place non-slip pads or a thin anti-vibration mat. Ensure base is level within 3°.
- Install first module: follow manufacturer torque specs for screws; do not overtighten plastic inserts—use snug finger-tight plus 1/8 turn with screwdriver.
- Interlock additional modules: align tabs and press down until audible click; where provided, insert stacking clips.
- Anchor safety: secure tall stacks (>48″) to wall studs with 2 screws and straps rated for 100 lb (one strap top, one mid-stack). Use two-person lift for modules >25 lb.
-
Organize inside drawers — use dividers, liners, and labels
Use removable dividers for 2–3 compartments in medium drawers; for small items, a 4–6 cell tray works best. Line drawers with non-adhesive shelf liners to reduce sliding. Label externally with 1/2″ printed labels and use color-coding for frequency (green daily, yellow weekly, blue seasonal).
-
Maintain and clean regularly — scheduled maintenance routine
Monthly: remove drawers, wipe interiors with a solution of mild detergent and warm water, rinse with clean water, dry fully (15–30 minutes). Quarterly: inspect slides and runners for debris, lubricate with a silicone spray (apply 1–2 sprays) to plastic tracks only. Annually: check for cracks, warping, or fatigue at load points and replace damaged modules.
For tougher stains, rubbing alcohol on a microfiber cloth works; avoid harsh solvents on polypropylene. For guidance on professional cleaning options for heavy commercial scenarios, see commercial disinfection services guide to costs and providers
-
Evaluate lifecycle and disposal — plan replacement and recycling
Expect consumer-grade plastic drawer units to last 5–10 years with average home use. Recycle polypropylene or HDPE components at appropriate facilities; consult local recycling centers. Document purchase date and model number for warranty claims.
-
Budget and buy wisely — cost-per-drawer calculation
Compare price per usable drawer volume. Example: two options—$60 for a 6-drawer tower where each drawer is 6″ high, vs $80 for modular stack with two 12″ deep drawers. Calculate cost per cubic inch: (price) ÷ (total drawer volume). Target <$0.0025 per cubic inch for budget buys, $0.005–0.01 for premium modular units with metal parts.
-
Integrate with other systems — combine with shelves, fabric cubes, or closet systems
Combine stackable drawers with open shelving for display items, or tuck them inside freestanding closets. For larger projects, consider pairing with modular shelving or modular shelving systems to optimize vertical space and shared load-bearing.
Introduction to Plastic Drawer Storage Solutions
What you can expect from plastic drawer storage: modular, lightweight, and often the most cost-effective way to create compartmentalized storage in tight spaces. This section outlines organizational storage fundamentals, the benefits of stackability, and where plastic excels compared to other home storage containers.
Plastic drawer systems allow quick reconfiguration; you can swap modules, change drawer counts, and move units between rooms with minimal effort. Their low weight and resistance to moisture make them ideal for basements and bathrooms with humidity concerns, provided you check material specs and weight limits.
Practical note: while household cleaning can usually be handled with a mild detergent, readers with heavy commercial or biohazard concerns may prefer professional services. For those readers, see commercial disinfection services guide to costs and providers
Transition: Next, we’ll break down the specific types of stackable plastic drawer storage containers and when to choose each format.
Types of Plastic Drawer Storage Containers
Stackable storage comes in many form factors. Below are numbered types with comparison explanations to help you match container format to use case.
-
2-Drawer Units
2 drawer plastic storage units are compact—typically 12–18″ wide, 12–16″ deep, and 12–24″ high. They commonly pair one shallow (3–5″) and one deep (8–12″) drawer. Best for bedside storage, under-desk use, or small kitchens where two-tier priority (daily items + bulk) works.
Pros: very portable (often <25 lb), quick access, fits under counters. Cons: limited compartmentalization for many small items.
-
3–6 Drawer Towers
These multi-drawer units are common in bedrooms and craft rooms. Drawers range from 3–8″ high. They provide more compartmentalization for small-item sorting without taking wide floor space.
-
Modular Stacking Systems
These are designed to interlock horizontally and vertically. Typical module footprint is 12″×16″ or 15″×20″. They let you mix drawer heights and add accessories (locking lids, caster bases, shelving tops). Ideal for flexible room layouts and temporary setups.
Look for keyed corners, stacking clips, and weight distribution data from manufacturers.
-
Clear vs Opaque Drawer Boxes
Plastic storage containers with drawers offered as clear panels or solid colors. Clear is best for visibility (crafts, office supplies); opaque is better for aesthetic cohesion (living rooms, guest rooms).
-
Locking and Secure Drawer Boxes
Includes keyed locks, sliding latch systems, and padlock-compatible designs. Choose metal-backed locks for valuable items. These are often used in offices and shared spaces where security matters.
-
Under-Bed and Slim Drawer Boxes
Designed to slide into narrow gaps: 6–9″ height, 22–40″ length. Great for seasonal clothing, shoes, or rarely used linens. They typically have low-profile casters or finger cut handles for easy retrieval.
-
Heavy-Duty Garage/Workshop Drawers
Made with thicker plastic walls, metal-reinforced slides, or hybrid metal-plastic construction. Use for tools, hardware, and heavier parts. When garage-grade storage is required, check the product’s stated static load capacity (often 100–300 lb per cabinet).
-
Stackable Drawer Sets (Multi-Pack)
Pre-matched sets intended to stack cleanly—common in craft and office supply markets. They often include modular lids and dividers and are cost-effective when purchased in bundles.
Transition: Having seen the types, next we cover the concrete advantages of picking stackable units, focusing on space-saving and modular benefits.
Advantages of Stackable Plastic Storage Drawers
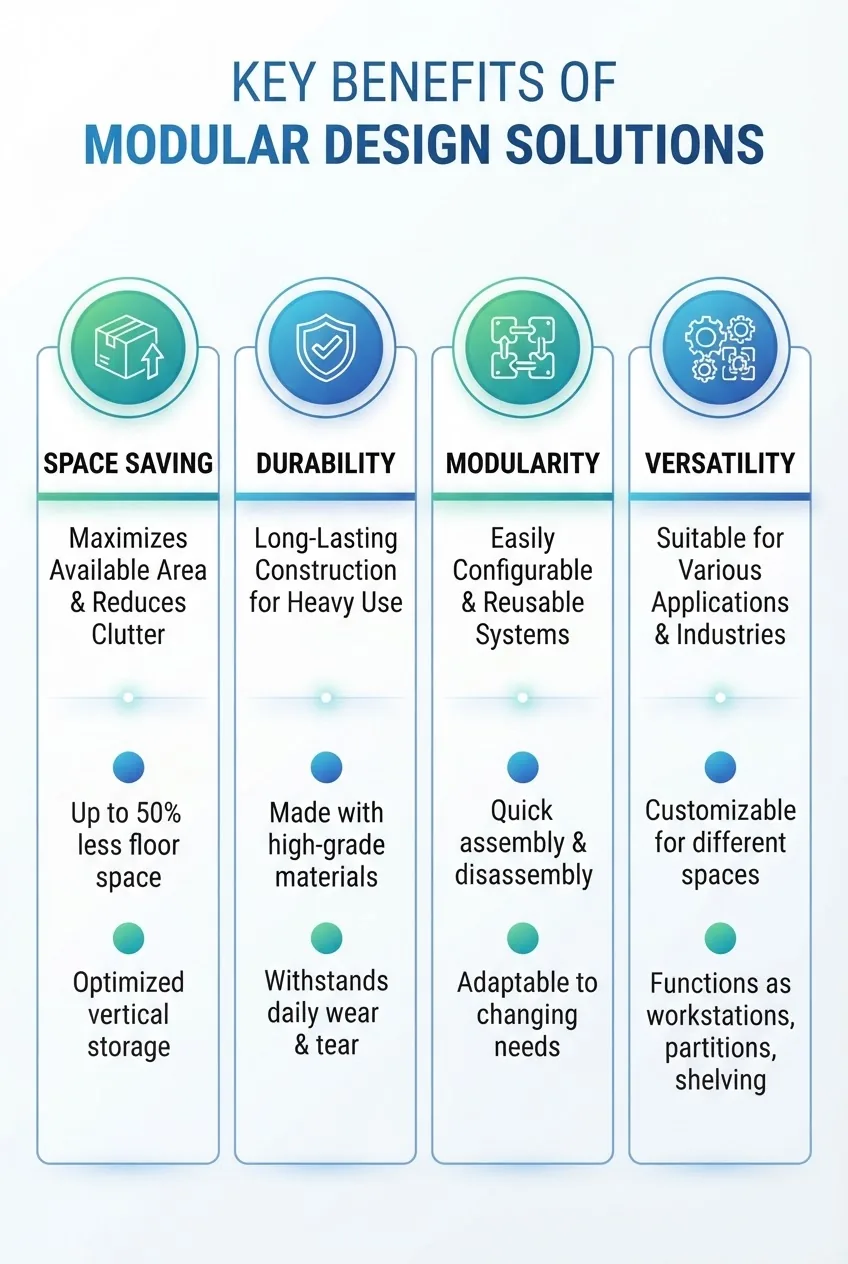
Stackable units amplify storage capacity without expanding your footprint. Here are the practical advantages:
- Space-saving storage: Stack vertically to multiply capacity per square foot. A 2’×1.5′ footprint stacked to 5′ provides the same drawer volume as multiple floor units.
- Modularity: Mix and match drawer heights and modules to suit changing needs; modular stacking systems allow reconfiguration in under 15 minutes.
- Durability of plastic drawers: Modern PP and ABS systems resist moisture and most household chemicals, increasing useful life in humid areas.
- Customizable storage setups: Combine with shelves, closet systems or under-desk placements for tailored workflows.
Key benefits at a glance:
- Lower cost vs custom cabinetry—typical consumer-grade units cost 30–70% less than built-ins.
- Easy relocation—most modular units are light enough for one person to carry under 25 lb.
- Quick assembly—many interlocking units assemble in 5–15 minutes without tools.
- Versatility—work in bedrooms, offices, kitchens, and bathrooms with minimal modification.
Transition: With the benefits clear, we’ll now walk through how to choose the right unit for your specific needs in a step-by-step decision process.
How to Choose the Right Plastic Drawer Storage for Your Needs
This section is a step-by-step decision tree and selection methodology for matching drawer features to real use cases. Follow the numbered steps and use the numerical thresholds provided.
-
Step 1: Define the purpose and capacity
Ask: What will you store and how often will you access it? For paperwork and stationery, aim for drawer depths 4–6″ with dividers. For folded clothing, choose 8–12″ drawer heights. For bulky, infrequently accessed items, prefer 10–12″ deep drawers.
-
Step 2: Match drawer dimensions to item sizes
Measure representative items and allow 1–2″ clearance for smooth insertion. Example thresholds: max shoe box height 6″, folded sweater 3–4″ — choose drawer heights accordingly. For multiple items stacked, calculate cumulative height and add 10% breathing room.
-
Step 3: Assess load requirements
Calculate estimated weight: average folded sweater 0.75–1 lb, shoebox ~2–4 lb. Sum items per drawer and ensure manufacturer-rated drawer capacity exceeds estimated load by 30% to account for dynamic stresses.
-
Step 4: Evaluate material and construction
Look for PP or ABS construction, reinforced slides, and sturdy lip edges. If storing food-contact items, verify food-safe certifications. For authoritative guidance on food-contact plastics, consult external resources such as FDA food-contact resources.
-
Step 5: Choose locking and child-safety features
For homes with small children, opt for units with childproof latches or purchase separate child-safety straps rated for furniture. Avoid top-heavy stacks in child-accessible rooms.
-
Step 6: Select stack and securing strategy
Decide whether to interlock modules or anchor to the wall. Manufacturer stacking capacity should guide maximum stack height—do not exceed it. If the manufacturer does not provide stack specs, limit to 2 modules high for safety.
-
Step 7: Consider aesthetics and finishes
Choose clear drawers for function, opaque for form. Match cabinet finish to room (white, black, gray) and add a uniform top surface (wood laminate) for a cohesive look. Use labels to maintain organization without exposing contents.
-
Step 8: Check warranty and replacement parts
Purchase units with 1–5 year warranties on structural parts; ensure replacement drawers and clips are available separately to extend lifecycle and reduce waste.
-
Step 9: Buy with a budget-based plan
Set a target budget per cubic inch as described above. Factor in accessories: anti-tip straps $5–15, caster bases $15–40, dividers $5–20 each. Compare online vs in-store for return convenience and trial.
-
Step 10: Test in-place before finalizing
If possible, assemble one module and load it with representative weight (75% expected capacity) for 24–48 hours to check for creep, warping, or stress before purchasing multiples.
Transition: With selection complete, the next section details room-by-room practical uses and integration ideas.
Practical Uses for Plastic Drawer Storage in Different Rooms
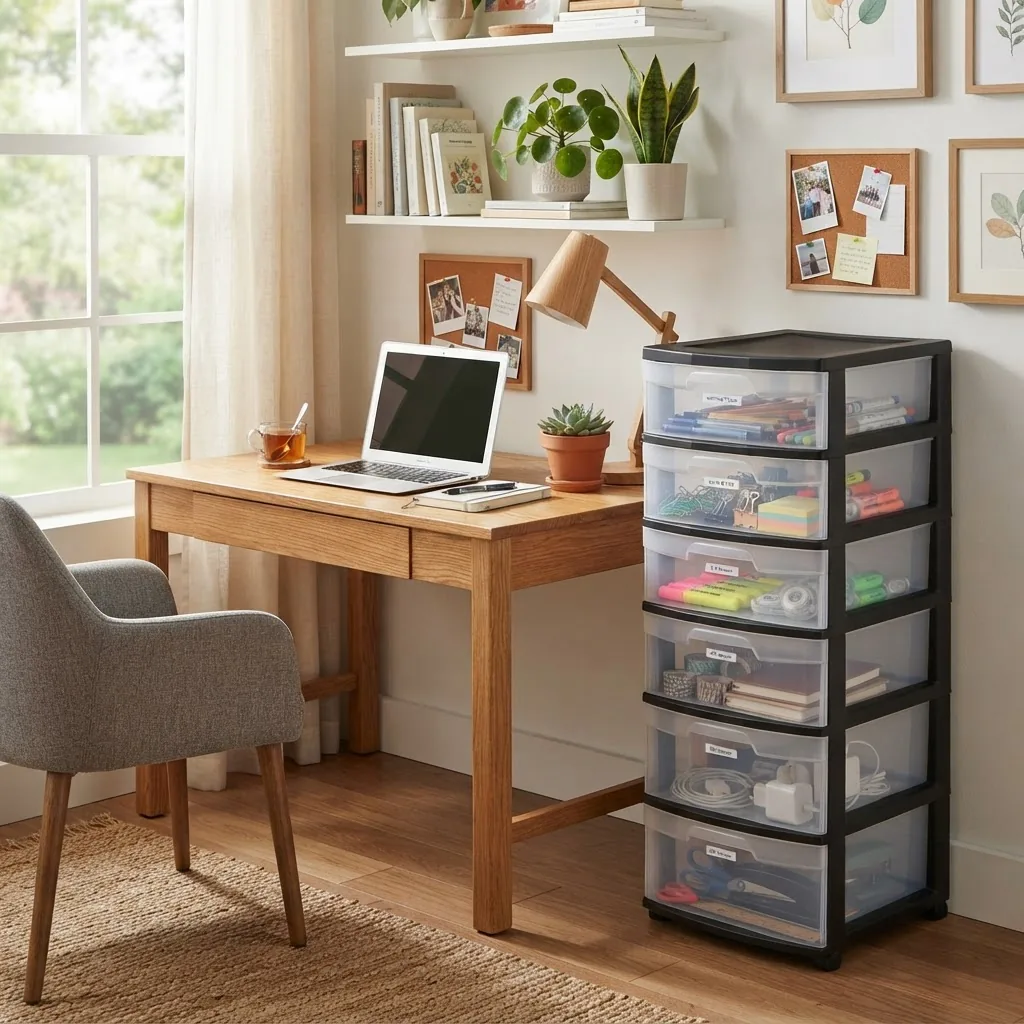
Below are tested configurations and examples for common residential spaces. Each subsection explains dimensional choices and typical item loads.
Bedroom
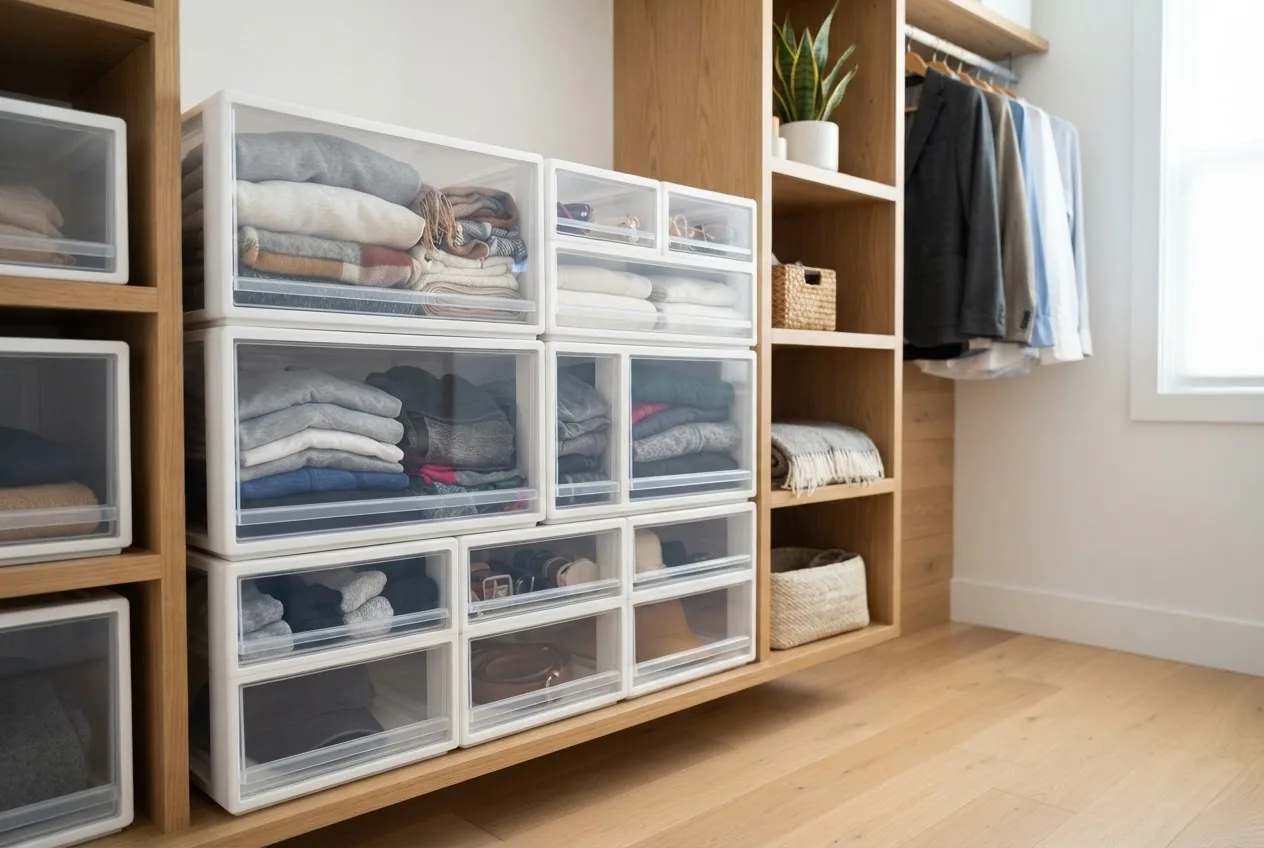
Use stackable towers for folded clothes, underwear, and accessories. Recommended layout: top two drawers 3–4″ for socks and underwear, middle drawers 6–8″ for T-shirts and tops, bottom drawer 10–12″ for sweaters or shoes. For garment care, pair with advice from garment storage tips and clothing storage best practices.
Home Office
Place a 3–4 drawer unit beneath or beside the desk. Recommended depths: 12–16″ deep drawers for file folders and stationery. Use shallow top drawers (2–3″) for writing tools and medium drawers (5–7″) for notebooks and electronics. Keep heavy printers off drawer tops unless the unit is rated for 50+ lb.
Kitchen and Pantry
Choose food-safe rated plastics for utensils and pantry items (FDA guidance). Use clear shallow drawers for spices and frequently used utensils, medium drawers for plastic containers and wraps, and deep drawers for small appliances. For counters under 36″ consider slim 2-drawer units for cutlery + linens.
Bathroom
Prioritize moisture-resistant PP and elevated feet to prevent standing water contact. Use shallow drawers for toiletries and medium drawers for towels. Clean monthly to prevent mildew—see maintenance section below.
Craft Room
Organize items by project in clear drawers: top drawers for tools (6–8″ high), middle for paints and mediums (4–6″), bottom for bulk storage (8–12″). For specialized art setups, see art supply storage ideas.
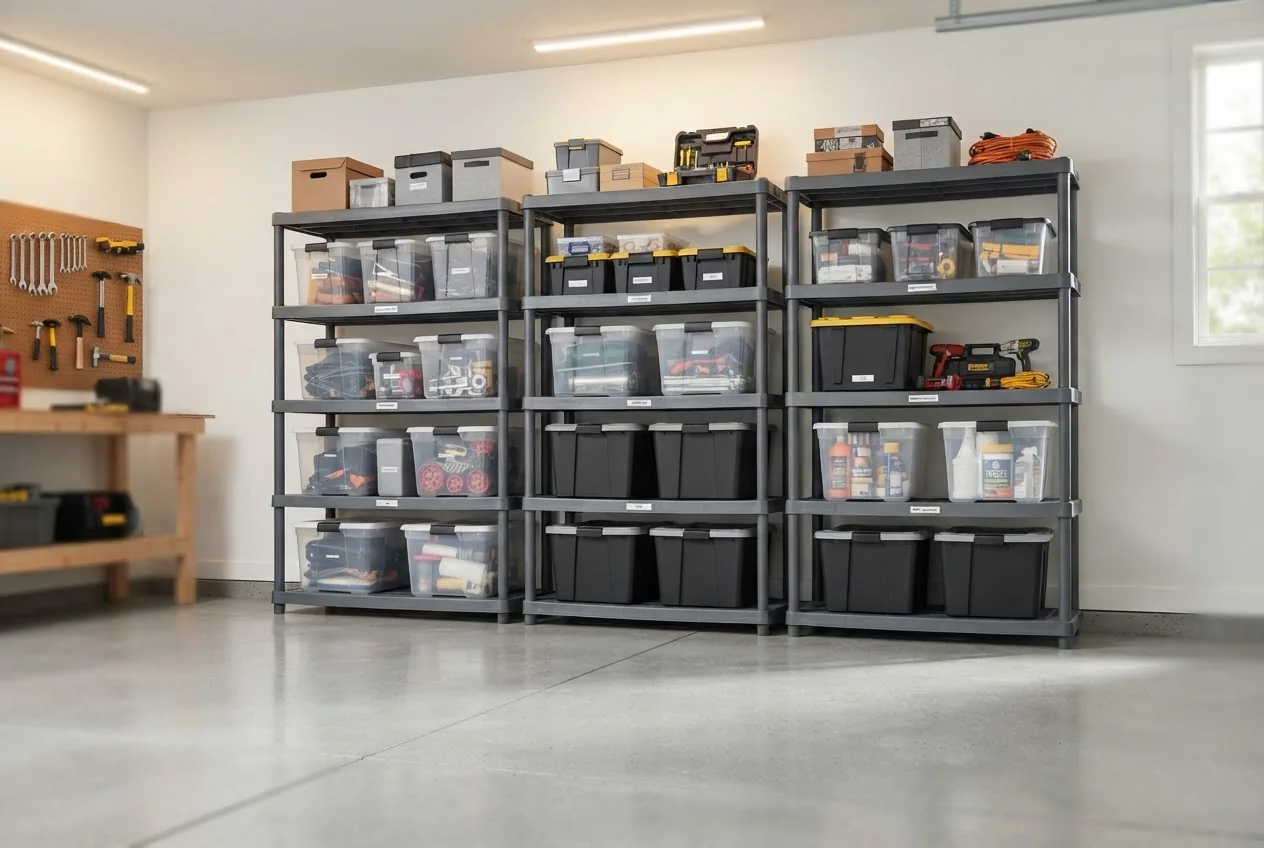
Garage, Basement, Utility
Use heavy-duty stackable cabinets with reinforced slides. Keep small parts in shallow labeled drawers; use deeper drawers for power-tool accessories. For large-scale garage storage comparisons, consult garage cabinet systems and plastic garage shelves. For basement-specific approaches, see basement storage solutions.
Closet Inserts and Under-Bed
Use slim shallow units for accessories and socks. For modular closet systems, see freestanding closet systems and closet organizers.
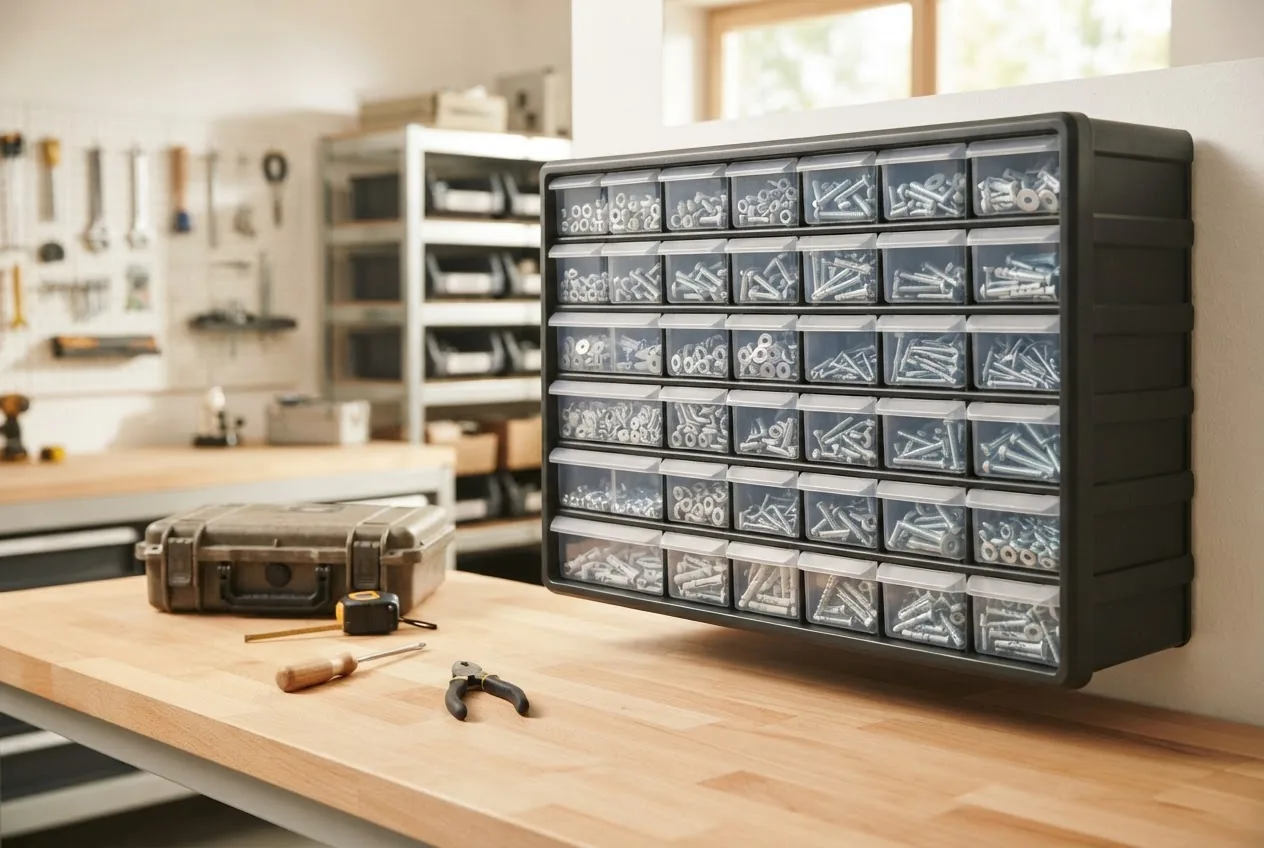
Small Parts and Hardware
Store fasteners and small components in labeled shallow drawers with 0.5–1″ dividers. For specialized tips, see nuts and bolts organizer tips.
Transition: After placing units, follow the installation and maintenance steps to ensure longevity and safety.
Installation, Stacking and Maintenance Tips
Practical walkthrough of stacking safely, regular cleaning, and troubleshooting common mechanical problems. These directions come from practitioner experience and tested routines.
-
Safe stacking checklist
Maximum recommended stack height: follow manufacturer. If unspecified, cap stacks at 48″ high or two modules high for heavy loads. Distribute weight with heavier items low. For freestanding stacks, secure with a wall strap to studs using two 1.5″ wood screws spaced 16″ apart vertically.
-
Level the base
Use a small bubble level; adjust with shims or adjustable feet to within 3° incline. A non-level base causes stress and drawer binding within 24–72 hours.
-
Maintain drawer tracks
Monthly: empty and vacuum tracks, wipe with mild detergent, apply silicone lubricant (2 sprays) to runners only. Avoid petroleum-based lubricants on PP or PVC parts which may cause swelling.
-
Cleaning regimen
Wipe with mild detergent and warm water weekly for bathroom/kitchen units; monthly elsewhere. Disinfect with 70% isopropyl alcohol for non-porous plastics when needed (test in a corner). For professional-grade disinfection concerns reference FDA guidance or consult cleaning professionals.
-
Troubleshooting warped drawers
If a drawer binds after stacking, remove it and check for deformation. Reheat (not recommended for consumer repair beyond 140°F) is risky—prefer replacing warped drawer runners. For heavy distortion within warranty period contact the manufacturer.
-
Weight limits and load distribution
Calculate total load: sum weights of drawer contents. Keep each drawer under rated capacity (often 20–40 lb). Distribute items across multiple drawers rather than concentrating weight. For heavy storage, use reinforced cabinets or furniture-rated units.
-
Securing tall stacks
Use anti-tip straps attached to wall studs—one strap per top corner for stacks under 60″ and two straps for taller units. Test anchor strength by applying a 20 lb lateral load—no sudden movement should occur.
-
Handling seasonal changes
In humid months, periodically remove drawers and allow ventilation for 24 hours to prevent mildew. Consider silica gel packets in drawers for fabric storage.
Transition: Next, see a focused comparison to decide whether plastic drawers or alternate storage methods best suit your needs.
Comparing Plastic Drawer Storage to Other Storage Methods
Below is a clear table comparing plastic drawers to other popular storage solutions with pros and cons so you can choose objectively.
| Storage Type | Pros | Cons |
|---|---|---|
| Stackable Plastic Drawer Units | Lightweight, modular, moisture-resistant, low cost | Lower load capacity than metal/wood, possible warping over years |
| Plastic Bins (Stackable) | Very cheap, great for seasonal storage, easy stacking | Less compartmentalization, harder to access specific items quickly |
| Fabric Storage Cubes | Soft, lightweight, aesthetic, easy to fold when empty | Not moisture-resistant, poorer protection for fragile items |
| Wooden Drawer Cabinets | High durability, aesthetic, higher load capacity | Costly, heavy, fixed configuration |
| Metal Drawer Systems | Extremely durable, excellent for heavy tools and workshops | Heavier, more expensive, can corrode if not coated |
External authority references on material safety and standards: FDA plastics and food-contact guidance, Consumer Reports durability tests, and National Association of Productivity & Organizing Professionals for organization best practices.
Transition: Finally, practical buying guidance and budgeting help you finalize purchases.
Budgeting and Where to Buy Plastic Drawer Storage
Cost considerations: consumer-grade stackable units range from $20 (small 2-drawer plastic units) to $200+ (heavy-duty modular cabinet systems). Typical mid-range cost for a 4-drawer modular tower is $40–90. Accessories (dividers, anti-tip straps, casters) add $5–50 total.
Buying tips:
- Buy one test module first and load it as suggested (24–48 hours) to ensure fit and durability.
- Shop online for broader selection and reviews, but buy in-store if you need immediate testing or easy returns.
- Check return policies: look for at least a 30-day return window and free returns when possible.
- Watch for bundle discounts—packs of 3–4 modules often reduce per-module cost by 15–30%.
Trusted retailers vary by region. For high-volume or customized installations, consider local storage suppliers or professional organizers (see home organization professional services).
Transition: With purchases made, finalize by reviewing the summary and recommended next steps.
Summary and Final Recommendations
By applying the steps above you can confidently select, stack, and maintain a stackable plastic drawer system that fits your space and storage needs. Key takeaways: measure accurately, match drawer sizes to your items, respect weight limits, and secure stacks higher than 48″. For ongoing organization, schedule monthly cleaning and an annual inspection.
Practical final recommendations:
- Favor PP or ABS construction for a balance of flexibility and strength.
- Use interlocking systems for predictable vertical builds; add anti-tip straps for safety.
- Invest in dividers and labels—these cost little and drastically improve retrieval speed.
- Test a single module before committing to multiples to ensure compatibility and durability.
home organization professional services
Disclaimer: Plastic drawer durability varies by material and use. For heavy, high-temperature, or food-contact applications, consult manufacturer specs and official guidance such as FDA resources. According to a 2023 consumer safety report, improper stacking and overloading are leading causes of failure in consumer storage units (source: consumer safety report).
Common mistakes and how to avoid them
I’ve seen these failures on real jobs; here’s how they happen and how I fix them:
- Overstacking without anchors: I once installed a four-module tower without anti-tip straps; it crept forward under load. Fix: always secure tall stacks to wall studs and limit height to specified manufacturer levels.
- Ignoring drawer dimensions: I once bought a narrow tower only to find shoe boxes would not fit. Fix: measure representative items and add 1–2″ clearance to drawer heights.
- Skipping test loads: I installed multiple modules without a test run and later found tracks sagged. Fix: assemble a test module and load to 75% capacity for 24–48 hours before mass deployment.
- Using wrong cleaners: I used solvent-based cleaners on a PP drawer and noticed surface whitening. Fix: use mild detergent or isopropyl alcohol for spot cleaning and avoid harsh solvents.
Checklist before you call it done
- Measured space and documented clearances (width, depth, height).
- Selected materials (PP/ABS) and verified manufacturer load ratings.
- Test-assembled one module and performed a 24–48 hour test load.
- Secured stacks with anti-tip straps when >48″ tall.
- Installed non-slip pads and adjusted leveling feet to within 3°.
- Labeled drawers and added dividers for small items.
- Established a cleaning schedule: monthly wipe, quarterly track maintenance, annual inspection.
When to call a professional
Hire a professional organizer or installer if you need a full-room redesign, wall anchoring into masonry, or heavy custom cabinetry integration. For specialized cleaning or contamination removal, consult professionals listed in the commercial disinfection services guide to costs and providers.