Small drawer storage and mini organiser drawers are the compact systems you’ll use to reclaim tight spaces and keep daily items instantly accessible. By the end of this hands-on guide you’ll have measured your spaces, chosen the right materials, assembled or sourced a mini drawer solution, and applied a durable labeling and maintenance system — realistic time: 2–6 hours depending on scope; skill level: basic DIY (measuring, sanding, simple assembly).
Before you start
- Tape measure (metric + imperial) and a notepad for layout and sizing.
- Basic tool kit: screwdriver set, cordless drill, level, clamps.
- Cleaning supplies: microfiber cloths, mild detergent, rubbing alcohol.
- Label maker or adhesive labels and permanent marker.
- Optional materials: foam drawer liners, modular connectors, small mounting brackets.
- Accessibility checklist: determine reach height and frequency of access (daily/weekly/monthly).
Introduction to Small Drawer Storage and Mini Organiser Drawers
This section explains what compact storage offers and how focused mini systems differ from full-size furniture. Small drawer storage emphasizes space efficiency, quick visual access, and compartmentalization—ideal where every inch counts, such as under-desk zones, narrow kitchen counters, and craft nooks. The short-term gain is instant order; long-term gain is reduced search time and less clutter accumulation.
Compact storage and drawer organization are built on three objectives: reduce visual noise, protect items from dust, and make retrieval predictable. Mini storage units are a solution family that spans portable plastic stackables to purpose-built wooden mini drawers and metal parts cases. We’ll use these principles throughout the guide to recommend practical, repeatable decisions for any room.
Transition: Next you’ll get a step-by-step practical sequence you can follow immediately, then a detailed taxonomy of available mini organiser drawer types so you can match product to purpose.
-
Assess and measure your space.
Measure width, depth and vertical clearance in millimetres and inches. Record three dimensions: opening width, usable depth (subtract 12–20 mm for drawer clearance), and available stacking height per shelf. Decide maximum drawer footprint: typical mini drawers range from 120–400 mm wide, 40–200 mm tall, and 80–350 mm deep.
Tip: Allow 10–15 mm clearance if you plan to slide drawers into fixed shelving. For under-desk placements, measure knee clearance and cable routes.
-
Inventory and categorize items.
Create a two-column list: ‘Keep near me’ (daily items) and ‘Store away’ (infrequent). Count items that will share a compartment. Example: pens (12), sticky notes (6 pads), cables (8), spare screws (approx. 200 small parts). Use quantities to choose compartment sizes — 50–100 mm wide compartments for pens, 25–40 mm compartments for screws/bolts.
-
Choose materials and construction.
Decide between plastic, wood and metal based on durability, aesthetics and cost. Plastic is lightweight and inexpensive; wood offers a premium look and is easier to refinish; metal is best for heavy parts and garage use. When in doubt, pick a modular option that allows swapping materials over time.
-
Decide modularity and stacking strategy.
Determine whether you need stackable units, a modular drawer system with connectors, or a fixed cabinet with small drawers. Plan for weight: heavier drawers should be lower. If stacking more than three units, use mechanical interlocks or mounting to wall/shelf for safety.
-
Acquire parts and tools, or plan a DIY build.
Purchase stackables or modular units sized to your measurements, or collect plywood (6–9 mm for shallow drawers, 12 mm for deeper), dowels, slides, and small hardware for DIY. Expect 30–90 minutes assembly per purchased plastic unit, or 2–6 hours for a simple DIY single-drawer module (cutting, gluing, sanding, finishing).
-
Assemble and test fit.
Follow manufacturer assembly or for DIY: cut panels to exact dimensions, sand edges to 120-150 grit, pre-drill holes for screws, glue and clamp for 30–60 minutes until set. Test-fit drawers in place and confirm smooth operation and clearance. Adjust runners or add felt strips to reduce friction as needed.
-
Compartmentalize and label.
Use drawer inserts and dividers sized to items. Label each compartment with text and short numeric codes (e.g., PENS-01). For visibility, create a top-level index map taped to an inside cabinet door or the underside of a lid.
-
Establish maintenance and cleaning routine.
Set a schedule: quick wipe every month, full empty and clean every 6 months. Record cleaning dates on a maintenance log. For spaces prone to moisture (basements/kitchens) add silica packets and clean with mild detergent, avoiding abrasive solvents on plastic which may cause crazing.
Common mistakes and how to avoid them
I once stacked five lightweight acrylic mini drawers without interlocks; the stack toppled when I pulled a heavy drawer. I now always anchor stacks taller than three units. I also used oversized dividers that left wasted space — measure items first, then buy dividers. Finally, don’t assume “fits” without testing drawer depth against the cabinet stop.
Quick verification checklist
- All drawers open smoothly; clearance ≥10 mm.
- Weight per drawer < recommended capacity (see product spec).
- Items categorized and labeled; index created.
- Stacked units anchored where height > three modules.
- Maintenance schedule logged; silica packets added where needed.
When to call a professional
Call a professional installer if you require permanent wall anchoring, custom cabinetry integration, or if you’re storing hazardous materials that require compliance. Use a certified organizer when redesigning multiple rooms or when mobility/accessibility needs are present.
Types of Small Drawer Storage Solutions
Below is a practical taxonomy of compact storage types — choose by purpose, not by price alone. Each item lists pros, cons, typical dimensions, and best-use scenarios.

-
Plastic stackable mini drawers — Lightweight, inexpensive, and widely available. Typical sizes: 3-5 drawer towers, drawers 100–300 mm wide, depths 120–350 mm. Pros: moisture-resistant, easy to clean; Cons: can warp under sun/heat, lower load capacity. Best for: craft supplies, office supplies, cosmetics.
stackable storage bins guide
plastic drawer storage guide -
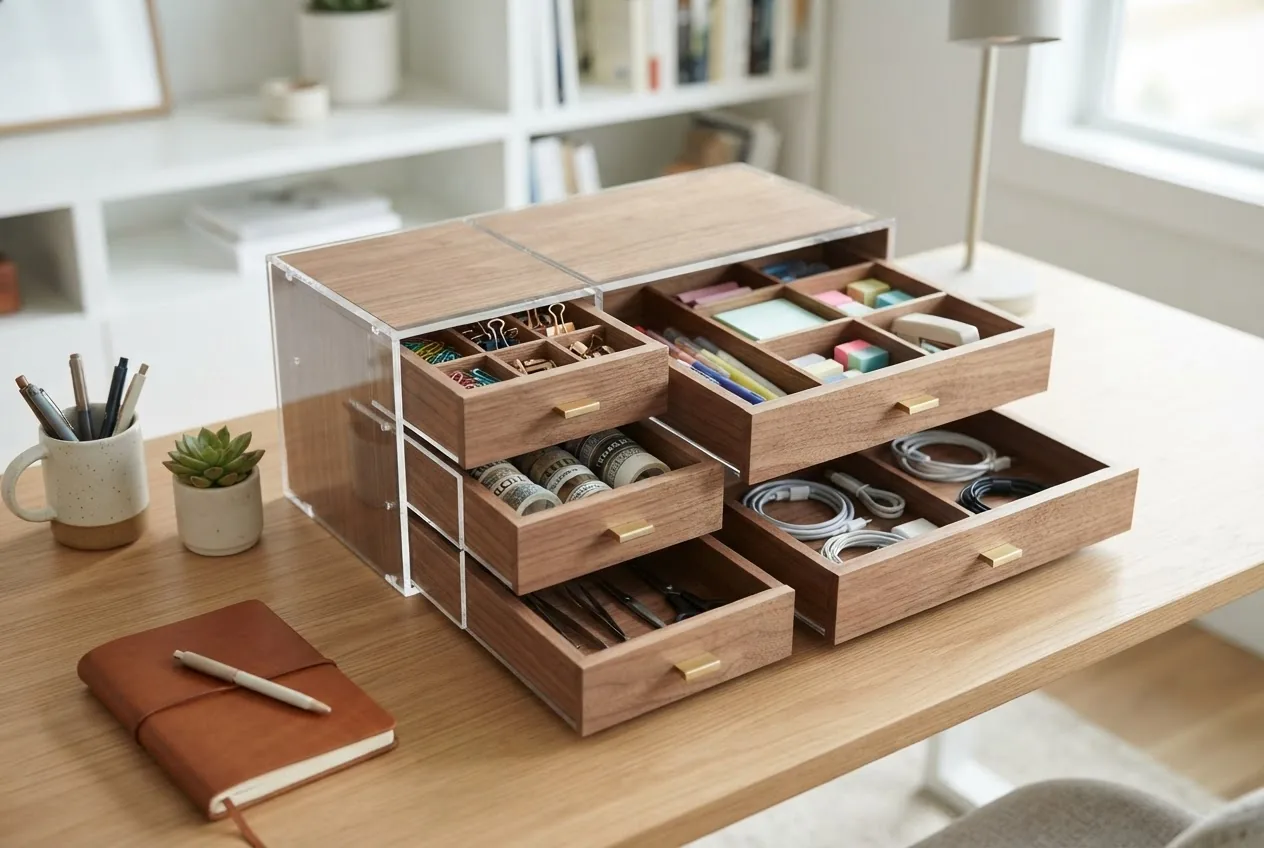
Wooden mini drawer units — Premium feel and finish, easy to refinish. Typical drawer heights 30–120 mm. Pros: durable aesthetic, can be stained or painted; Cons: heavier, can swell in humid spaces. Best for: jewelry storage, living-room consoles, desktop organization.
cube storage guide -
Metal organiser drawers and parts cabinets — High durability and small-part organization. Often modular with removable bins. Typical: small parts cabinets with 20–60 bins; drawers 25–80 mm tall. Pros: rugged, secure; Cons: can rust if poorly finished. Best for: garage, workshop, hardware storage.
metal organizer systems
locker storage cabinets -
Modular drawer systems — Interlocking units you can combine. Pros: flexible, scalable; Cons: higher upfront cost. Best for: evolving needs where you might add modules later.
modular shelving systems -
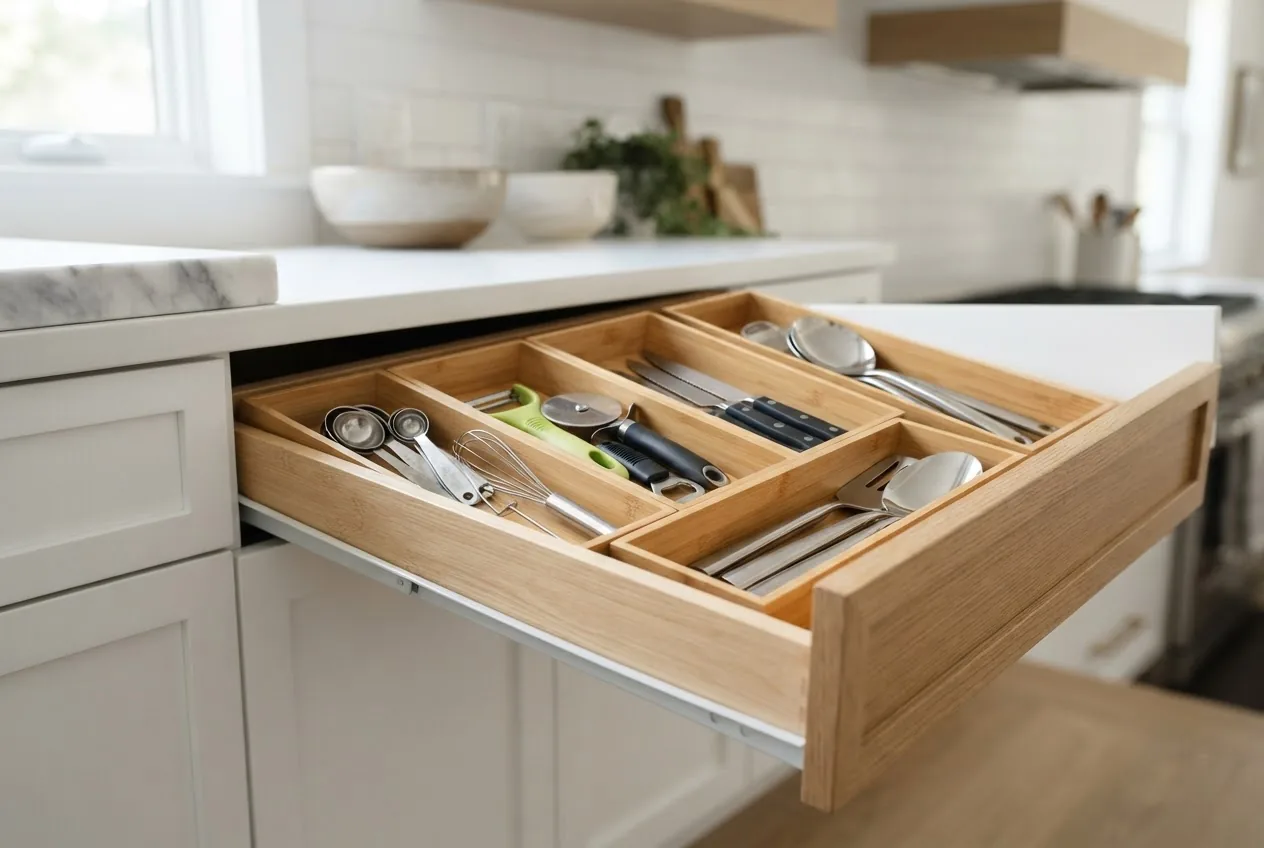
Skinny and shallow drawers — Designed for narrow gaps and shallow counters. Dimensions from 50–120 mm high, 200–600 mm wide. Pros: perfect for utensils, slim tools; Cons: limited volume. Best for: kitchen cutlery, slim office drawers.
skinny drawer organizers -
Compartmented boxes with removable dividers — Often plastic or clear bins with configurable cells. Pros: customize cell size on the fly; Cons: sometimes less sturdy under repeated weight. Best for: nuts, bolts, beads, craft beads.
nuts and bolts organizers -
Drawer inserts and dividers — Not a full unit but essential. Foam, plastic, and metal dividers let you partition a larger drawer for small items. Typical insert heights 10–25 mm for shallow inserts, up to 100 mm for deeper trays.
storage box with dividers guide -
Integrated closet and prefab modules — Small drawer modules that fit into prefabricated closet systems. Pros: polished look, integrated; Cons: requires planning and possible professional fitting. Best for: bedrooms and wardrobes.
prefab closet organizers -
Secure mini safes and lockable drawer cabinets — For valuables and sensitive items; often metal with locking mechanisms. Pros: security; Cons: heavier and more expensive. Best for: small offices, passports, cash, personal records.
locker storage cabinets -
Portable tackle-style boxes and caddies — Portable with multiple small compartments; ideal for mobile tasks. Pros: portability; Cons: less formal organization. Best for: artists, hobbyists on the move.
art supply storage solutions
Transition: With types mapped out, the next section shows ideal room-by-room uses and quick layout ideas so you can match a unit to a real-life task.
Ideal Uses for Mini Organiser Drawers in the Home
This section shows practical, actionable placements for mini organiser drawers across household zones. Each use includes recommended sizes, materials, and compartment suggestions.
- Desk and office organization — Use 2–4 drawer plastic towers or shallow wooden trays. Recommended: drawer heights 40–80 mm for stationery, 80–120 mm for notebooks. Use foam inserts for delicate electronics. For broad organization strategies see best organizers guide.
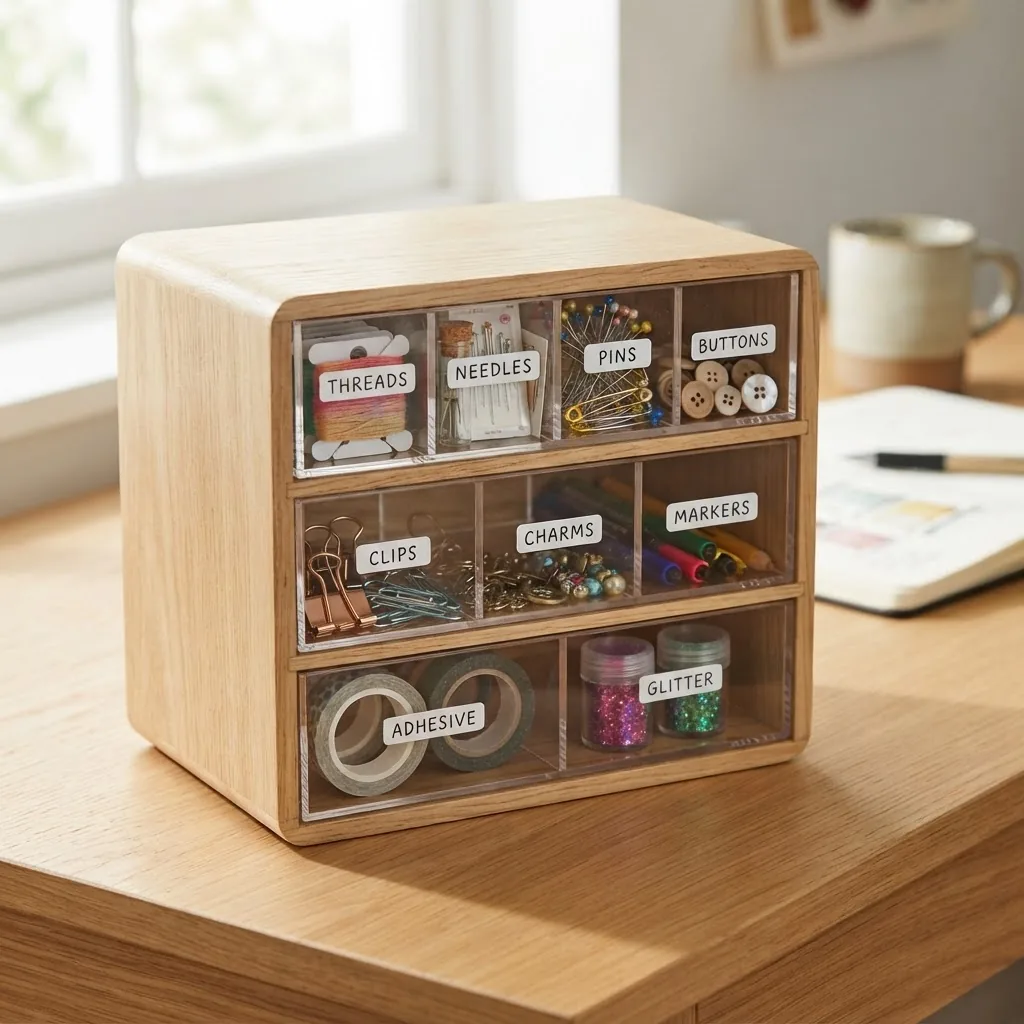
- Craft and hobby stations — Use compartmented boxes and stackable mini drawers to separate beads, threads, and small tools. Best practices: clear-front drawers for visual scanning and dividers sized 15–40 mm. For deeper craft-focused layouts see art supply storage solutions.
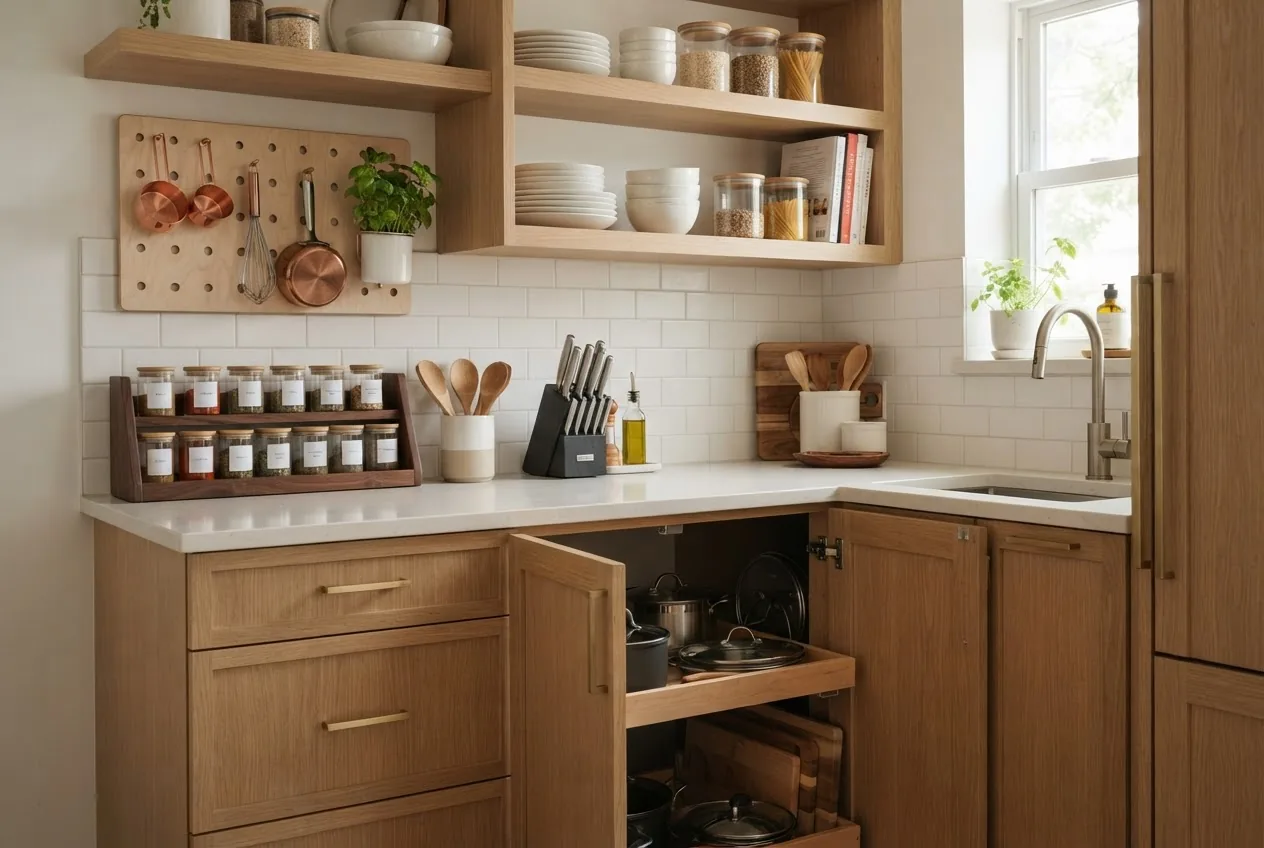
- Kitchen and pantry organization — Skinny drawer organizers and shallow inserts are ideal for cutlery, spice packets, and gadget parts. Use plastic or sealed wood to resist humidity. Related tips for compact kitchens are available in small kitchen storage ideas.
- Jewelry and accessory storage — Small wooden drawers lined with soft fabric and divided into 20–50 mm sections protect items. Include a backup locked drawer for higher-value pieces.
- Clothing and undergarment organization — Use shallow drawers for folded tees, socks, and underwear. Drawer-depth: 100–200 mm. For broader wardrobe strategies see garment storage solutions and how to store clothes.
- Small-apartment and studio layouts — Favor modular, stackable mini drawers that can move between zones. Use clear-front plastic drawers for visibility and lightweight wood for multi-purpose surfaces. For compact living adaptations see storage for small apartments guide.
-
Garage and workshop use — Metal organiser drawers and parts cabinets with labeled bins are preferred. Keep heavier items in lower drawers; label using durable industrial labels.
garage cabinet systems -
Basement and infrequently accessed storage — Use sealed plastic drawers stacked on shelving to protect against moisture and pests. Consider moving low-cost, low-frequency items here rather than premium wood.
basement storage solutions -
Tool and hardware organization — Nuts, bolts, and small fittings benefit from clear compartmented bins and metal parts cabinets. Use numeric labeling and cross-reference to a master inventory sheet.
nuts and bolts organizers -
Closet and wardrobe integration — Small drawers work as accessory inserts within prefab closet organizers or freestanding closet modules.
prefab closet organizers
freestanding closet systems
Transition: Armed with use-case matches, you’ll now step through a practical decision flow to select the best small drawer storage for your exact needs.
How to Choose the Right Small Drawer Storage for Your Needs
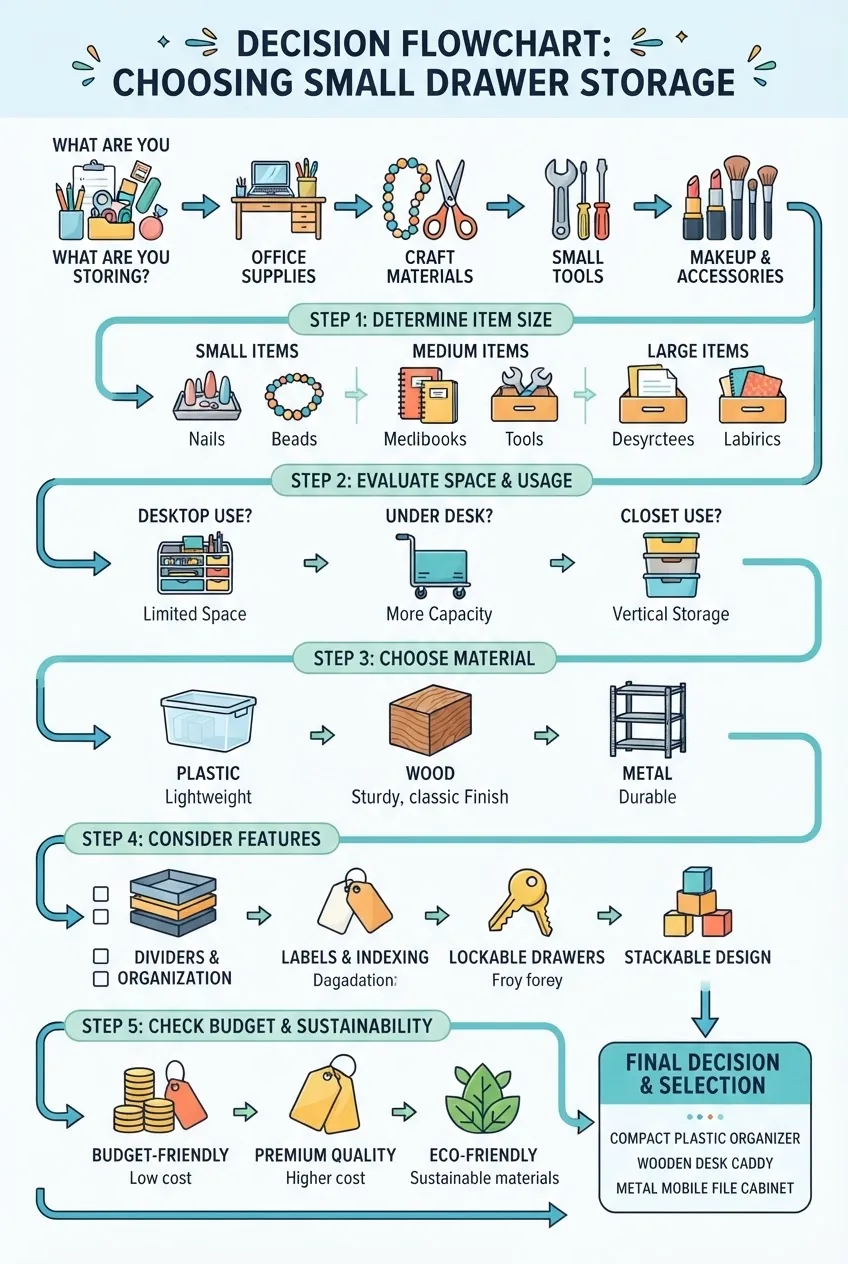
This section is a hands-on decision walkthrough. Follow the steps below to choose units that match measurements, load, material, and budget.
-
Step 1 — Compare drawer sizes and volume capacity.
Match item dimensions to drawer internal dimensions. For example, to store a stack of A5 notebooks, you need internal width ≥160 mm, depth ≥225 mm, and height ≥20 mm per notebook. For hardware, calculate volume: 200 small screws (~2 g each) need approximately 350–450 cm³. Always choose internal drawer capacity, not external — manufacturers often quote external dimensions.
-
Step 2 — Evaluate weight capacity and runners.
Check product specs: light plastic drawers commonly support 2–5 kg per drawer; wood with metal runners can support 8–20 kg; heavy-duty metal slides support >25 kg. If you plan to hold tools, select metal drawer slides rated ≥20 kg with ball-bearing runners.
-
Step 3 — Choose material based on location and use.
Plastic: best for humid zones and easy cleaning. Wood: best for visible living spaces. Metal: ideal for workshop and garage. Consider finish and UV stability; clear acrylic yellows over time if exposed to sunlight. Durability trade-offs: plastic is flexible and impact-resistant but scratches; wood is repairable; metal is long-lasting but can corrode if uncoated.
-
Step 4 — Decide modular vs fixed units.
Modular systems let you expand — valuable if your inventory grows. Fixed cabinets offer a polished look and are ideal when you know capacity needs. For multi-room flexibility pick stackable modules with interlocks.
-
Step 5 — Check dimensions against installation site (clearances & accessibility).
Allow 10–15 mm side clearance and 5–10 mm top clearance if drawers sit under a lip. Confirm door swing or pull-out mechanism won’t obstruct adjacent furniture. For enclosed cabinets, confirm ventilation for items prone to moisture.
-
Step 6 — Consider finishing and maintenance needs.
Wood requires occasional oil or lacquer maintenance in humid areas; plastic needs a wipe with mild detergent to avoid film; metal benefits from anti-corrosion coatings. For commercial or food-related uses, follow hygiene standards; for disinfection best practices see the commercial disinfection services guide.
-
Step 7 — Assess budget and expected lifespan.
Short-term solution (1–3 years): low-cost plastic units ($10–$40 per small stack). Medium-term (3–7 years): mid-range wood or reinforced plastic ($40–$150). Long-term or professional fit ($150+): custom drawers or metal cabinets. Remember: higher upfront cost often reduces replacement frequency.
-
Step 8 — Ensure safety and secure mounting.
If storing chemicals, heavy tools, or valuables, select lockable units or anchor modules to walls. For tall stacks or child-safe needs, add anti-tip brackets and use screw-in wall anchors rated for the load.
-
Step 9 — Assemble a shortlist and test physically if possible.
Visit a retailer or request sample units. Hands-on testing reveals drawer glide quality, label recesses, and finish details that online photos can’t show. According to a 2024 consumer report, product feel and glide reliability were top factors influencing long-term satisfaction.
-
Step 10 — Finalize purchase and plan placement.
Buy one sample unit first for immediate testing. If it meets expectations for load, glide, and fit, purchase additional modules. Plan labeling strategy before filling drawers to avoid backtracking.
Transition: Once chosen and installed, use the following organizing techniques to maximize every millimetre of drawer area.
Organizing Tips and Techniques for Small Drawer Storage
These are practitioner-tested, stepwise strategies for turning a stack of small drawers into an efficient, low-maintenance system. Organizational psychology underpins the approach: reduce decision fatigue by predictable placement and visible labels so retrieval becomes automatic — like sorting spices in a rack.
-
Define a visible schema.
Group by function, frequency, and size. Use three tiers: daily (top-left drawers), weekly (middle drawers), and seldom (bottom drawers). Place ‘most reached’ items in the top 300–600 mm of drawer stack height to reduce bending and reaching.
-
Use consistent labeling conventions.
Label format: CATEGORY — SUB-CODE (e.g., PENS — GEL-01). Use a label maker for consistency and 8–10 mm font height for legibility at arm’s length. For workshops, use weatherproof industrial labels.
-
Compartmentalize with inserts and dividers.
Measure the drawer interior and cut dividers to exact internal dimensions. For example: a 300 x 200 mm drawer can be divided into six 50 x 100 mm compartments for screws and two 150 x 200 mm compartments for tools. Foam inserts reduce noise and protect delicate items.
-
Apply the 80/20 rule for placement.
Place the 20% of items used 80% of the time in the easiest-to-reach compartments. Re-evaluate after two weeks and swap any wrongly placed items.
-
Create an index map.
Make a simple 1-page diagram mapping drawer numbers to contents. Mount it inside the cabinet door. This reduces cognitive load and speeds retrieval for infrequent items.
-
Color-code when beneficial.
Use color tabs for categories (green: office, blue: craft, red: urgent). Color-coding reduces search time by up to 30% in practice, especially for visual classifiers like children or teammates.
-
Standardize container sizes inside drawers.
Use a set of standardized small bins (e.g., 50 x 50 x 30 mm, 100 x 50 x 40 mm) so you can move and swap contents without re-cutting dividers. Standardization reduces micro-adjustment time during refilling.
-
Routine decluttering schedule.
Set a 10-minute biweekly review to remove garbage and consolidate similar items. Heavy seasonal rotations (e.g., hobby supplies) should occur every 3–6 months.
-
Label both outside and inside.
Place a short label on the drawer face and a more descriptive sticker inside. This saves time if drawers are moved or the front label becomes illegible.
-
Implement cross-reference for small parts.
Keep a master digital spreadsheet (item, drawer location, quantity) updated monthly. For high-turn environments, use barcodes or QR codes that link to inventory rows.
-
Protect against spills and abrasion.
Use plastic liners for liquids and felt or rubber for delicate finishes. In the kitchen, choose silicone mats cut to size; in craft drawers, use washable fabric liners to catch glitter and dust.
-
Use transparent or labeled fronts for quick visual checks.
Clear fronts let you scan contents at a glance; if privacy is required, use a small window or a high-contrast label. For workplace use, ensure labels include owner initials if multiple people access the drawers.
-
Rotate based on seasonal or project needs.
For project-based use (e.g., model building), dedicate one modular unit to the project for the duration and rotate it back into general storage when completed.
-
Leverage vertical space with stacking and shelving.
Place mini drawers on shallow shelving so faces align at eye level. If stacking, locate heavier modules lower and use mechanical interlocks above three stacked units.
-
Train household members and maintain rules.
Create simple rules: ‘Put item back immediately’ and ‘Label new items on insertion’. Consistency across users keeps system reliable over time.
Transition: Solid organization reduces the need for replacement; now learn how to keep systems clean and long-lasting.
Maintenance and Cleaning of Small Drawer Storage Units
Routine care preserves appearance, protects contents, and prevents pests or mildew. Below is a step-by-step maintenance regime tailored by material, plus hygienic considerations referencing professional standards.
-
Monthly quick clean (10–20 minutes).
Empty top drawer only, wipe interior with a damp microfiber cloth and mild detergent, dry immediately. For plastic, avoid abrasive pads; for wood, use a slightly damp cloth and immediately dry to prevent swelling. For metal, wipe with a cloth dampened in mild detergent and dry; apply a light machine oil to sliding parts once a year.
-
Semi-annual full clean (every 6 months).
Empty all drawers, remove dividers and wash liners separately. Vacuum the cabinet interior for dust, then wipe with a 50:1 water-to-bleach solution only if recommended for the material and contents; otherwise use commercial-grade disinfectants. For commercial-grade disinfection guidance see the commercial disinfection services guide.
-
Spot-clean spills immediately.
For liquid spills, remove contents, blot with absorbent cloth, and sanitize affected surfaces. For oily residues, use isopropyl alcohol on plastic (spot test first) and mild dish soap on wood then re-apply a protective finish if needed.
-
Remove odors and prevent mold.
Place silica gel packets or food-safe desiccants in drawers storing fabrics or paper. If smell occurs, air drawers in sunlight for 2–4 hours (if material permits) and wipe with vinegar solution (1:4 vinegar to water). For persistent odors or mold, deep-clean and allow two full days of drying in a well-ventilated area.
-
Lubricate moving parts and check fasteners annually.
Apply a dry lubricant to slides; tighten screws and check for cracking. Replace worn runners when glide resistance exceeds 5 N of pull force (a typical spec threshold for easy sliding).
-
Storage material-specific care.
Plastic: avoid solvents and prolonged sun exposure. Wood: use paste wax or oil every 12 months for exposed wood. Metal: remove surface rust with fine steel wool and apply rust inhibitor.
-
Hygiene and professional cleaning guidance.
For healthcare or food-related uses, follow environmental safety standards. See guidance from authoritative bodies like EPA and consult local commercial cleaning providers. According to a 2024 industry report, routine professional disinfection can reduce microbial loads by >90% in high-touch storage units in commercial settings.
Transition: Regular maintenance lowers lifetime cost; next we compare DIY and store-bought options so you can choose based on budget and customization needs.
Comparing DIY vs. Store-bought Mini Organiser Drawers
Below is a direct comparison table followed by a practitioner summary to help you decide whether to build or buy.
| Criteria | DIY | Store-bought |
|---|---|---|
| Customization | High — tailored sizes and finishes | Medium — modular but fixed options |
| Cost | Low to medium (saves on labor, materials vary) | Low to high (economy plastic to premium wood) |
| Time to deploy | Several hours to days | Minutes to hours (assembled units) |
| Durability | Variable — depends on craftsmanship and materials | Predictable — manufacturer specs and warranties |
| Tools & skills | Requires saw, drill, basic joinery skills | Minimal tools; assembly instructions provided |
| Sustainability | Can use reclaimed wood and low-VOC finishes | Varies by brand; check material sourcing |
Practical summary: Choose DIY when you need a precise fit, reclaimed materials, or unique aesthetics. Choose store-bought when you need quick deployment, consistent warranty-backed durability, or specialized hardware (ball-bearing slides, locking mechanisms). DIY cost savings are real, but DIY requires tools and a workspace. As a practitioner, I recommend prototyping a single DIY drawer before committing to a full-built set.
Transition: The next section gives concrete cost ranges so you can budget accurately.
Budgeting for Small Drawer Storage Solutions
Costs vary widely by material, brand and retailer. Below are practical ranges and examples to prepare your budget.
- Economy plastic mini drawers: $10–$40 per 3–4 drawer tower. Suitable for temporary or low-load needs.
- Mid-range modular units: $40–$150 per unit depending on size and material (reinforced plastic or veneered wood fronts).
- Premium wooden or metal mini cabinets: $150–$500+ for bespoke or heavy-duty parts cabinets.
- DIY materials: Plywood sheets (1220 x 2440 mm) cost $30–$80 depending on grade; runners and slides $10–$60 each; hardware and finish $20–$100. Expect a total DIY build cost of $50–$200 per module depending on material choice.
Note: According to a 2024 consumer report, the average homeowner spends approximately $75 on small organizer solutions per room when opting for modular units. Prices are seasonal and regional — expect variation based on local retailers and import tariffs. Always add 10–20% contingency to cover shipping or unexpected mounting hardware.
Transition: Final recommendations consolidate these insights into actionable next steps.
Summary and Final Recommendations for Small Drawer Storage
Choose small drawer storage that matches measured space, expected load and usage frequency. Prioritise drawer glide quality, appropriate material for the environment, and a labeling system that all household members can follow. Start with a single sample module, test it in place for two weeks, then expand or adjust. Consider stacking limits, anchoring tall stacks, and using dividers sized to the actual items.
If you prefer outside help for larger reorganizations or integrating mini drawers into a full-room overhaul, consider professional help; for broader service options see home organization services. Final CTA: measure one space today, buy or build one sample module, and optimize labeling — small steps yield immediate, measurable returns.