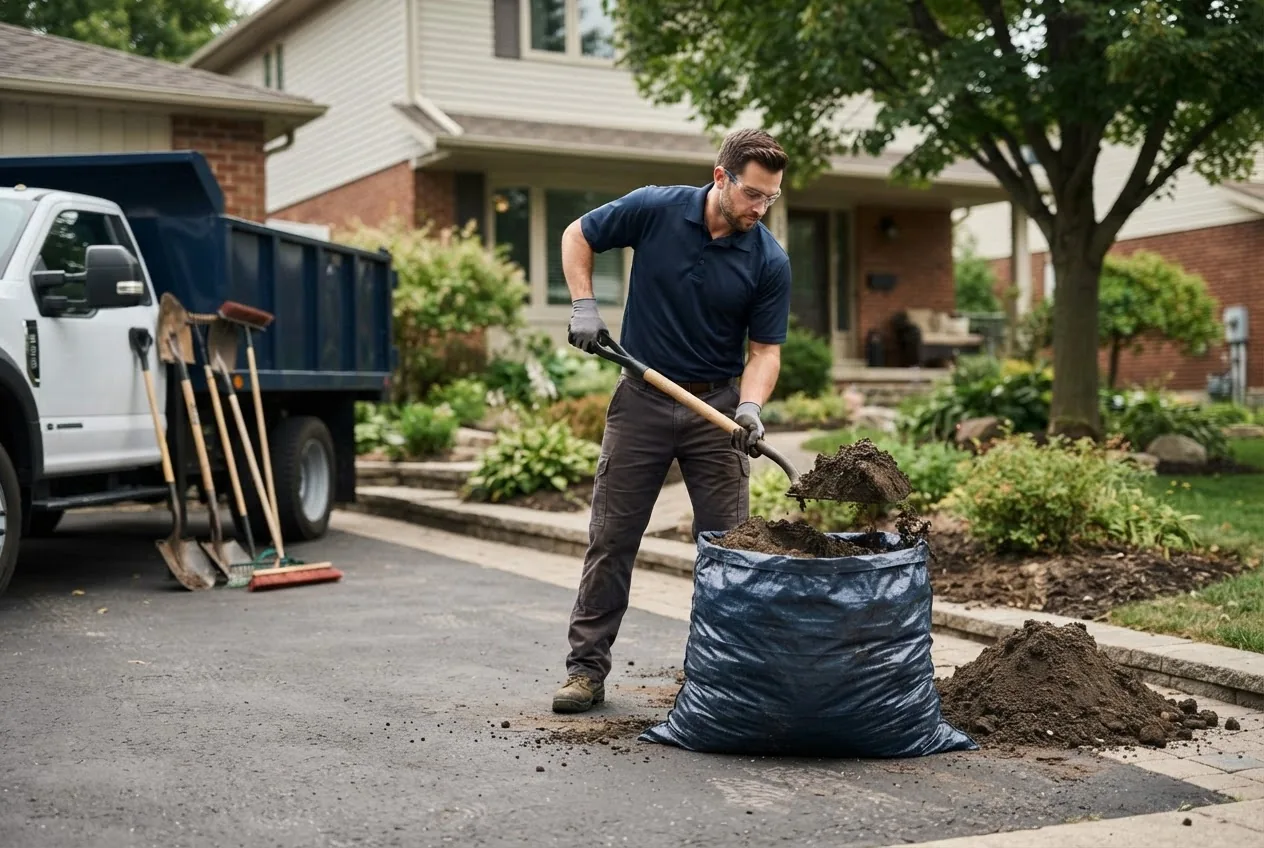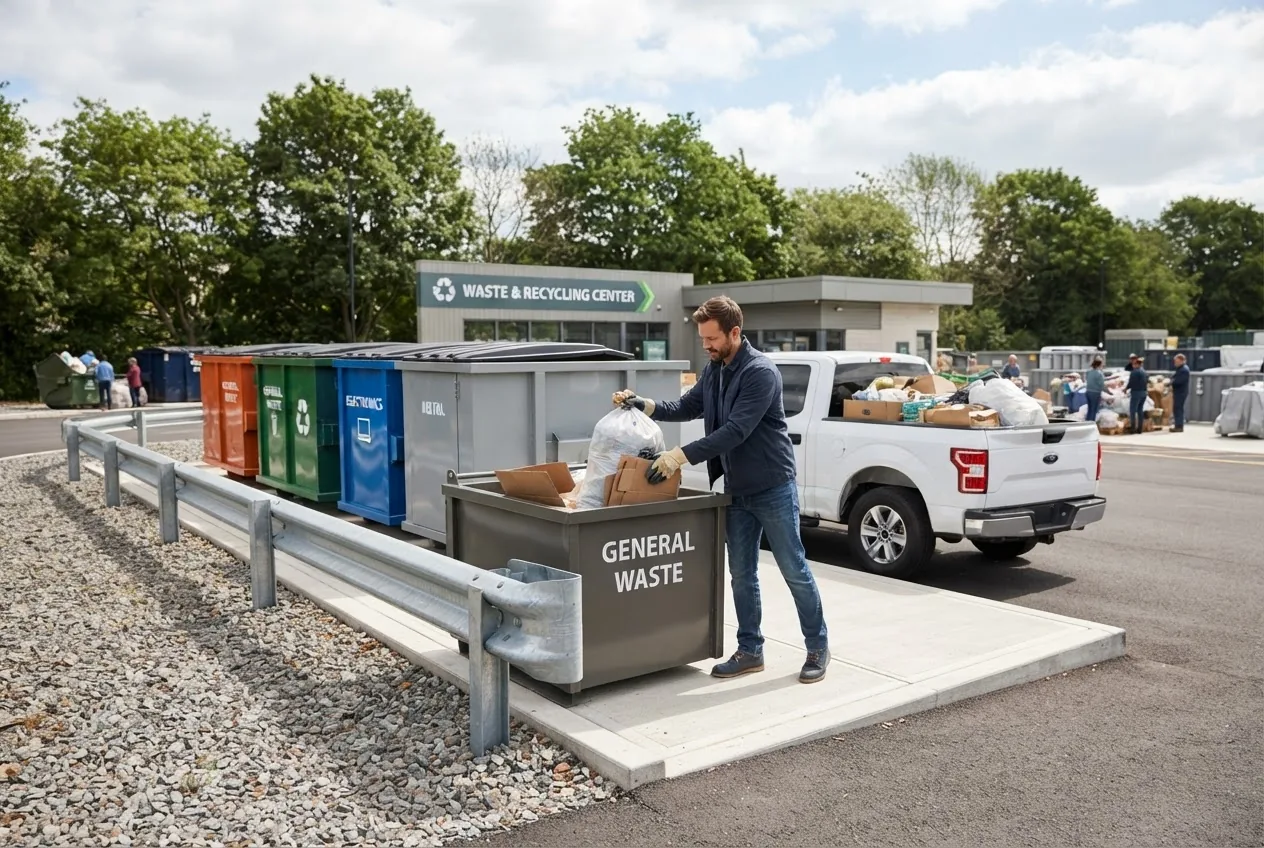
dumps for trash — By the end of this hands-on guide you’ll know exactly how to find, use, and legally dispose of household and construction waste at public dump sites; this process typically takes 1–3 hours per trip and assumes no special training beyond basic vehicle loading and following posted signs.
Before you begin, gather the documents, tools, and knowledge below so your first visit goes smoothly.
Before you start
- Photo ID and proof of residence (utility bill or driver’s license).
- Vehicle suited to the load (truck, trailer rated for weight; secure tarps).
- Gloves, safety glasses, work boots, and a hand truck or straps for heavy items.
- Basic toolkit and reusable bags for separating recyclables.
- Cash or card for gate fees; check site hours in advance.
The guide that follows is structured as actionable steps with checklists, common mistakes from real fieldwork, and exact pointers to the rules and resources you need.
Understanding Dumps for Trash: Types and Definitions
Knowing the difference between facility types saves time and money: a city landfill accepts many municipal wastes long-term, a trash transfer station temporarily receives and compacts waste before hauling it to a landfill, and a dump station can be a smaller municipal site for local drop-offs. Landfill sites and rubbish transfer stations serve different stages of the waste stream; for example, a transfer station often has separation points for recyclables, whereas a landfill is the final disposal location.
Common facility types and short definitions with practical context:
- Landfill sites — long-term burial of municipal solid waste; bring ID and accept bulk loads but may restrict hazardous materials.
- Trash transfer station — drop-off and sorting; cheaper for small loads and often quicker than a landfill for urban residents.
- Dump station near me — often used for RV or boat waste, or small community drop-off points; check clean-out rules.
- Rubbish transfer station — same as transfer station; terminology varies by municipality.
- Public trash bins near me — for small public refuse only, not for household bulk or construction debris.
Operational note: many facilities post weight limits (e.g., 2,000–10,000 lbs per vehicle) and charge per ton or per vehicle. According to a 2024 industry report, median municipal tipping fees in the U.S. range widely; check local sites for current rates.
For readers comparing public dumps to commercial options, see the commercial perspective here:
commercial dumpster service guide
Transition: now that you can tell facility types apart, follow the steps below to locate the right public dump station near you and prepare for a compliant, efficient drop-off.
How to Locate Public Dumps and Dump Stations Near You
Follow these step-by-step actions to find the closest public trash dump near me or transfer station and confirm they accept your load.
- Search municipal websites first. Start on your city or county solid waste page for official hours, accepted materials, and fees. If information is missing, call the posted phone number to confirm weight limits and permitted items.
- Use specialized landfill and transfer station directories. Websites and apps list landfill garbage dump locations, operating hours, and user reviews; cross-check addresses against your vehicle routing to confirm access for trailers.
- Check mapping tools for “dump station near me.” Google Maps and map apps tag dump stations and transfer centers; read recent reviews for notes on wait times, staff helpfulness, and strictness on prohibited items.
- Verify accepted materials online or by phone. If you plan to bring construction debris or large appliances, confirm these are accepted and whether separate fees apply.
- Plan your route and load strategy. Note weight limits, whether scales are onsite (they often are), and whether you must stop at a scale before and after dumping for fee calculation.
- Confirm free or discounted days. Many cities run free disposal days for residents during spring cleanup; check your municipal calendar.
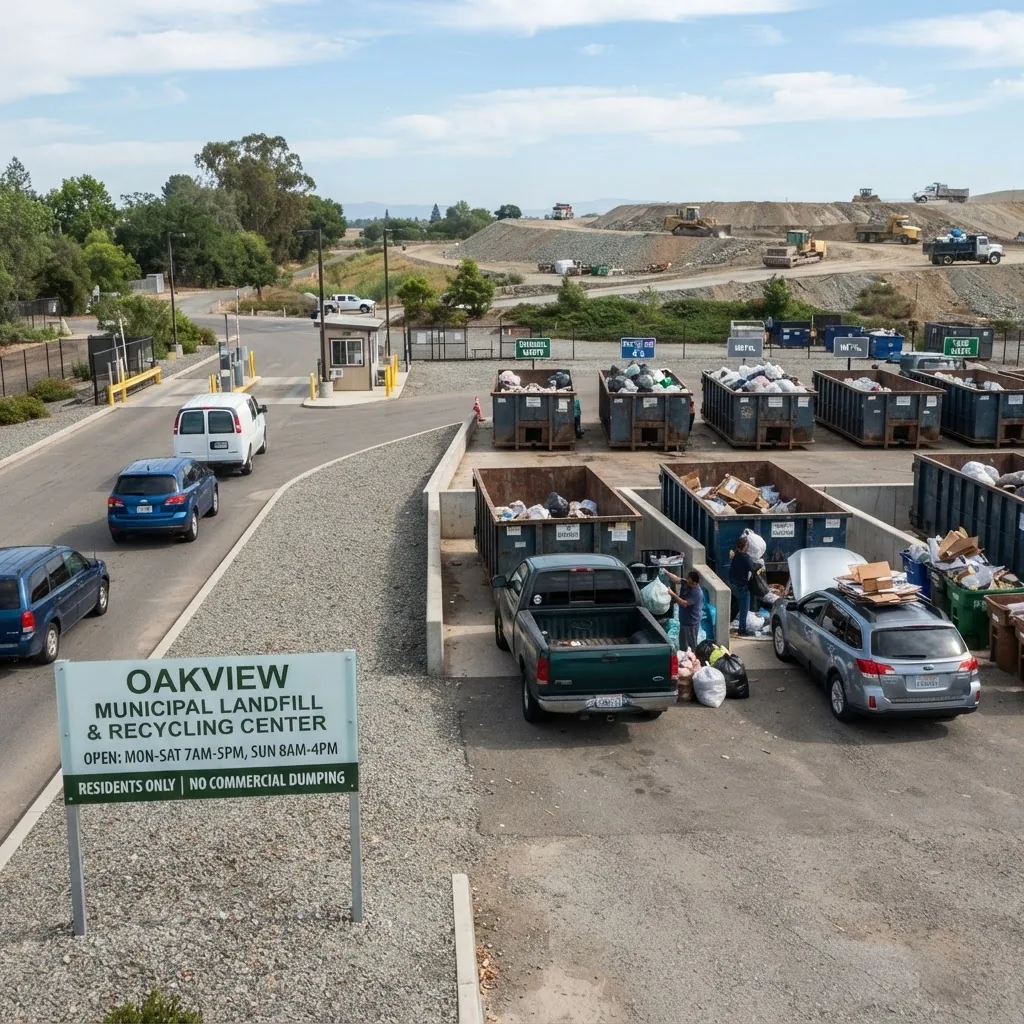
Useful resource links: the regional landfill directory pages and municipal resources list localized information. For a focused search of landfill locations and procedures see the practical guide below:
landfill near me guide and local garbage dump locations
Transition: after you locate your target site, learn the legal and operational rules you’ll encounter at the gate.
Public Dumping Requirements and Regulations

Public dumping rules vary widely. The bullets below provide a practical checklist of common requirements, how to comply, and penalties you may face for non-compliance. Always verify your local rules before you go — requirements vary by city and state.
- Proof of residency or business authorization required. Bring a utility bill or government ID; commercial haulers usually need a permit or account number.
- Weigh-in procedures: pre- and post-scale. Many facilities use scales to calculate fees by weight (e.g., $30–$120 per ton in many regions). Expect a weight ticket at the scale — keep it until you leave the facility.
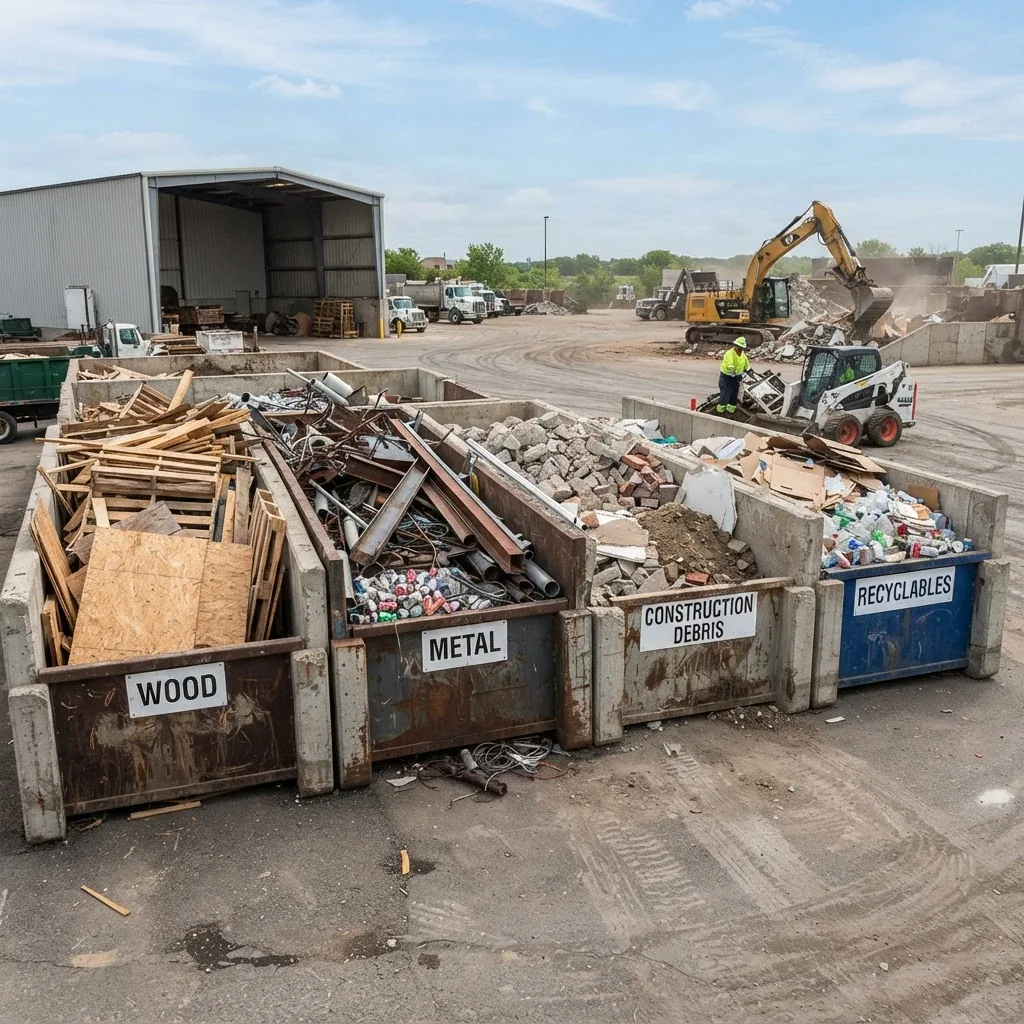
- Segregate materials when asked. Soil, concrete, metals, and organic yard waste often have separate drop zones and fees. Mixing can lead to rejected loads or extra sorting charges.
- Hazardous materials are prohibited without special handling. Items like paint, solvents, asbestos, and certain batteries require hazardous waste drop-off events or licensed contractors.
- Permit and commercial rates apply for contractors. If you are a business or contractor disposing of construction debris, check for commercial tipping rates and required permits.
- Follow staff directions and posted signage. Staff will direct you to the correct bay — failing to follow instructions can result in fines or denial of service.
Common penalties — short list:
- Fines for illegal dumping: anywhere from $100 to several thousand dollars depending on jurisdiction.
- Refusal of service for hazardous loads or mixed prohibited items.
- Legal action when protected materials (e.g., asbestos) are dumped improperly.
For authoritative federal guidance on landfill operation standards and municipal responsibilities, consult the Environmental Protection Agency’s landfill information:
To find and contact your local solid waste or municipal regulatory body, use your city’s government pages or a local-government directory:
Transition: with those rules in mind, learn exactly what you can and cannot bring to a public dump.
Materials Accepted and Prohibited at Dumps for Trash
The table below compares commonly accepted items against those typically prohibited at public dumps, with brief explanations. Always confirm with the facility because local policies differ.
| Accepted at many dumps | Commonly prohibited | Notes / Alternatives |
|---|---|---|
| Household waste, compacted trash | Paints, solvents, chemical drums | Use hazardous waste collection events or licensed handlers. |
| Yard waste & wood (often separate area) | Asbestos, contaminated soil | Asbestos needs certified removal; contaminated soil often needs testing. |
| Metal scrap & appliances (may have surcharge) | Pressurized cylinders, refrigerators with CFCs (unless serviced) | Appliances may need certified refrigerant removal first. |
| Construction debris (concrete, lumber) — often allowed | Electronics with batteries (unless e-waste program) | Many municipalities have e-waste drop-off programs. |
| Recyclables (cardboard, paper, some plastics) | Medical waste & sharps | Medical waste requires regulated medical waste services. |
If you have hazardous material or specialized electronics, consult the specialized disposal guides:
hazardous waste removal companies guide
Transition: now that you know what most dumps will accept, here’s a clear walkthrough for construction debris and other special waste.
Where to Dump Construction Debris and Other Special Waste
Construction debris requires planning: many facilities accept rubble but may charge higher commercial rates or require contractor permits. Follow these stepwise instructions to minimize costs and legal risk.
- Call the facility with load specifics. Give weight estimates, material breakdown (concrete, drywall, treated wood), and whether materials are contaminated (painted, asbestos suspect).
- Separate by type before loading. Break concrete into manageable pieces (max 50 lb each for manual handling); separate metals, wood, and gypsum to avoid surcharges.
- Cover loose debris for transport. Use a heavy-duty tarp secured with straps to prevent spillage — uncovered loads can be fined at some transfer stations.
- Weigh and obtain a ticket. If the site charges by weight, get a pre- and post-load ticket; typical processing takes 10–30 minutes on arrival, longer during peak hours.
- Declare suspect hazardous materials. If you suspect asbestos-containing material, stop and contact a licensed asbestos handler — do not transport to a public dump without prior testing and clearance.
- Consider a debris hauler for large jobs. If your load exceeds 2–3 tons, compare tipping fees vs. a local debris removal companies guide and construction services pricing.
When moving dirt, topsoil, or fill, confirm acceptance — many landfills have separate cells or testing requirements for fill material. For help with dirt-specific jobs see:
dirt removal near me service guide
Transition: disposal costs vary by location and material. Next, read how to reduce or avoid fees legally.
Cost and Free Dumping Options: What You Need to Know
Costs for public dumping typically involve a base gate fee and a per-ton tipping fee. Typical figures: small municipal sites may charge a minimum of $5–$25 per vehicle; per-ton fees can range from $30 to $120 (According to a 2024 industry report). Always confirm local rates.
- Estimate your load weight. Use online calculators (concrete ~2,400 lbs/yd³; mixed household trash ~200–300 lbs/yd³) to estimate costs before you go.
- Look for free disposal days. Municipal spring cleanup events often provide free or reduced-cost drop-offs for residents; check your city calendar or local spring cleanup options.
- Bring proof of residency for discounts. Some sites waive fees for residents once per year with ID and a utility bill.
- Reuse, recycle, or sell salvageable materials. Metal, appliances, and high-grade lumber can offset tipping fees if sold to scrap yards or reuse centers.
- Compare commercial haulers vs. self-haul. For large jobs, get quotes from commercial haulers; compare the total (hauling + tipping) to self-haul costs. See the commercial junk removal services cost overview for pricing context.
- Check for reduced-fee programs. Seniors, veterans, or low-income residents may qualify for discounted disposal at some municipal sites.
Alternative disposal and cost resources:
dumpster rental cost guide and local dumpster services
commercial junk removal services cost overview
junk haulers near me guide
Transition: while costs and logistics matter, how you sort and prepare waste affects environmental outcomes. Follow the best practices below before you travel to the dump.
Best Practices and Environmental Considerations for Public Dumping
Follow these recommended steps to reduce environmental impact and ensure compliance at public dumping facilities.
- Segregate recyclables from trash at the curb. Place cardboard, metal, and clean wood separately — many transfer stations offer dedicated recycling bays. For drop-off recycling locations see the recycling drop off locations guide and bin availability.
- Minimize landfill-bound waste. Repair, donate, or sell usable items; many charities accept gently used furniture or appliances — see the how to dispose of a couch guide for options.
- Use certified recyclers for electronics and metals. Separate batteries and e-waste for proper end-of-life processing; some facilities refuse mixed loads.
- Document large disposals. Keep weight tickets and receipts; they serve as proof of legal disposal for contracts or permits.
- Follow spill prevention and cleanup protocols. Secure liquids and use secondary containment for loose fluids to prevent soil and water contamination.
For broader commercial recycling strategies, see the following resource:
commercial recycling services guide
Nonprofit and academic studies show that proper sorting and diversion reduce landfill volumes and greenhouse gas emissions; for practical guidance from environmental organizations, see:
NRDC waste reduction resources
According to a 2023 EPA report, municipal programs that increase diversion rates by 10% can significantly extend landfill life and cut methane emissions — check local diversion targets for specific goals and penalties.
junk removal services guide and residential pickup options
trash and recycling guide for waste and garbage disposal
Republic trash pickup guide and recycling service details
Transition: practical field experience reveals common pitfalls. Read the mistakes I’ve seen and how to avoid them.
Core steps: practical walk-through (numbered actions)
- Call and confirm acceptance. Phone the site 24–48 hours before your planned trip; state the material types and estimated cubic yards or weight.
- Load by categories. Keep concrete, wood, and metal in separate piles on your vehicle to speed unloading and avoid cross-contamination charges.
- Drive to the scale first when required. If there’s a weighbridge, stop first to get a pre-load weight ticket; many stations record tare weight before dumping.
- Follow staff instructions during unloading. Unload only in designated bays; staff will direct you to the correct container or pit.
- Obtain and keep receipts. Ask for and retain the final weight ticket or receipt for records; it shows legal disposal and fee paid.
- Inspect your vehicle before departure. Sweep out stray debris and ensure the vehicle is secure to avoid littering en route.
Common mistakes and how to avoid them
I once drove a pickup full of mixed construction scrap to a transfer station only to be turned away because treated wood was mixed with drywall; that trip cost me a second trip and extra sorting time. Avoid this by pre-sorting materials into labeled containers and calling the site with exact material lists.
Another recurring error: arriving at midday during municipal free-drop events — expect long lines. I now schedule pickups in the morning or mid-week to save an hour or more.
Checklist: Verify before you leave home
- ID and proof of residence in hand.
- Load tarped and secured; heavy items blocked to prevent shifting.
- Phone number and address of dump station saved; hours confirmed.
- Estimated weight or cubic yards calculated.
- Cash/card for fees; knowledge of whether scales are onsite.
When to call in a professional
If your project yields more than 3–5 tons of debris, contains suspected hazardous materials (asbestos, lead paint), or you lack a suitable vehicle, hire licensed debris removal companies guide and construction services or a certified hazardous waste contractor. Professionals handle permits, transport, and proper disposal faster and often more cost-effectively for large jobs.
Final practical note: keep weight tickets and disposal receipts for at least 12 months — they are often required for permit closeouts, renovations, or resale disclosures.
Summary of key takeaways: locate the correct facility type, confirm accepted materials and fees, segregate before you go, follow onsite directions, and document disposal. Now act: check your city’s site for free disposal days and make your appointment.
If you need regional pickup rules alongside public dumping, see these localized guides to complement this article:
city garbage pickup service guide
Birmingham garbage pickup guide and requirements
public trash collection guide and refuse center services
Call to action: ready to clear out junk responsibly? Plan your trip using the checklist above and check your local facility hours now.