By the end you will have a labeled, medium-specific, space-optimized art supply storage system tailored to your studio or home; this project typically takes 3–8 hours for a single room and assumes a basic DIY skill level (measuring, drilling, simple assembly).
Before you start
- Inventory list of supplies (count paint types, paper sizes, tools).
- Measuring tape, pencil, masking tape, and paper for layout planning.
- Labels and label maker or waterproof markers and adhesive labels.
- Basic tools: screwdriver, drill, level, stud finder, utility knife.
- Storage units you plan to use: clear bins, stackable drawers, rolling cart, wall hooks.
- Environmental control tools: hygrometer, small dehumidifier or silica gel packs.
Follow the numbered steps below as your hands-on roadmap; each step opens with the action you should take.
- Assess and categorize supplies: Count, sort, and note specific storage needs (flammability, temperature sensitivity, shape).
- Plan layout and zones: Map a workflow—mixing/painting, drying, storage—then assign vertical and horizontal space.
- Select organizer types: Choose bins, drawers, modular organizers, or furniture based on material type and access frequency.
- Implement protection measures: Add dust covers, humidity control, and locked storage for solvents or sharp tools.
- Label and standardize: Use consistent labeling, color codes, and dividers for quick retrieval and inventory control.
- Build DIY or upcycle solutions: Convert spice racks, mason jars, and muffin tins into brush holders and small-item organizers.
- Create a maintenance routine: Schedule weekly checks, seasonal rotation, and safe disposal of expired materials.
- Scale and adapt: Review after two weeks and iterate—swap items between zones to improve workflow.
Transitioning from assessment to medium-specific choices is the next step; read the detailed breakdown below so you can match organizer types to each material precisely.
Why Organized Art Supply Storage Matters
Good art supply storage does more than tidy a studio. It increases creative workspace efficiency by reducing time spent searching for materials, improves material preservation so paints and papers last longer, and smooths your project workflow: when every brush and tube has a predictable place, you lose momentum less often. For example, a painter I worked with reclaimed 30 minutes per session by moving daily-use acrylics to an open-top caddy beside the easel, while rarely-used solvents were locked in a ventilated cabinet across the room.
Clutter reduction is also a safety and quality improvement: pigments and dusty canvases cross-contaminate when left uncovered. According to a 2023 arts preservation study, improperly stored mixed-media materials showed a 30% higher rate of visible deterioration within two years compared with medium-specific storage methods—this is why zone-based layouts and medium-specific containers matter for both hobbyists and professional studios.
Think of your storage setup as the palette for your supplies: deliberate, tidy, and arranged for the sequence of tasks you perform. Clear visibility of materials enables better project decisions and better upkeep of archival-quality items.
Transition: now that you understand the “why,” we’ll break down the “what”—the storage needs for each common art material so you can choose targeted organizers.
Types of Art Materials and Their Storage Needs
-
Paints (Acrylic, Oil, Enamel)
Paints require container-specific handling. Acrylics: store upright in a cool, dark area between 10–25°C (50–77°F); seal caps tightly to avoid skinning. Oils and enamels are flammable—store in a ventilated, locked metal cabinet rated for flammables with labels. Use shallow shallow trays for frequently used tubes and a dedicated drawer for underused colors. For bulk paint, maintain a FIFO (first-in, first-out) rotation: older tubes to the front. -
Watercolors and Gouache
Water-soluble paints are hygroscopic; keep them in low-humidity cabinets with silica gel packs to prevent clumping. Palette pans should be stored flat and dry; replace metal pans if rust appears. Use a shallow portability case for plein-air work and a sealed box for pan palettes to keep dust out. -
Brushes and Applicators
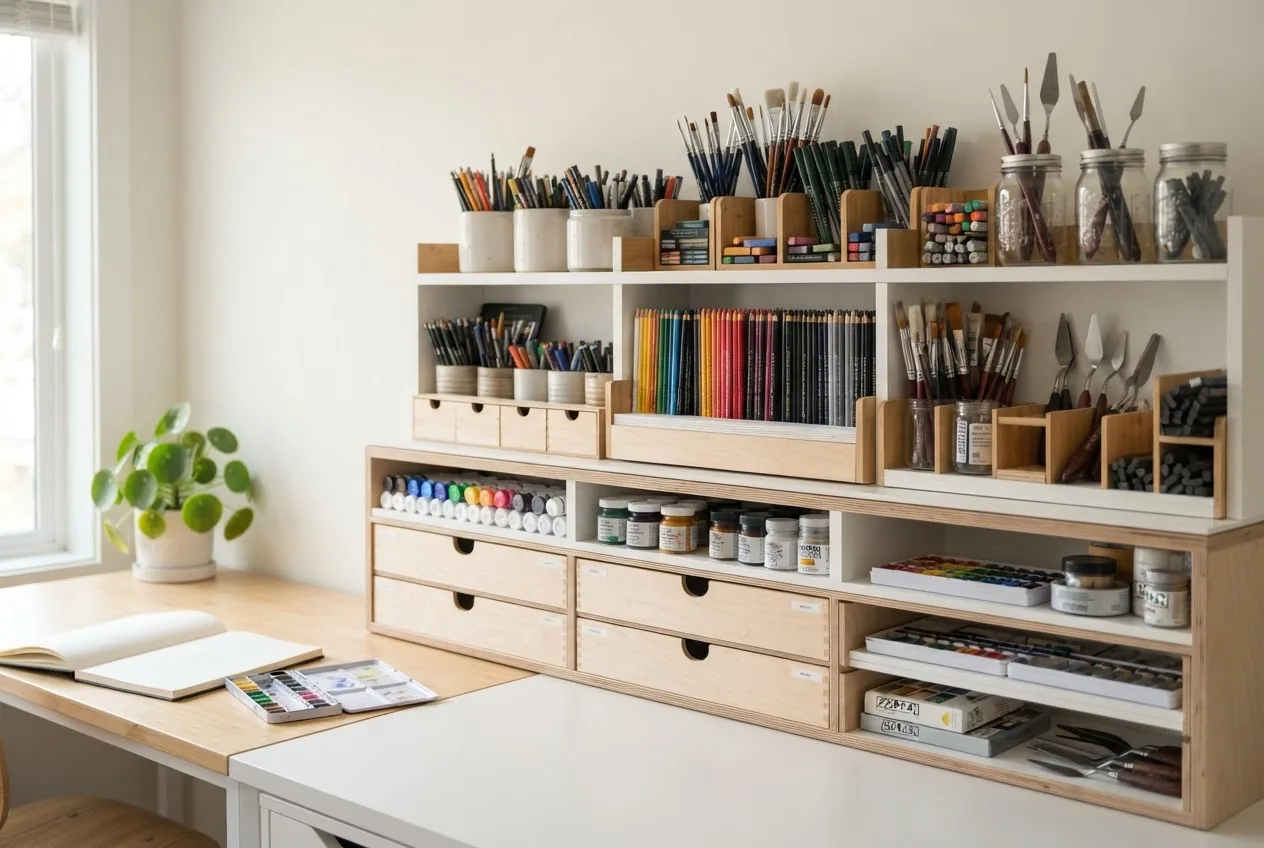
Brushes need upright storage for immediate access and flat storage for long-term keeping. Use a brush holder or jar with bristles up for wet brushes during sessions. For storage, dry brushes fully, reshape tips, and store in a low-humidity drawer lined with acid-free paper. For long-handled studio brushes use wall-mounted racks or a tall container to prevent bending. -
Canvas, Boards, and Panels
Store canvases vertically on racks with spacers or in slotted shelves to avoid abrasion. Canvas should not rest directly on concrete or damp floors; maintain 2–4 inches clearance and wrap in breathable cloth for long-term storage. For panels, stack with interleaving foam or glassine paper to prevent sticking. -
Paper and Sketchbooks
Keep paper flat in drawers or in portfolio cases. For large sheets, use a horizontal flat file or vertical slots with support. Define separate drawers for archival paper (acid-free) vs everyday sketch pads. Portfolio cases protect finished work from dust and light; a portfolio case (a flat, often rigid carrying sleeve) should be labeled for content and kept horizontal if filled with delicate work. -
Drawing Media (Pencils, Charcoal, Pastels)
Pencils and pens are best sorted by type and width in compartments or divider boxes. Charcoal and pastels are dusty—enclose them in lidded trays and wrap in glassine to prevent transfer. Soft pastels require separators; store flat in shallow boxes with tissue between layers. -
Adhesives, Solvents, and Fixatives
Store hazardous materials in clearly labeled, fire-rated cabinets with ventilation. Keep incompatible chemicals apart (e.g., peroxide-based cleaners away from organic solvents). Follow OSHA guidelines for chemical storage—containers must be sealed, labeled, and stored below eye level when possible to minimize spills.
See OSHA guidance for hazardous materials storage in the safety section below. -
Tools and Hardware (Knives, Cutters, Rulers)
Use a magnetic strip for metal tools, a wall-mounted pegboard for frequently used implements, and a small parts drawer with labeled compartments for blades and spare parts. Lock away sharp or dangerous tools when children are present. -
Mixed Media and Found Materials
Mixed media supplies vary—sort by material compatibility. Use clear lidded bins for small objects and store fragile bits in padded divider boxes. For anything that can leach acids (some found papers, wood trimmings), interleave with acid-free tissue to protect archival works. -
Digital and Electronic Equipment
Tablets and cameras need padded cases and cool, dry storage. Remove batteries for long-term storage and store electronics in anti-static bags if humidity or dust is an issue.
Transition: next we’ll compare organizer types so you can match features to the material needs above and choose the best unit for each zone.
Top Art Supply Storage Solutions and Organizers
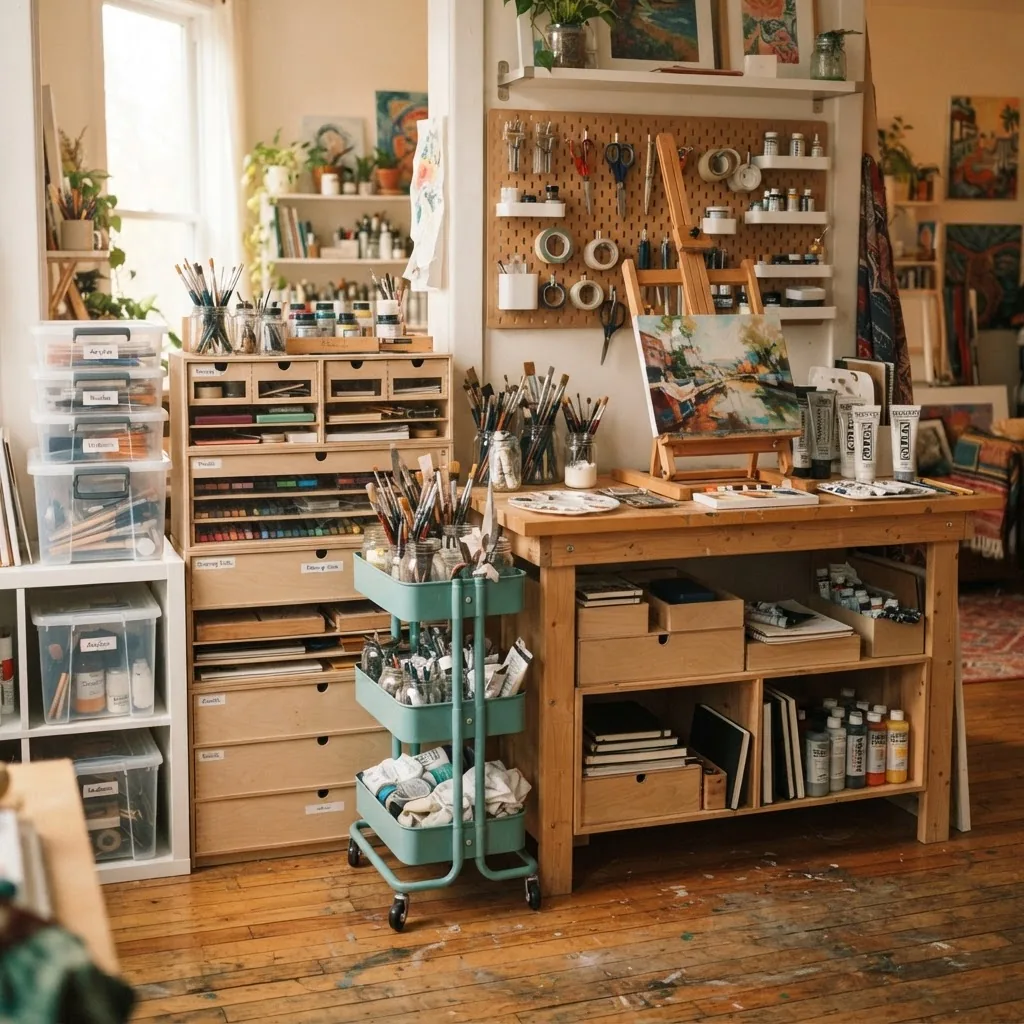
Below is a practical comparison of common organizer types—select based on your priorities (visibility, portability, protection, or size). For compact drawer-based setups, see
3 drawer storage solutions.
| Organizer | Key Features | Pros | Cons / Best Use |
|---|---|---|---|
| Stackable plastic drawers | Clear fronts, modular stacking, multiple sizes | Affordable, visible, scalable | Can warp in heat; good for paper, tools, small bins. See stackable storage bins. |
| Modular organizers (cubbies, cubes) | Interchangeable bins, fabric or plastic cubes | Aesthetic, customizable, good for medium-frequency items | Fabric cubes compress; best for dry items. Complement with cube storage with fabric cubes. |
| Rolling carts | Portable tiers, open shelving | Highly portable; ideal next to an easel or table | Top tiers collect dust; best for active supplies like brushes and palettes. |
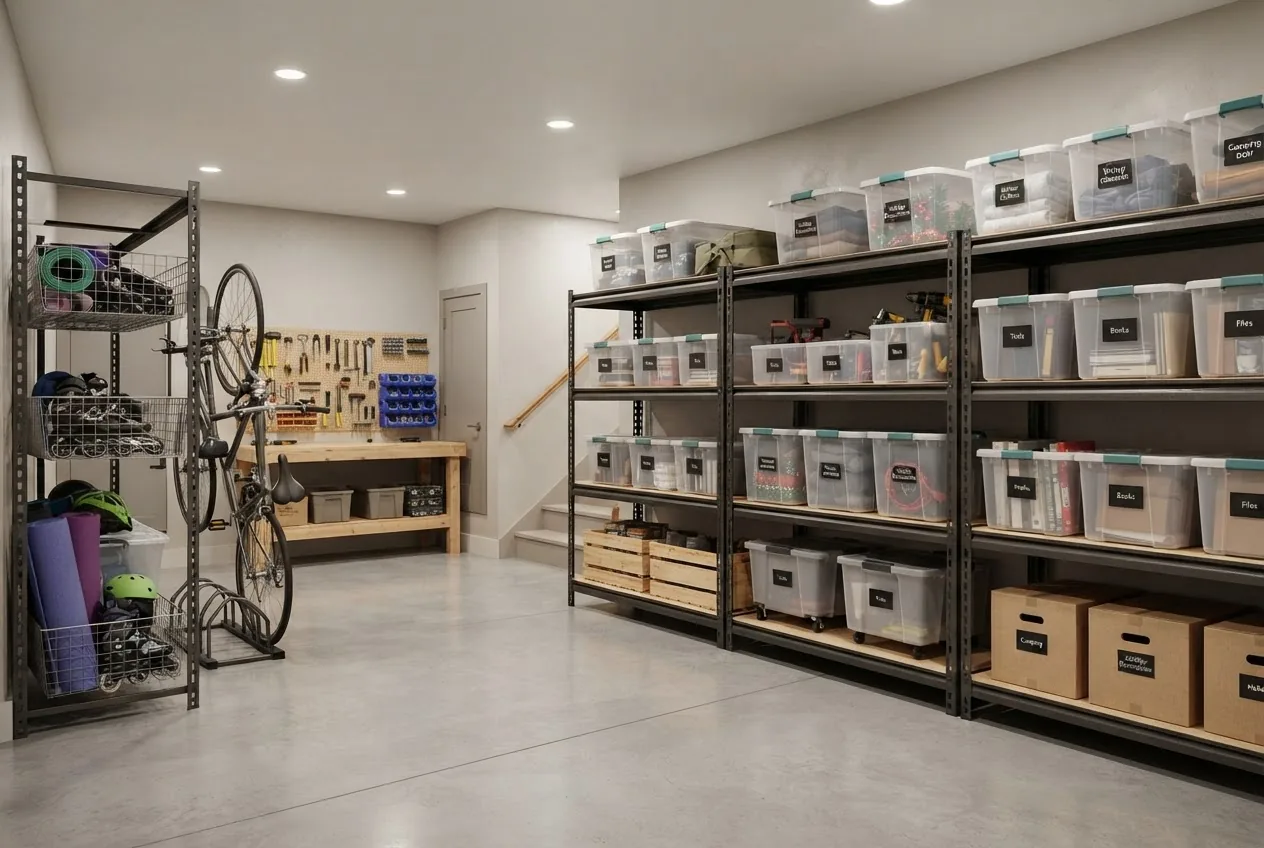
| Tool cabinets and garage cabinets | Metal or heavy-duty wood, locking doors, deep drawers | Durable, secure for solvents and sharp tools | Costly and heavy; ideal when you need robust protection. See garage cabinet storage systems. |
| Stackable flat files and portfolio cases | Flat drawers, horizontal protection for papers and canvases | Protects flat works from light and dust | Bulky; best for finished works and archival paper. |
| Boxes with dividers | Compartmentalized trays for small items | Excellent for beads, pencils, ferrules | Small parts can be hard to label; see storage boxes with dividers. |
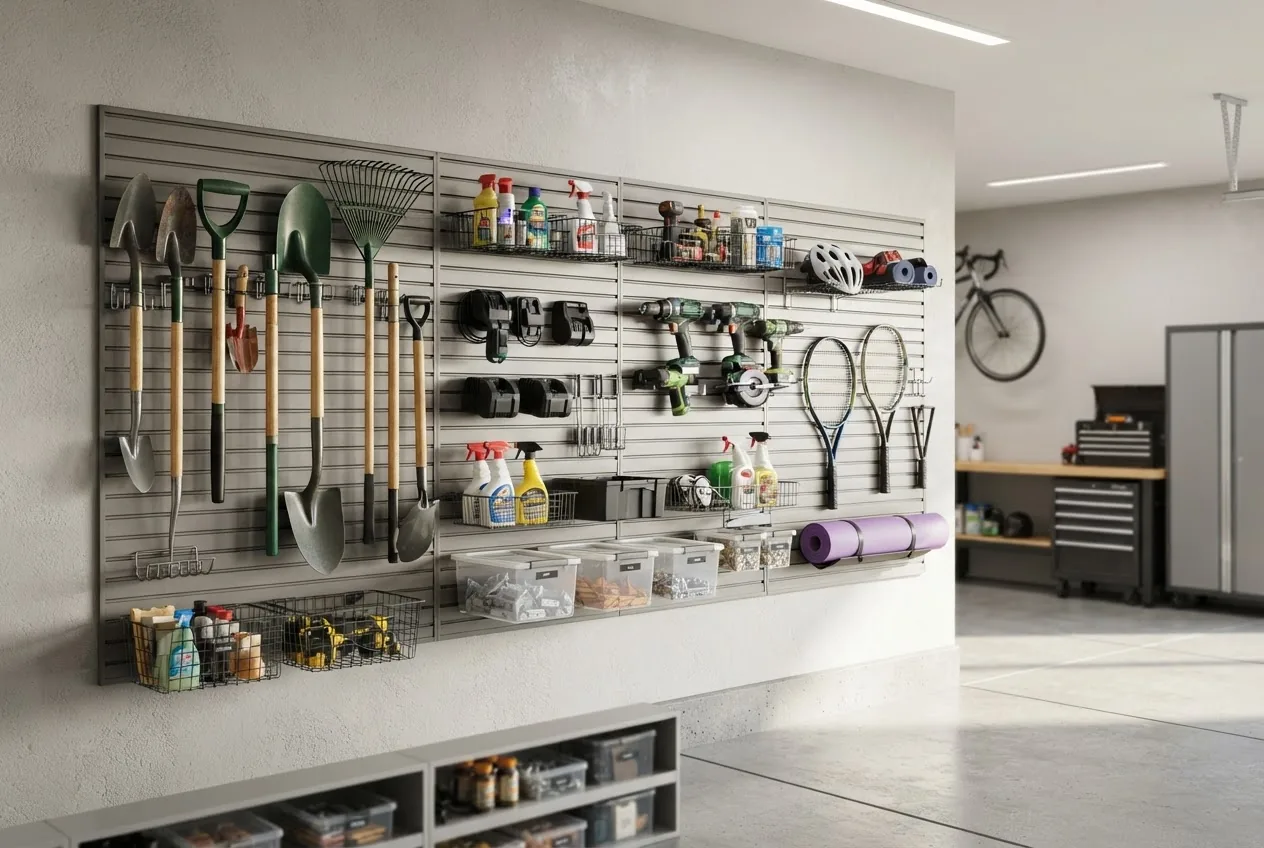
| Wall-mounted racks & pegboards | Vertical storage, tool hooks, and shelf attachments | Frees floor space and keeps items visible | Requires mounting; great for hand tools and brushes. See garage wall organizer techniques. |
| Mobile cases and portfolio backpacks | Zipped compartments, padded sections | Best for plein-air and commuting artists | Weight adds up; choose lightweight materials described below in portable section. |
Transition: you’ve seen the options—now build a tailored system. The next section walks you through layout planning, selection, labeling, and vertical strategies step by step.
How to Create a Customized Art Materials Organizer System
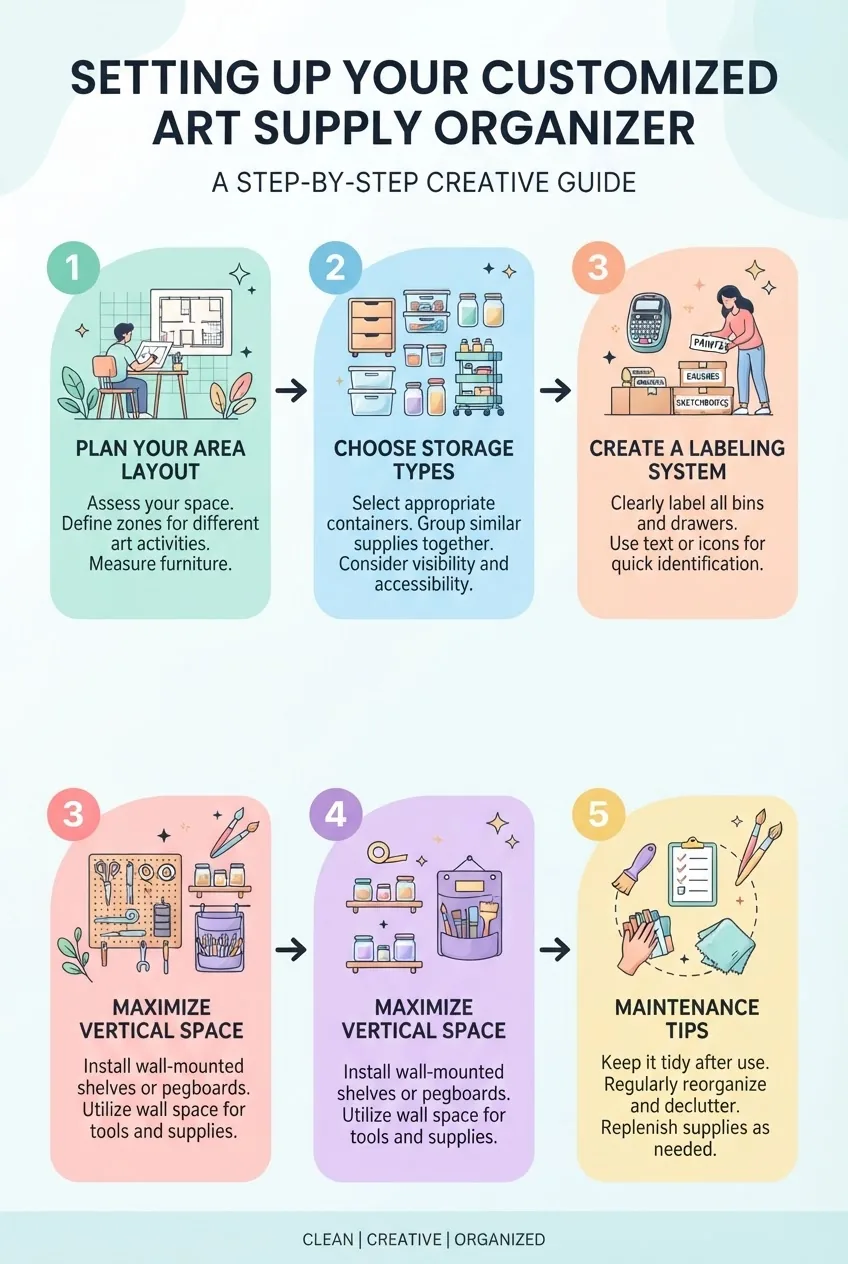
This section is a step-by-step workshop. Follow each numbered action and use the checklist at the end to verify results. If you scale up, consider a
freestanding closet storage for vertical modularity.
-
Measure and map the space (30–45 minutes):
Measure wall lengths, ceiling height, and clear floor areas. Draw a simple plan on graph paper or a digital tool with a 1:25 scale (1 cm = 25 cm). Mark power outlets, natural light sources, and ventilation points. Note floor load limits for heavy cabinets; use casters for mobility when weight exceeds 100 lbs per unit.
-
Define workflow zones (15–30 minutes):
Create at minimum three zones: active work (easel/table), preparation/cleaning (sink or wipe area), and storage (long-term supplies). Place frequently used items within 3 feet of the work surface—this reduces reach time by an average of 20–40% in small studios.
-
Choose storage types per zone (30–90 minutes):
Match materials to organizer types identified earlier: open shelves and rolling carts for active tools, sealed drawers for archival paper, metal cabinets for solvents. For room-based solutions, consult
best organizers for room storage for multi-use systems. -
Create vertical storage (45–90 minutes):
Use wall-mounted shelves 12–18 inches above the workspace for everyday items. Install a pegboard section (24″ x 48″) for tools: place hooks at 3–4 inch intervals. For canvases, build or buy a slotted canvas rack with 1″ spacing. When drilling into stud walls, anchor heavy units to at least two studs with 3″ screws and use a level to ensure shelves are perfectly horizontal.
-
Design drawer and bin layout (60–120 minutes):
Assign drawers by frequency: top drawers for daily use, middle for weekly, bottom for long-term. Use modular dividers to create compartments no larger than 6″x6″ for pencils and brushes to prevent jostling. For small parts, use a
storage boxes with dividers and label each cell. -
Implement labeling and visual systems (60 minutes):
Use a consistent label schema: left-to-right by medium (Dry → Wet → Hazardous) and color-code with vinyl labels: blue for paper, red for solvents, green for paints. Include item name, date opened, and best-before date for perishable items. For quick reads, create a 3-word label (e.g., “Acrylic Primary Reds”) and place duplicate labels on both drawer face and inside compartment.
-
Protect sensitive materials (30 minutes):
Install a hygrometer and use silica gel packs in drawers containing watercolors or archival paper; aim to keep relative humidity between 30–50%. For flammable liquids, use a ventilated metal cabinet and keep ambient temperature below 25°C (77°F). Refer to OSHA safety guidelines for hazardous storage standards.
-
Make portable kits (20–40 minutes per kit):
Assemble travel kits: a compact case with essential brushes, a limited palette (5–8 colors), a mixing knife, and a small sketchbook. Keep each kit under 8–10 lbs for shoulder carry. Use lightweight, rigid cases with secure latches for commuting artists.
-
Test and iterate (2 weeks observation):
Work from your new layout for two weeks. Note any friction points (items out of reach, overloaded drawers). Swap items between zones to minimize interruptions. After two weeks, make one change per day until the workflow feels seamless.
-
Document and photograph the system (30 minutes):
Take photos of each labeled zone and drawer interior. Maintain a simple inventory spreadsheet with quantities and purchase dates—this helps replace depleted pigments and plan restocks efficiently.
Transition: if you need low-cost alternatives, the section below offers DIY hacks and upcycling methods to achieve similar results without heavy investment.
DIY and Budget-Friendly Art Supply Storage Ideas
You can create effective organizers from everyday items. These steps describe quick builds that save money and add creative flair.
-
Convert jars and tins into brush holders (20–40 minutes):
Repurpose glass jars—clean, remove labels, and line the interior with rubber bands to separate brush groups. Arrange jars on a tray to keep spills contained. For a tiered look, glue small risers under the back row of jars to increase visibility.
-
Turn a spice rack into paint storage (30–60 minutes):
Mount a wooden spice rack horizontally on the wall near your easel to hold medium-sized tubes and bottles. This keeps frequently used paints within arm’s reach and off the work surface.
-
Use shoe organizers for small tools (15 minutes):
Hang a clear-pocket shoe organizer on the back of a door to store scissors, glues, pens, and small pads. Label each pocket with its contents.
-
Fabric cube conversion (45–90 minutes):
Assemble inexpensive fabric cubes or repurpose baskets to create colorful segmented storage for yarn, fabric, and soft materials. These complement rigid storage and are explained further in the
cube storage with fabric cubes. -
DIY slotted panel for canvases (60–120 minutes):
Create a simple wooden frame with 1″ vertical slots spaced 1″ apart using ¾” plywood and table saw. Add felt lining to each slot to prevent abrasion; this stores canvases upright and saves floor space.
-
Repurpose muffin tins for small bits (15–30 minutes):
Use metal muffin tins inside a shallow drawer or on a tray to sort beads, grommets, and thumbtacks. Cover with clear acrylic sheet if you want to stack more safely.
-
Create a recycled-paper label system (20 minutes):
Make tags from old manila folders—punch holes and attach with baker’s twine to bins. This low-cost method is durable and easy to replace.
-
Upcycle a metal filing cabinet into a paint-safe cabinet (2–4 hours):
Line drawers with plastic trays, add silica gel sachets, and label each drawer by paint family. Use drawer stops to prevent spills if the cabinet is on casters.
Transition: with DIY solutions in place, maintaining and protecting your materials is critical to longevity—read the best practices below.
Maintaining and Protecting Your Art Materials in Storage
Preservation combines environmental control, cleanliness, and correct containment. For professional cleaning and contamination protection, consult the
commercial disinfection services guide.
According to a 2024 industry report, studios that implemented humidity control and sealed storage reduced pigment degradation by an average of 22% within 12 months.
Best practices—follow these concrete steps and thresholds:
- Temperature: keep between 10–25°C (50–77°F) for most media; avoid >27°C (80°F) for solvents and oil-based paints.
- Humidity: aim for 30–50% relative humidity; above 60% promotes mold on papers and canvases. Use a small dehumidifier in basements and a hygrometer to monitor levels.
- Dust protection: store finished work in sealed portfolio cases or clear bins; cover open shelving with clear acrylic shield if dust is heavy.
- Ventilation: keep solvent cabinets ventilated and away from ignition sources. Label all flammable materials and follow local fire codes.
- Pest control: keep food and plants out of storage areas; inspect annually for signs of insects or rodents.
- Cleaning: wipe containers monthly with a microfiber cloth; for heavy contamination consult professional cleaning resources as noted above.
- Inventory audits: conduct a quarterly inventory of volatile or perishable supplies and a yearly full inventory for archival items.
For those using basement storage for seasonal bulk materials, review practical humidity and space management in the
basement storage solutions. Delicate substrates sometimes need garment-level care; see
garment storage for delicate items for handling sensitive fabrics and paper analogies.
External preservation guidance: for archival standards and temperature/humidity reference ranges consult the Library of Congress preservation guidance. For chemical storage safety, consult OSHA safety guidelines.
Transition: if you travel with supplies, the next section walks through portable solutions and selection criteria.
Portable and Travel-Friendly Art Supply Storage Options
Portable cases and backpacks let you work outside the studio while protecting supplies. Key characteristics to prioritize: secure closures, padded compartments, lightweight materials, and modular internal dividers.
Product suggestions by use case:
- Plein-air watercolor kit: compact wooden field box with fold-out palette, 3–5 pans, a collapsible water container, and a strap; keep total weight under 6 lbs.
- Commuter acrylic kit: rigid plastic case with foam inserts sized to hold 6–8 75ml tubes, 3 brushes, and a small jar; ensure latches are gasketed to avoid spills.
- Large-format travel case: rolling case with 2–3 padded compartments for paper and thin boards; include a locking mechanism and a rain cover.
- Everyday sketch kit: small zip pouch (8″x6″) with a pen, 3 pencils, eraser, and A6 sketchbook—keep under 1 lb for daily carry.
For questions about materials used in portable cases, choose nylon or hard-shell ABS for water resistance. When traveling by air, check local regulations for travel with solvents; sealed and labeled containers may be required.
Transition: if environmental impact is a concern, the following section highlights sustainable and eco-friendly storage choices.
Incorporating Sustainable and Eco-Friendly Storage Solutions
Sustainability in storage reduces waste and supports environmentally conscious studios. Start with durable, repairable furniture, and prioritize recycled or FSC-certified materials. For certified supply options, check sustainability certifications on product pages or consult organizations like sustainability certifications.
Practical sustainable choices:
- Buy secondhand metal cabinets or refurbish wooden units with low-VOC paint.
- Use glass jars, metal tins, and durable plastic over single-use options; repair rather than replace drawers and casters.
- Choose fabric cubes made from recycled fibers and avoid PVC-based materials that off-gas.
- Implement refill programs for solvents and mediums where available to reduce packaging waste.
According to a 2024 sustainability overview by an environmental NGO, switching to refillable and recycled storage cut studio packaging waste by 40% in participating studios. Practical adoption of these strategies often pays back in reduced replacement costs and lower disposal fees.
Transition: finish with long-term strategies to keep your system functioning smoothly.
Conclusion: Tips for Keeping Your Art Supplies Organized Long-Term
Sustained organization is routine plus adaptation. Establish a weekly 15-minute tidy, a quarterly inventory audit, and a seasonal rotation for rarely used materials. If DIY approaches no longer meet your needs, professional help can reconfigure spaces faster—see
professional home organization services.
Actionable long-term tips:
- Weekly: wipe surfaces, return tools to labeled locations, check for leaks or damaged containers.
- Quarterly: check hygrometer, change silica gel packs if color indicator shows saturation, rotate pigments front-to-back.
- Annually: purge expired or unsafe chemicals, photograph and archive finished works, reassess storage capacity and safety compliance.
Common mistakes and how to avoid them
I once stored all paints on a single open shelf; solvents leaked and contaminated nearby canvases. Now I separate volatile materials into a ventilated metal cabinet and use drip trays. I also used ambiguous labeling—now I label with date opened and a 6-month replacement reminder to avoid expired mediums.
Final checklist
- Inventory completed and zones defined.
- Materials assigned to specific organizer types (drawers, bins, cabinets).
- Hazardous materials secured in appropriate cabinets and labeled.
- Humidity and temperature monitoring in place.
- Portable kits assembled and tested for weight (<10 lbs where noted).
- Photos and inventory log saved and backed up.
When to call a professional
Hire a professional when you need structural changes (anchoring heavy cabinets), chemical-hazard evaluation, or full studio reconfiguration beyond basic DIY. For deep cleaning after contamination, consult a commercial cleaning specialist (see the commercial disinfection services guide linked above).